

Publish docker images to Nexus using Jenkins
GitHub -> Jenkins -> Nexus Docker Repository


Introduction
In the previous blog, we learned how to push images to a docker hub repository using a Jenkins pipeline.
In this blog, we'll learn how to push images to a docker-hosted repository on Nexus.
Prerequisites
Read my previous blog.
Code
Here's the code link.
There's a slight change in the script.groovy file. We have to specify the IP address of the docker-hosted repo when we build an image and when we push this image to the hosted repository. Take a look at the code snippet:
sh "docker build -t 64.227.128.95:8082/sanskriti-portfolio:${BUILD_NUMBER} ."
sh "docker push 64.227.128.95:8082/sanskriti-portfolio:${BUILD_NUMBER}"
Desired Result
The CI pipeline should build a docker image and publish the image on a docker repository hosted on Nexus.
A brief on Nexus
Nexus by Sonatype is a repository manager that organizes, stores, and distributes artifacts needed for development.
With Nexus, developers can completely control access to, and deployment of, every artifact in an organization from a single location, making it easier to distribute software.
It is most commonly used for hosting Apache Maven. Currently, it supports Maven/Java, npm, NuGet, RubyGems, Docker, P2, OBR, APT and YUM, and more.
You can think of it as a Docker hub repository, but unlike Docker hub, it can store docker images, jar files, war files, and other artifacts.
Setting up Nexus
We will run the Nexus application as a container on a cloud server.
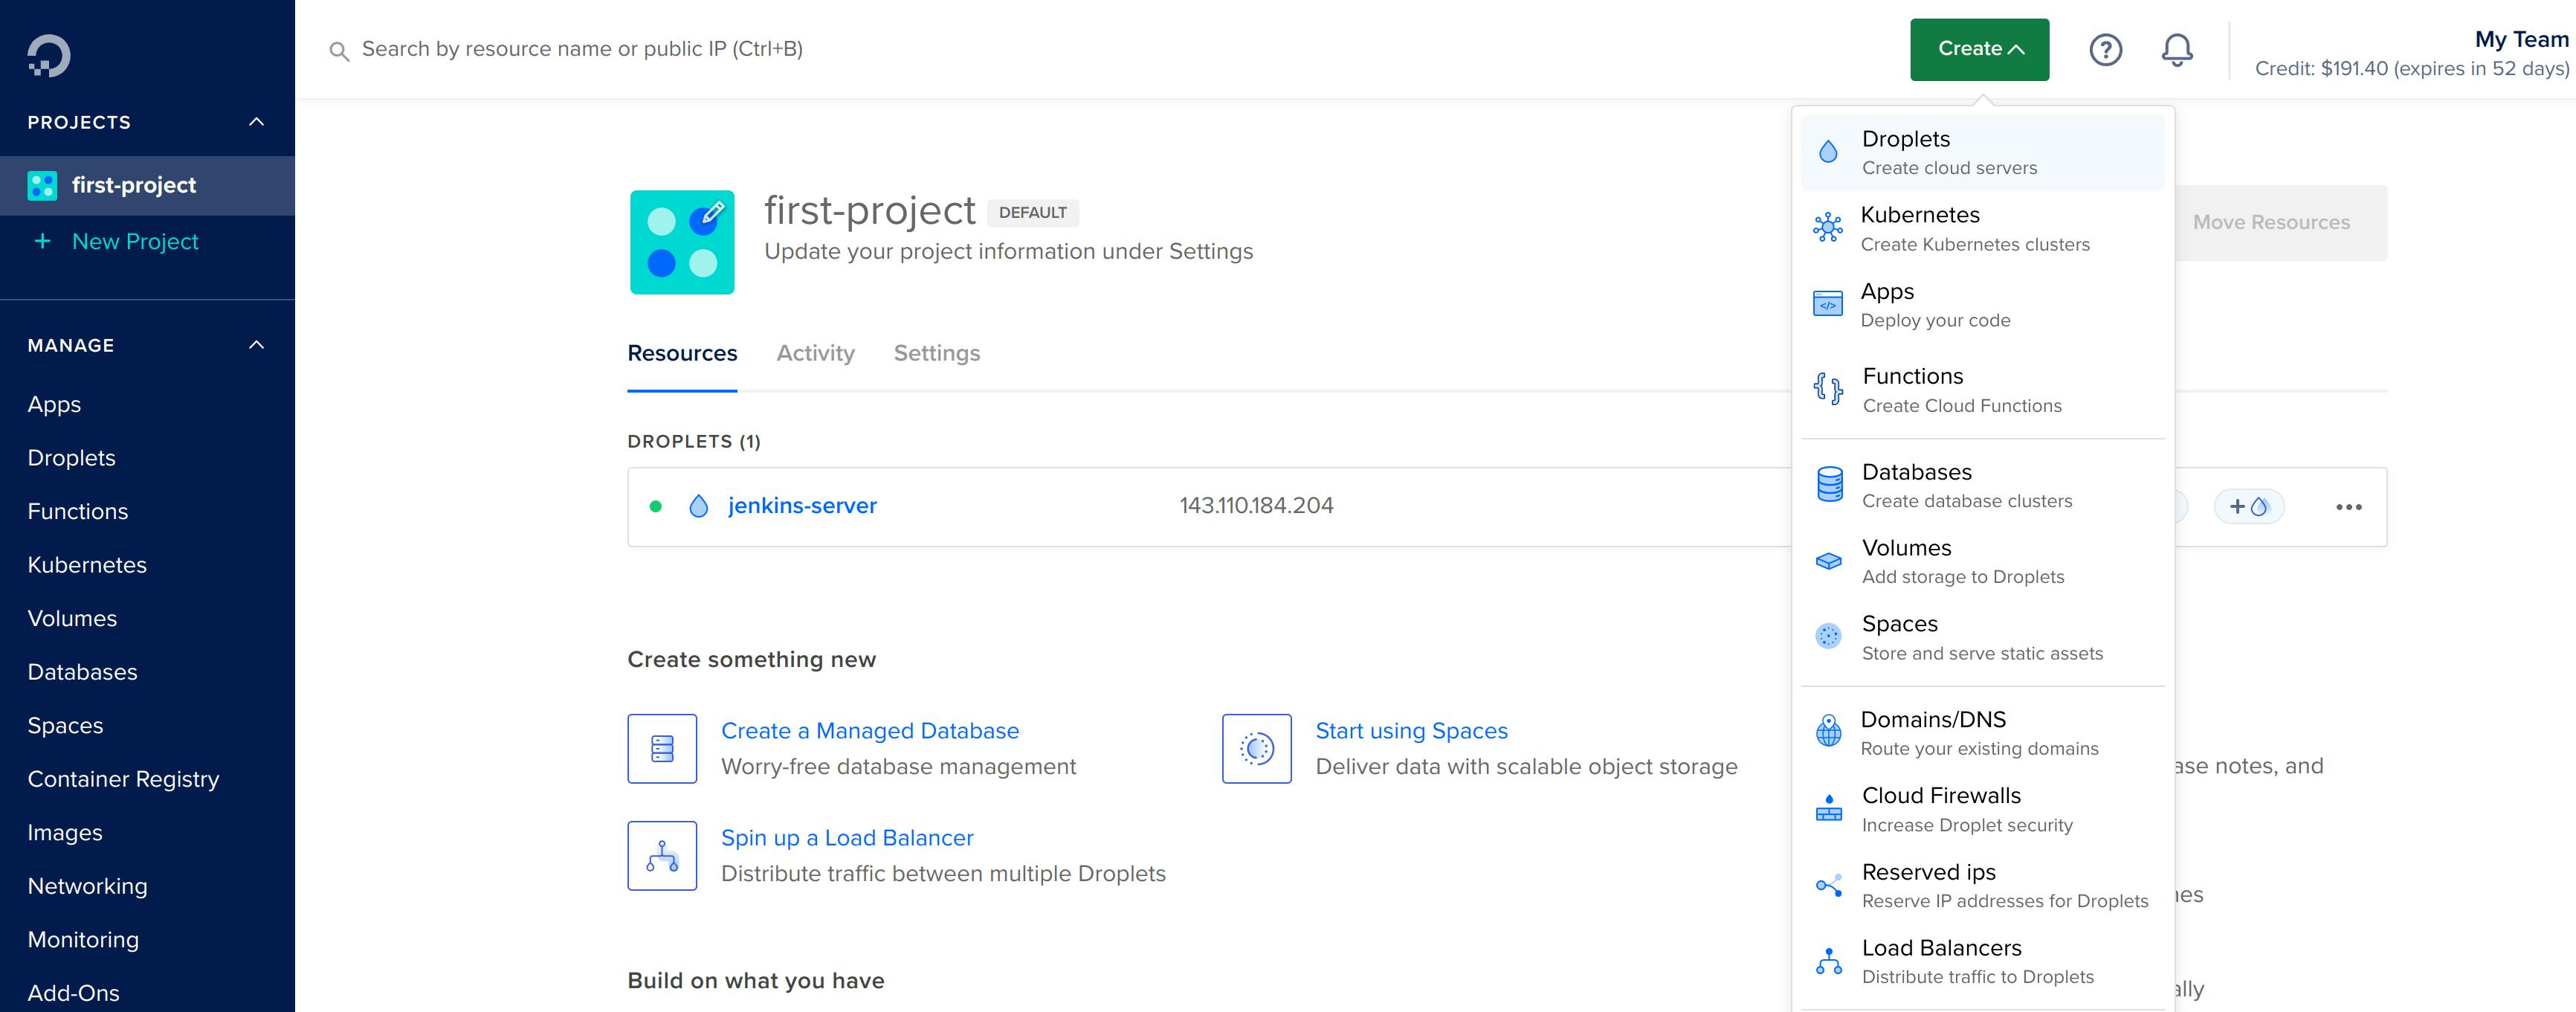
Create a droplet
Start a droplet named nexus-server on Digital Ocean. I am calling it nexus-server just for the sake of simplicity. We will not directly install the nexus application on the server. Instead, we will run nexus as a container.
- Create a droplet
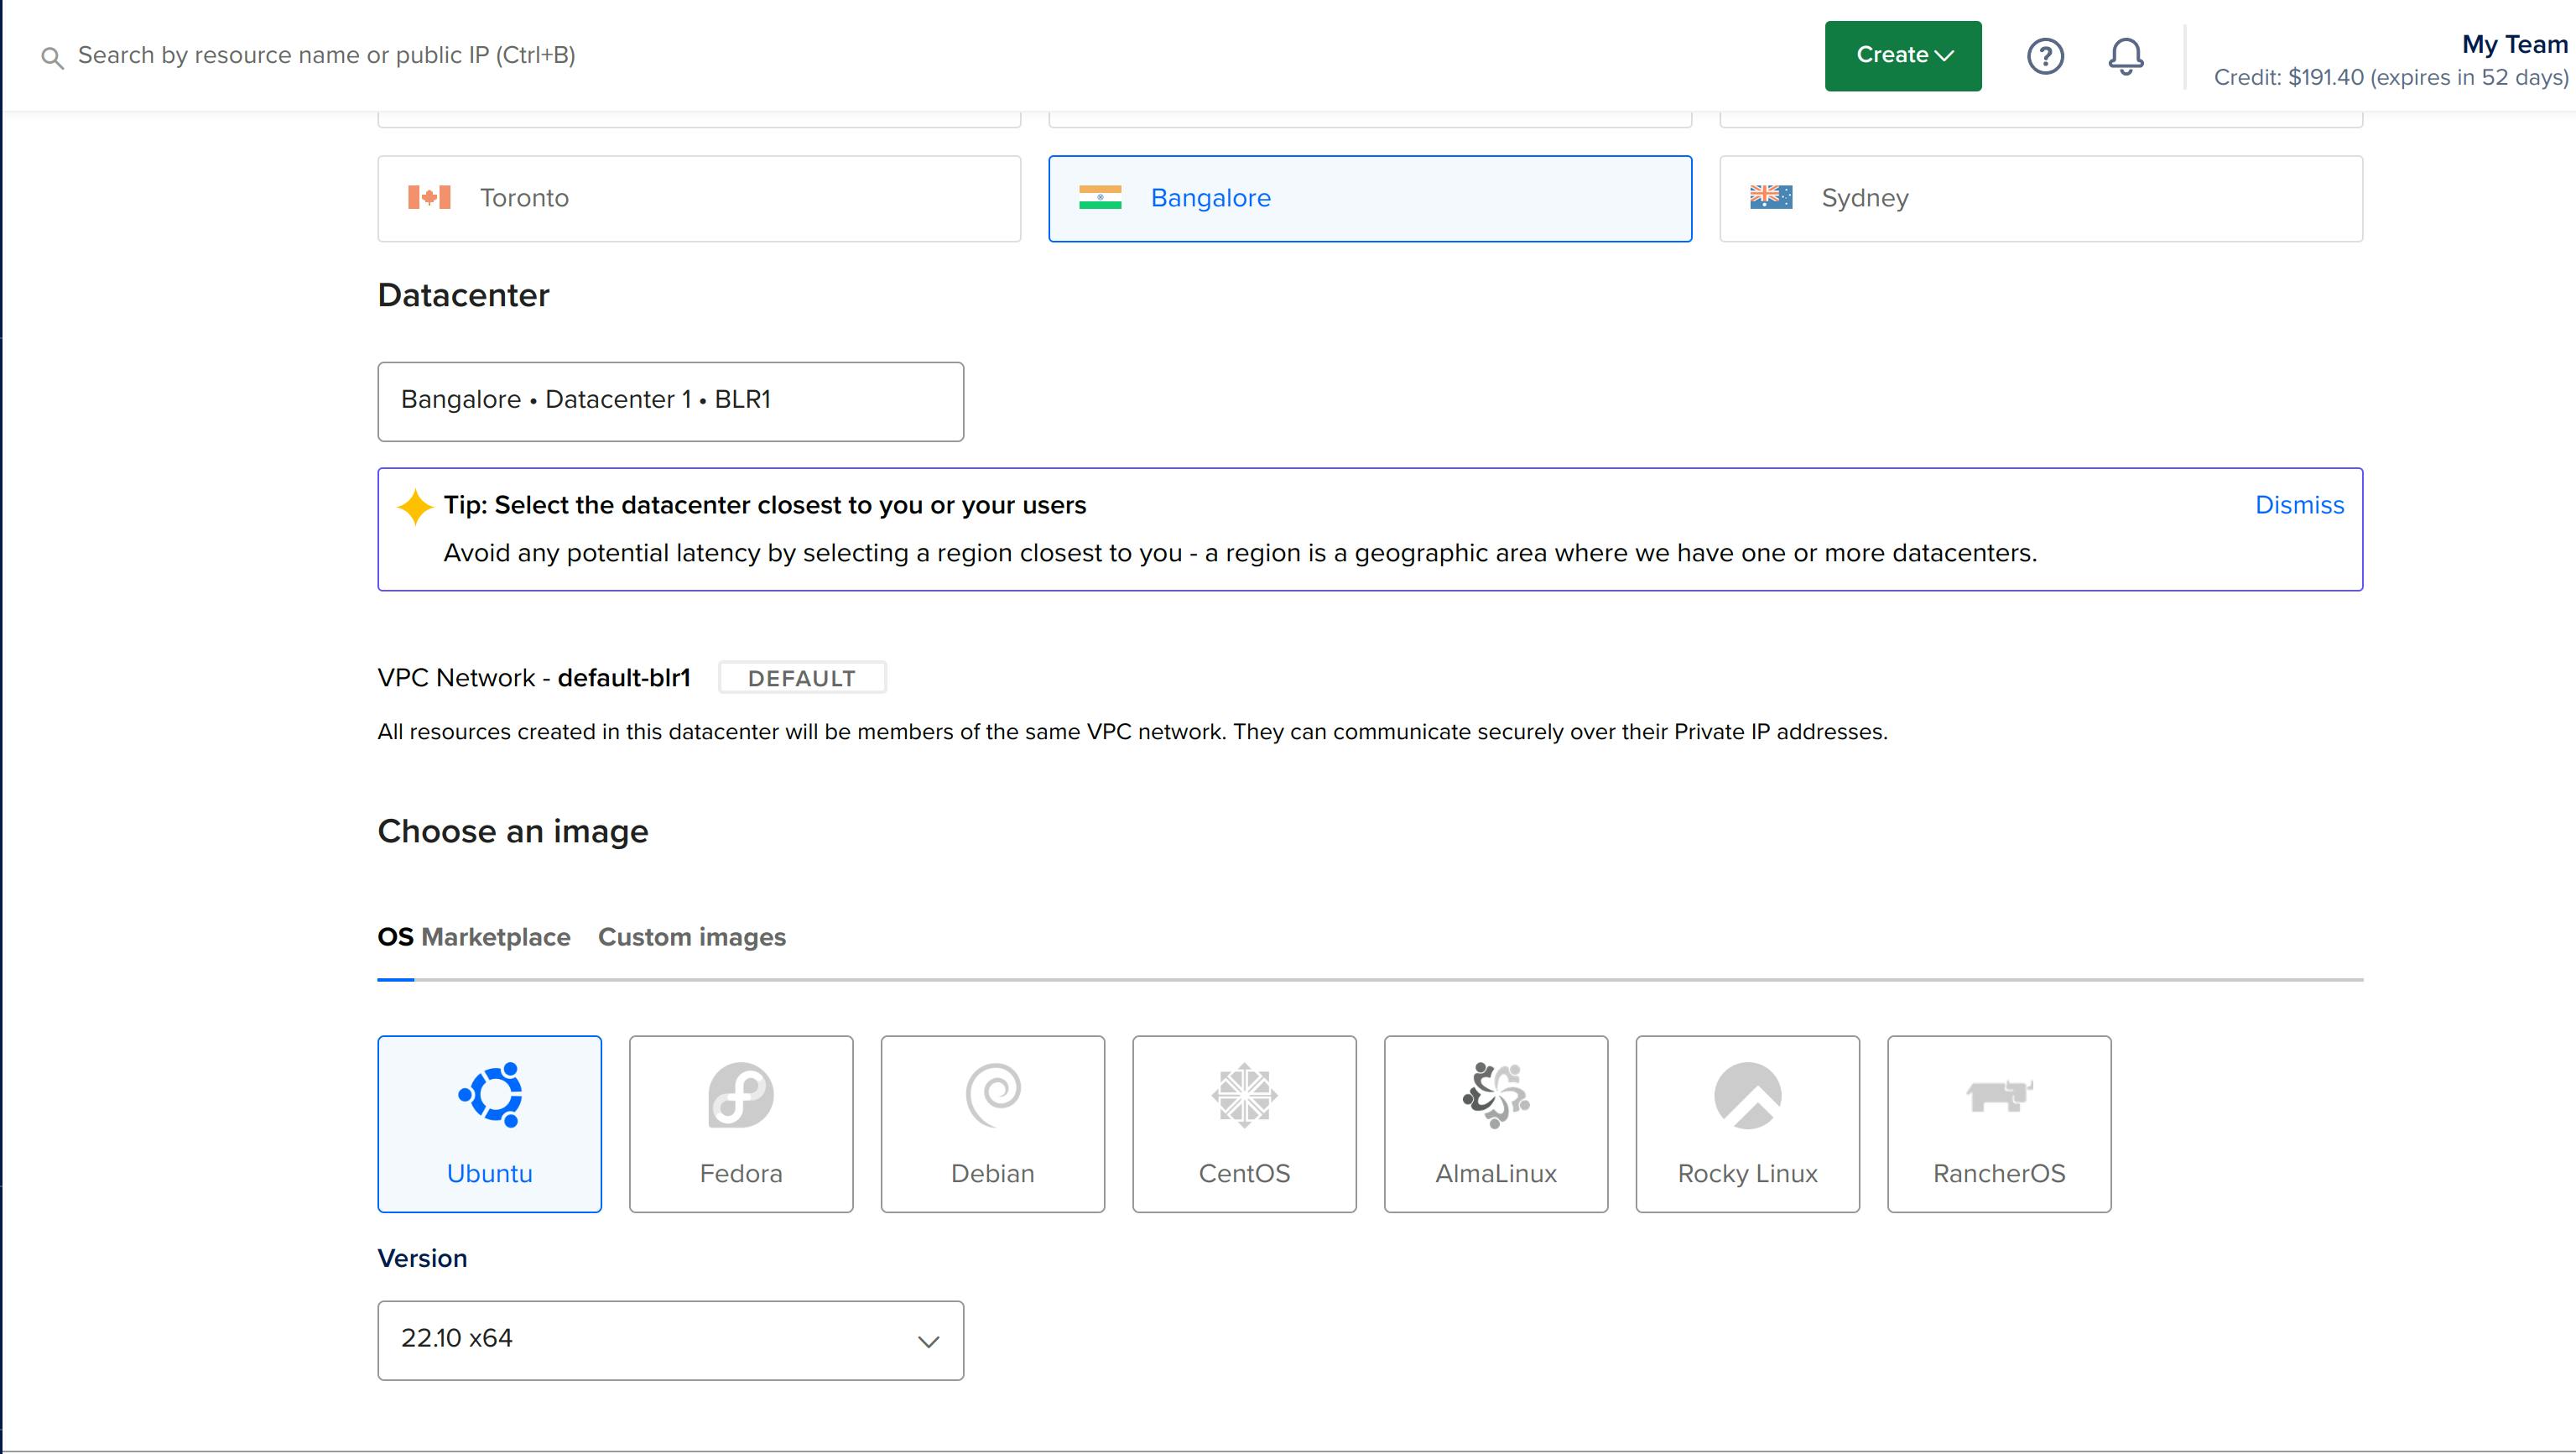
- Choose a Region and an Ubuntu version: You can choose any version.
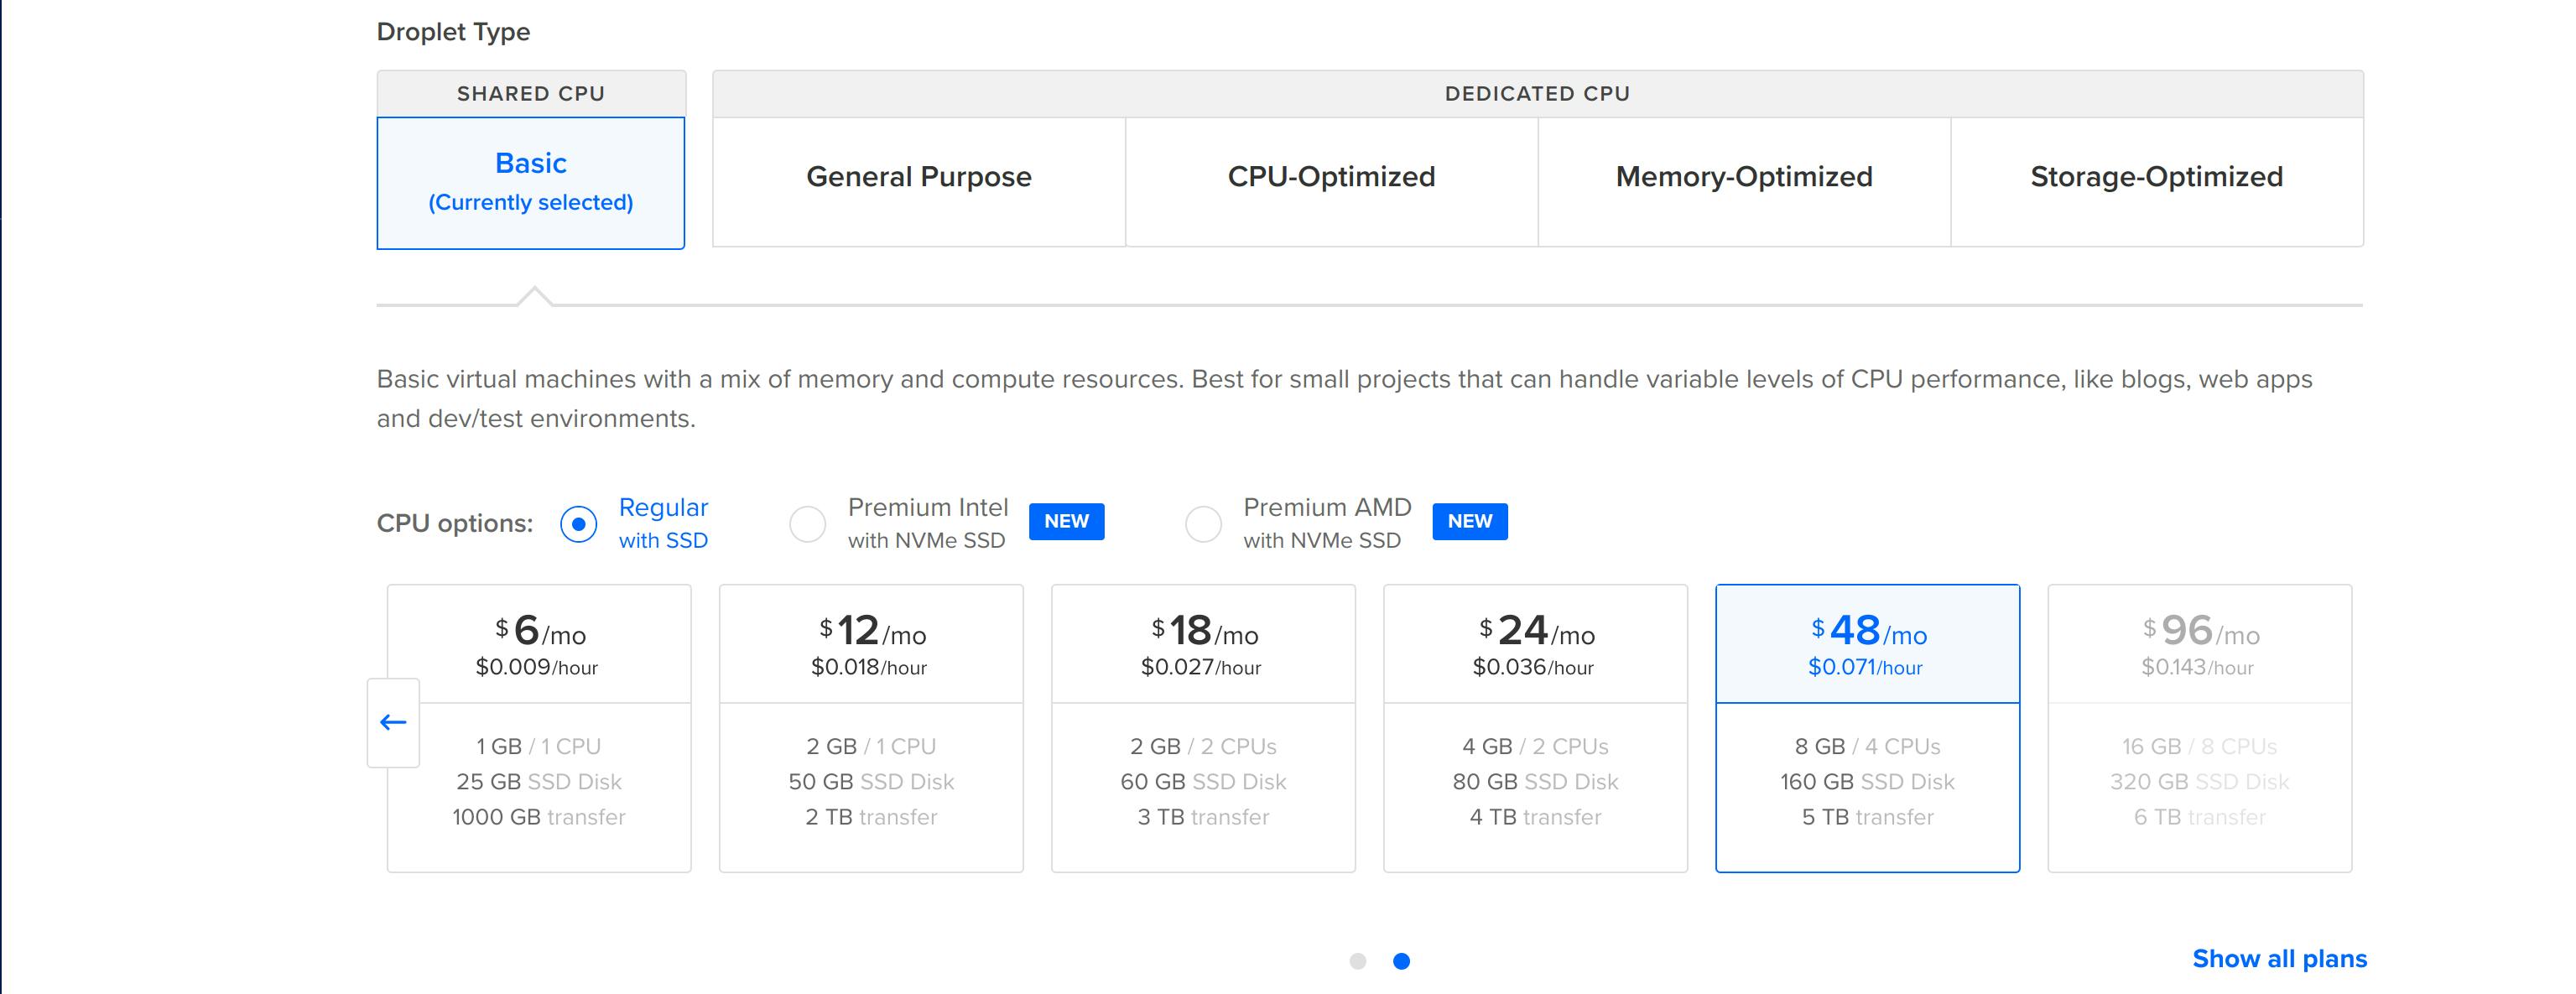
- Select CPU options
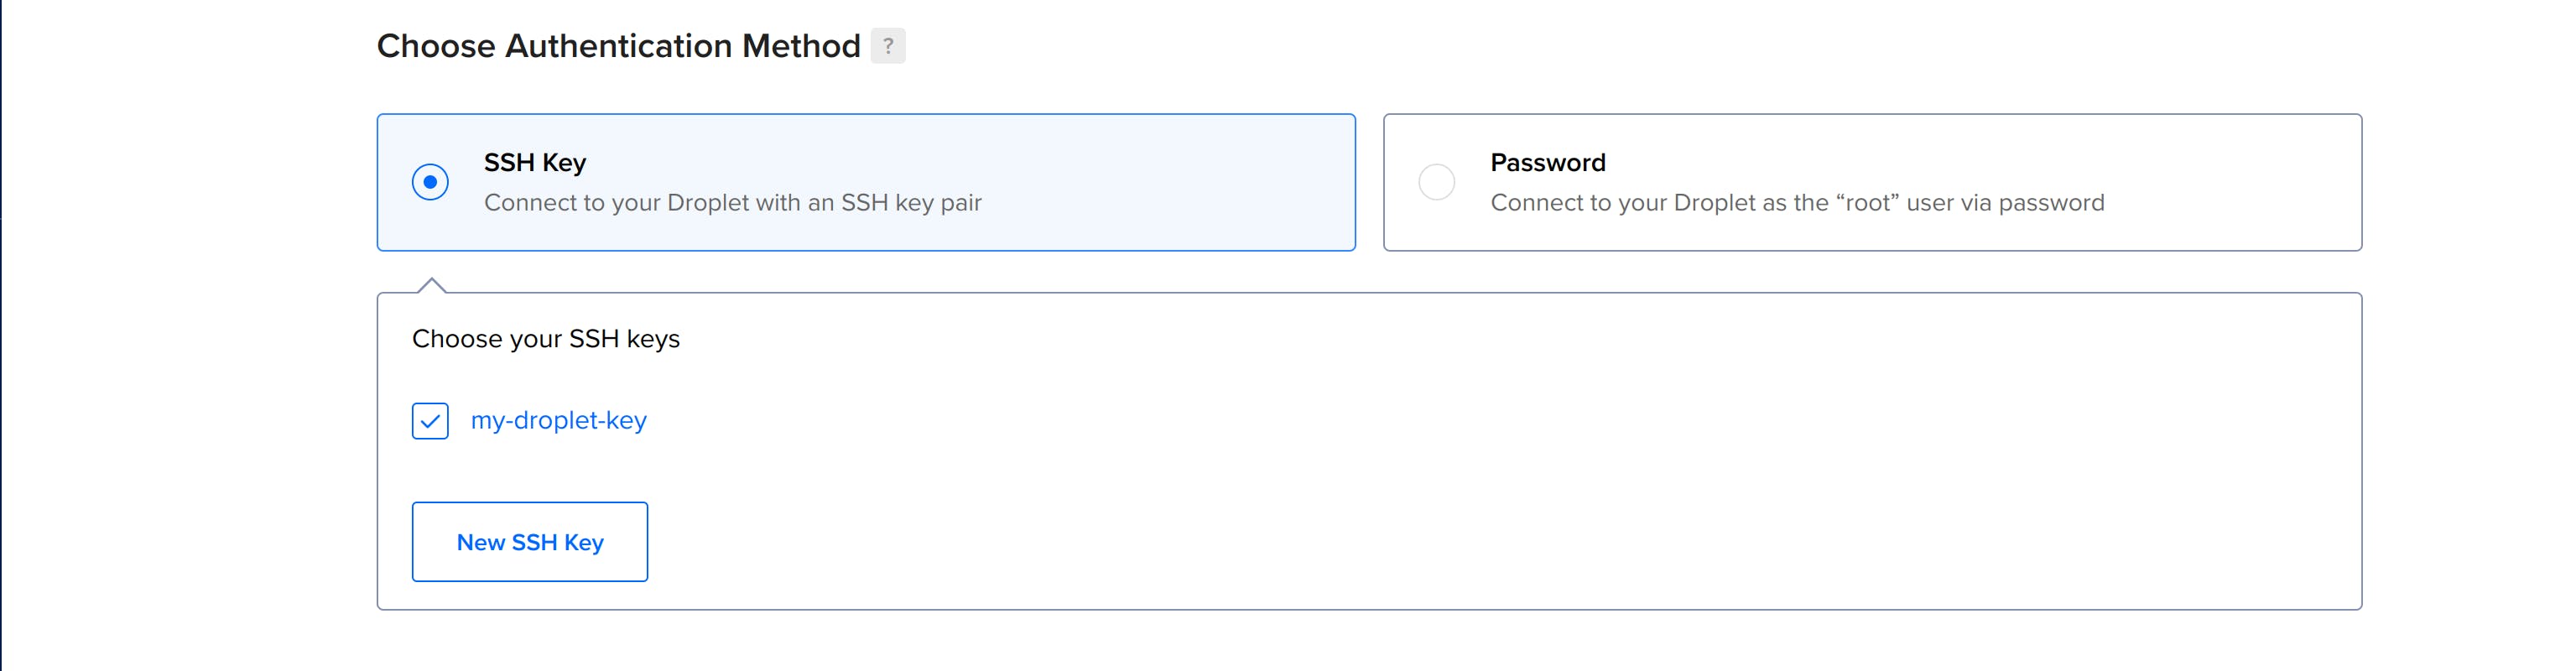
- Choose the Authentication Method: Create one if you don't have it already.
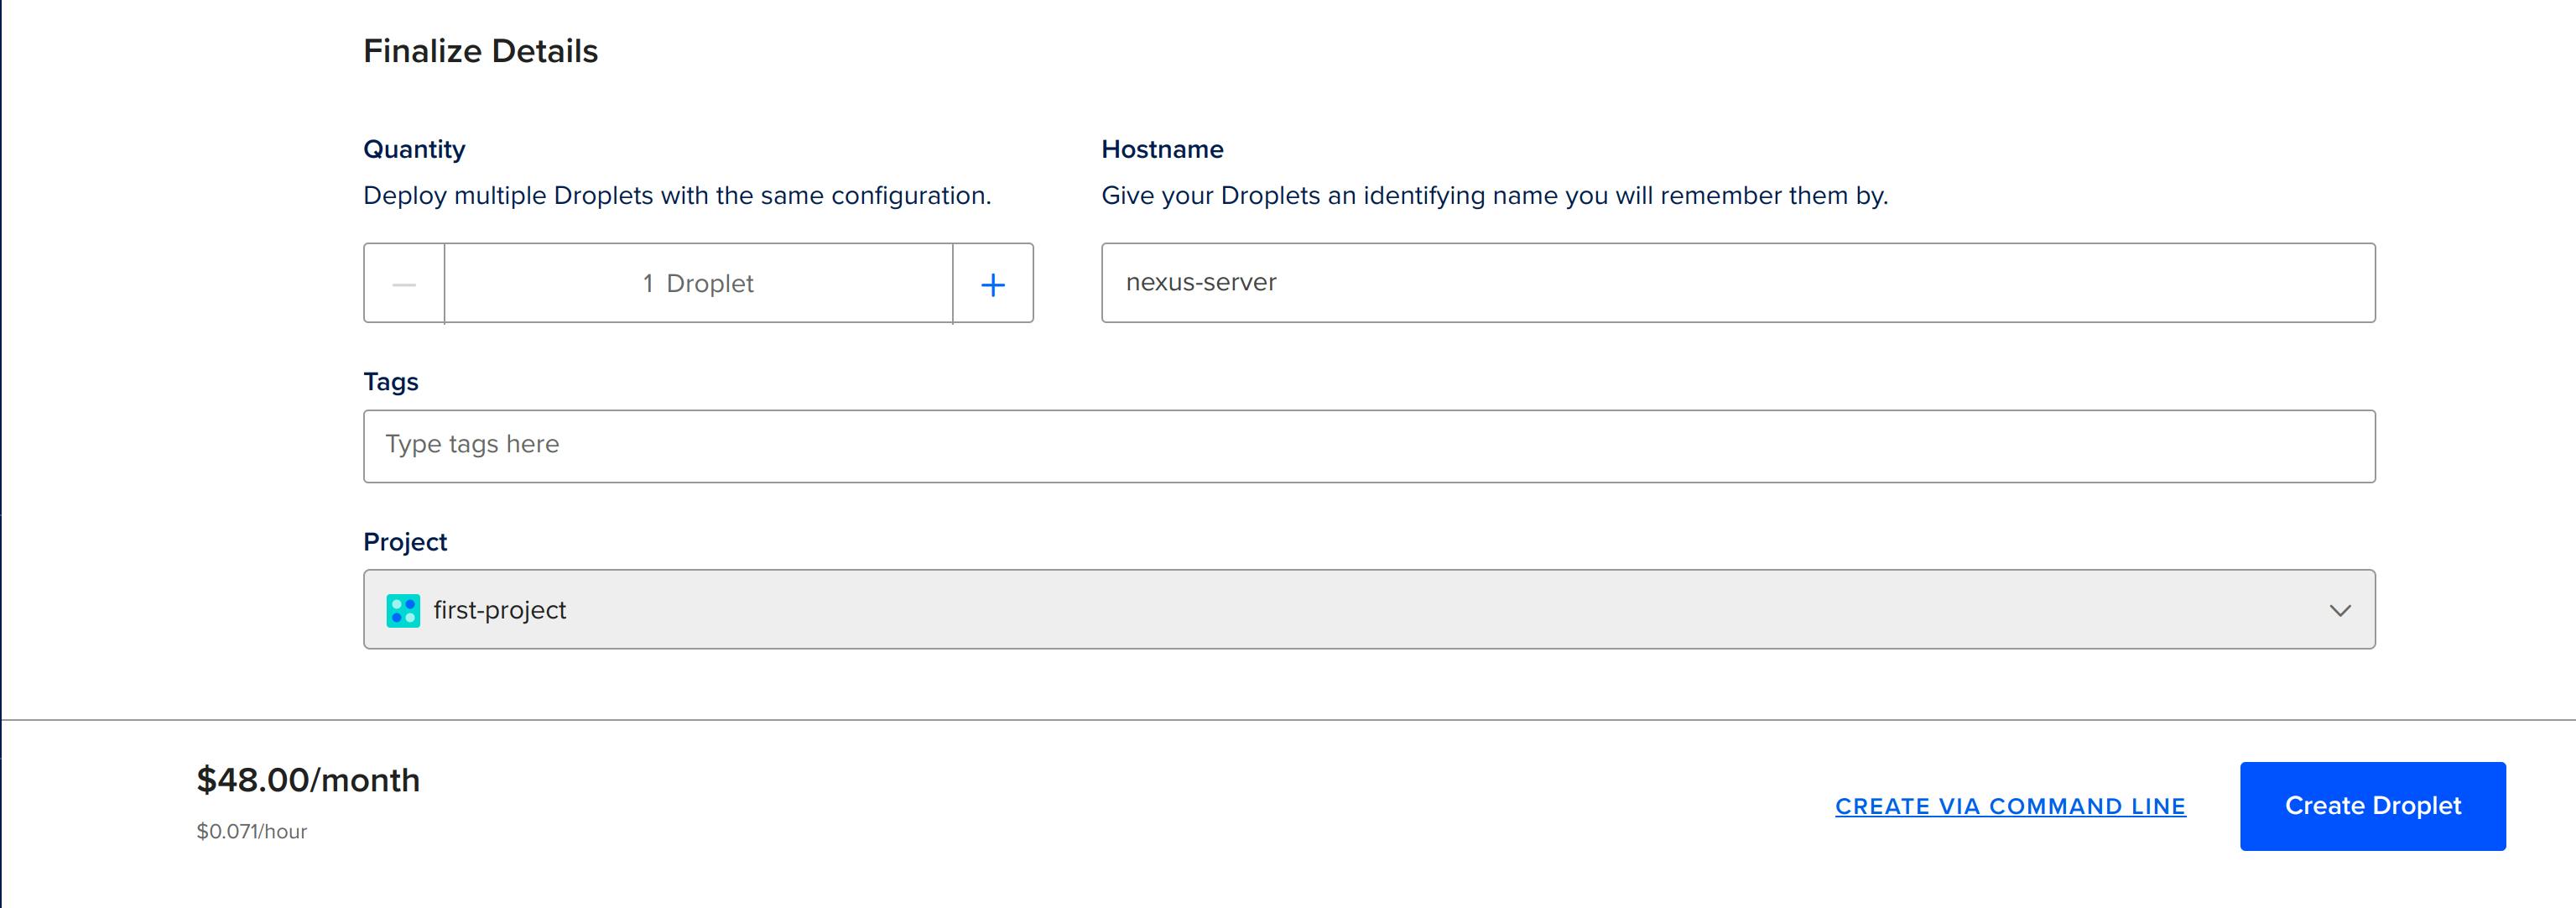
- Change the hostname: Change the hostname to nexus-server and then click on Create Droplet.
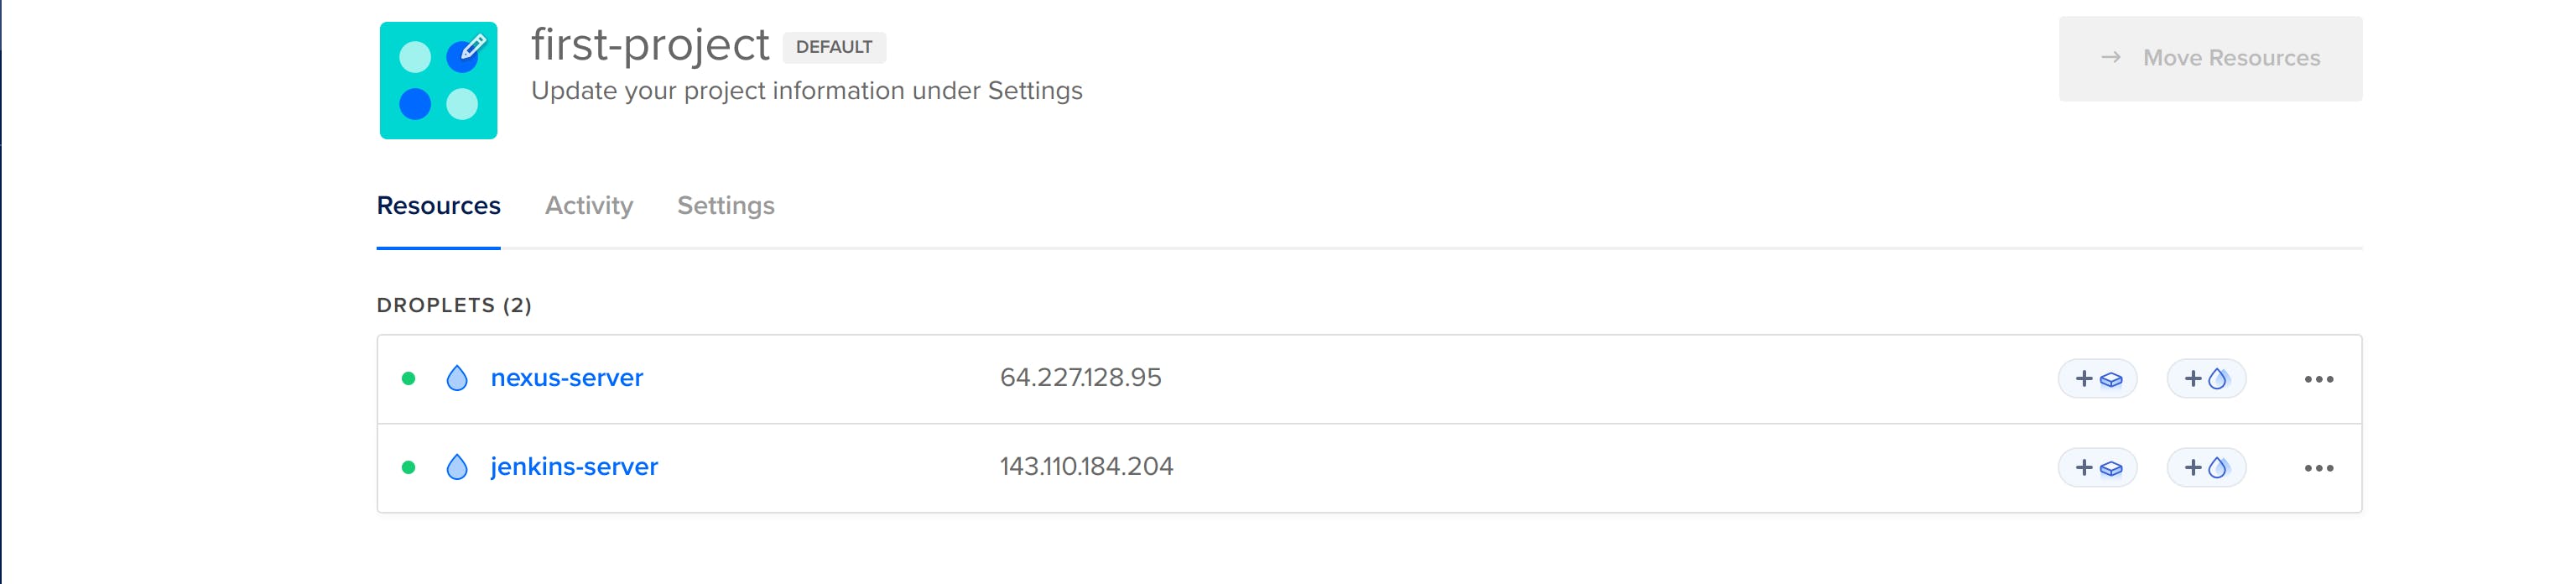
 nexus-server droplet created successfully.
- Create a droplet
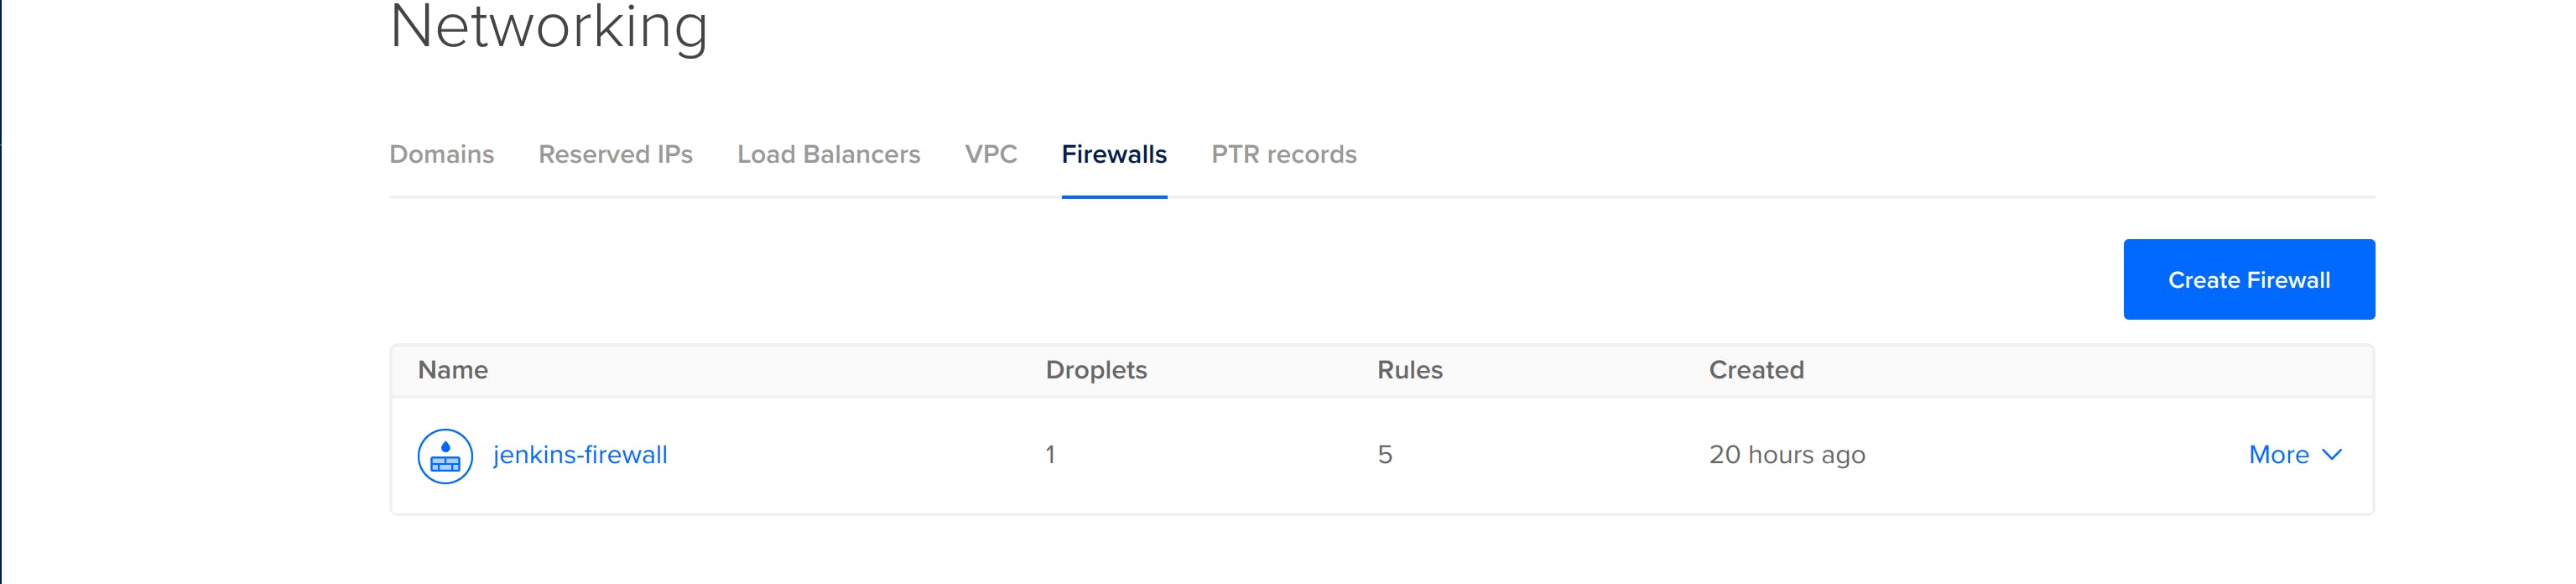
Create a firewall
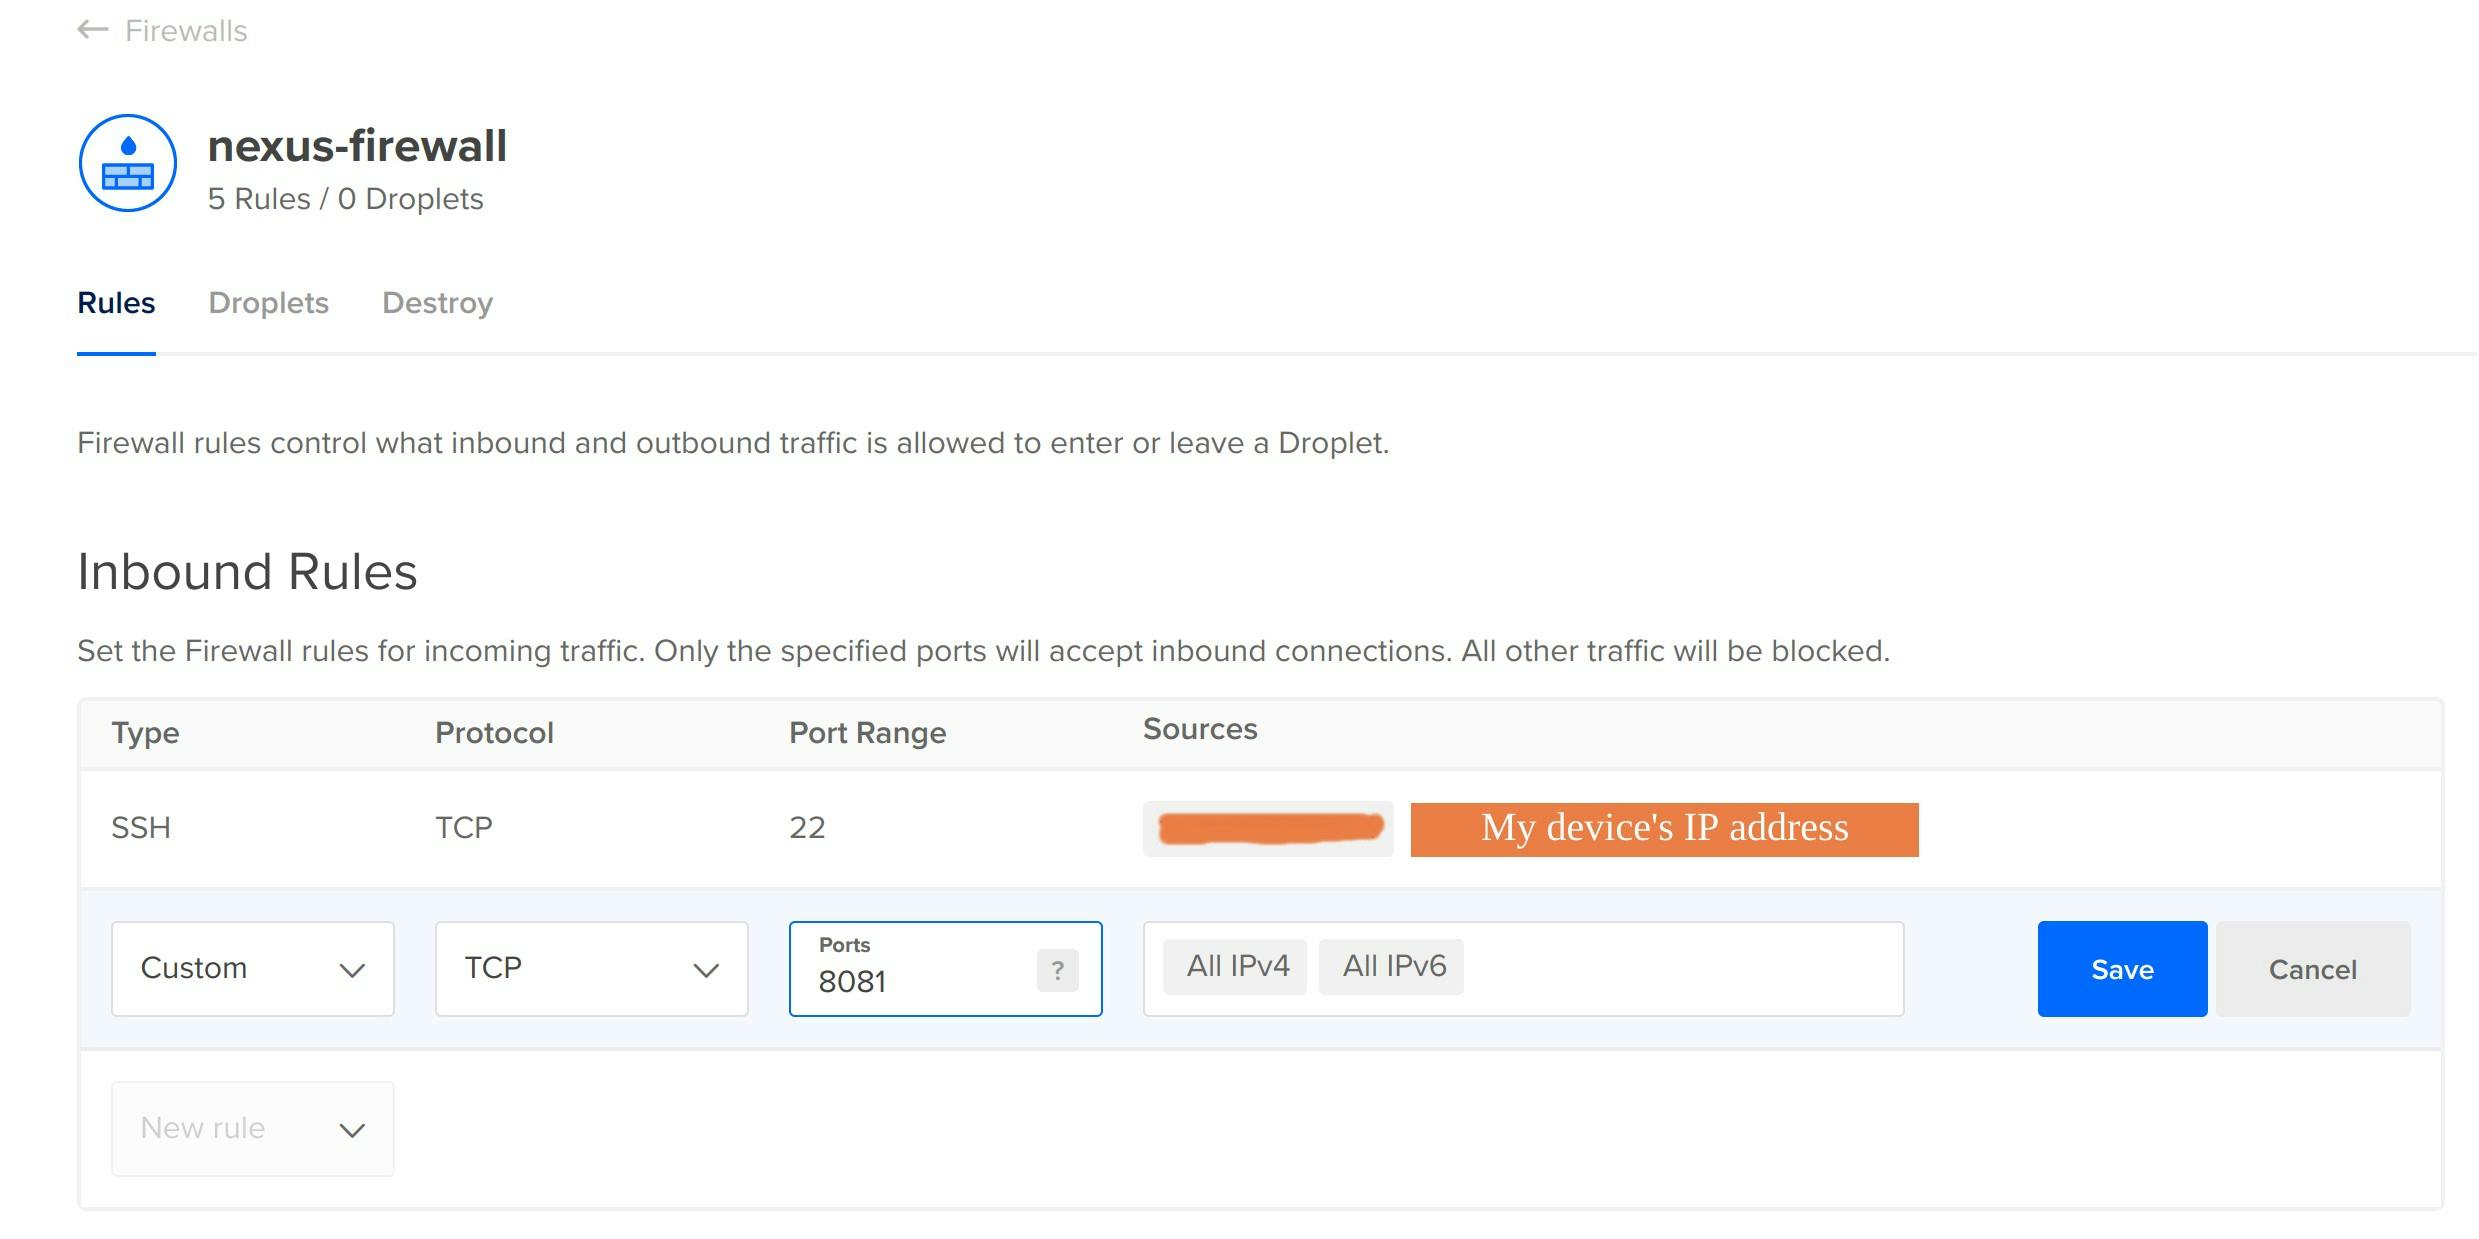
A firewall keeps your machine protected from unwanted access. Using it, you can control which devices can access which port.
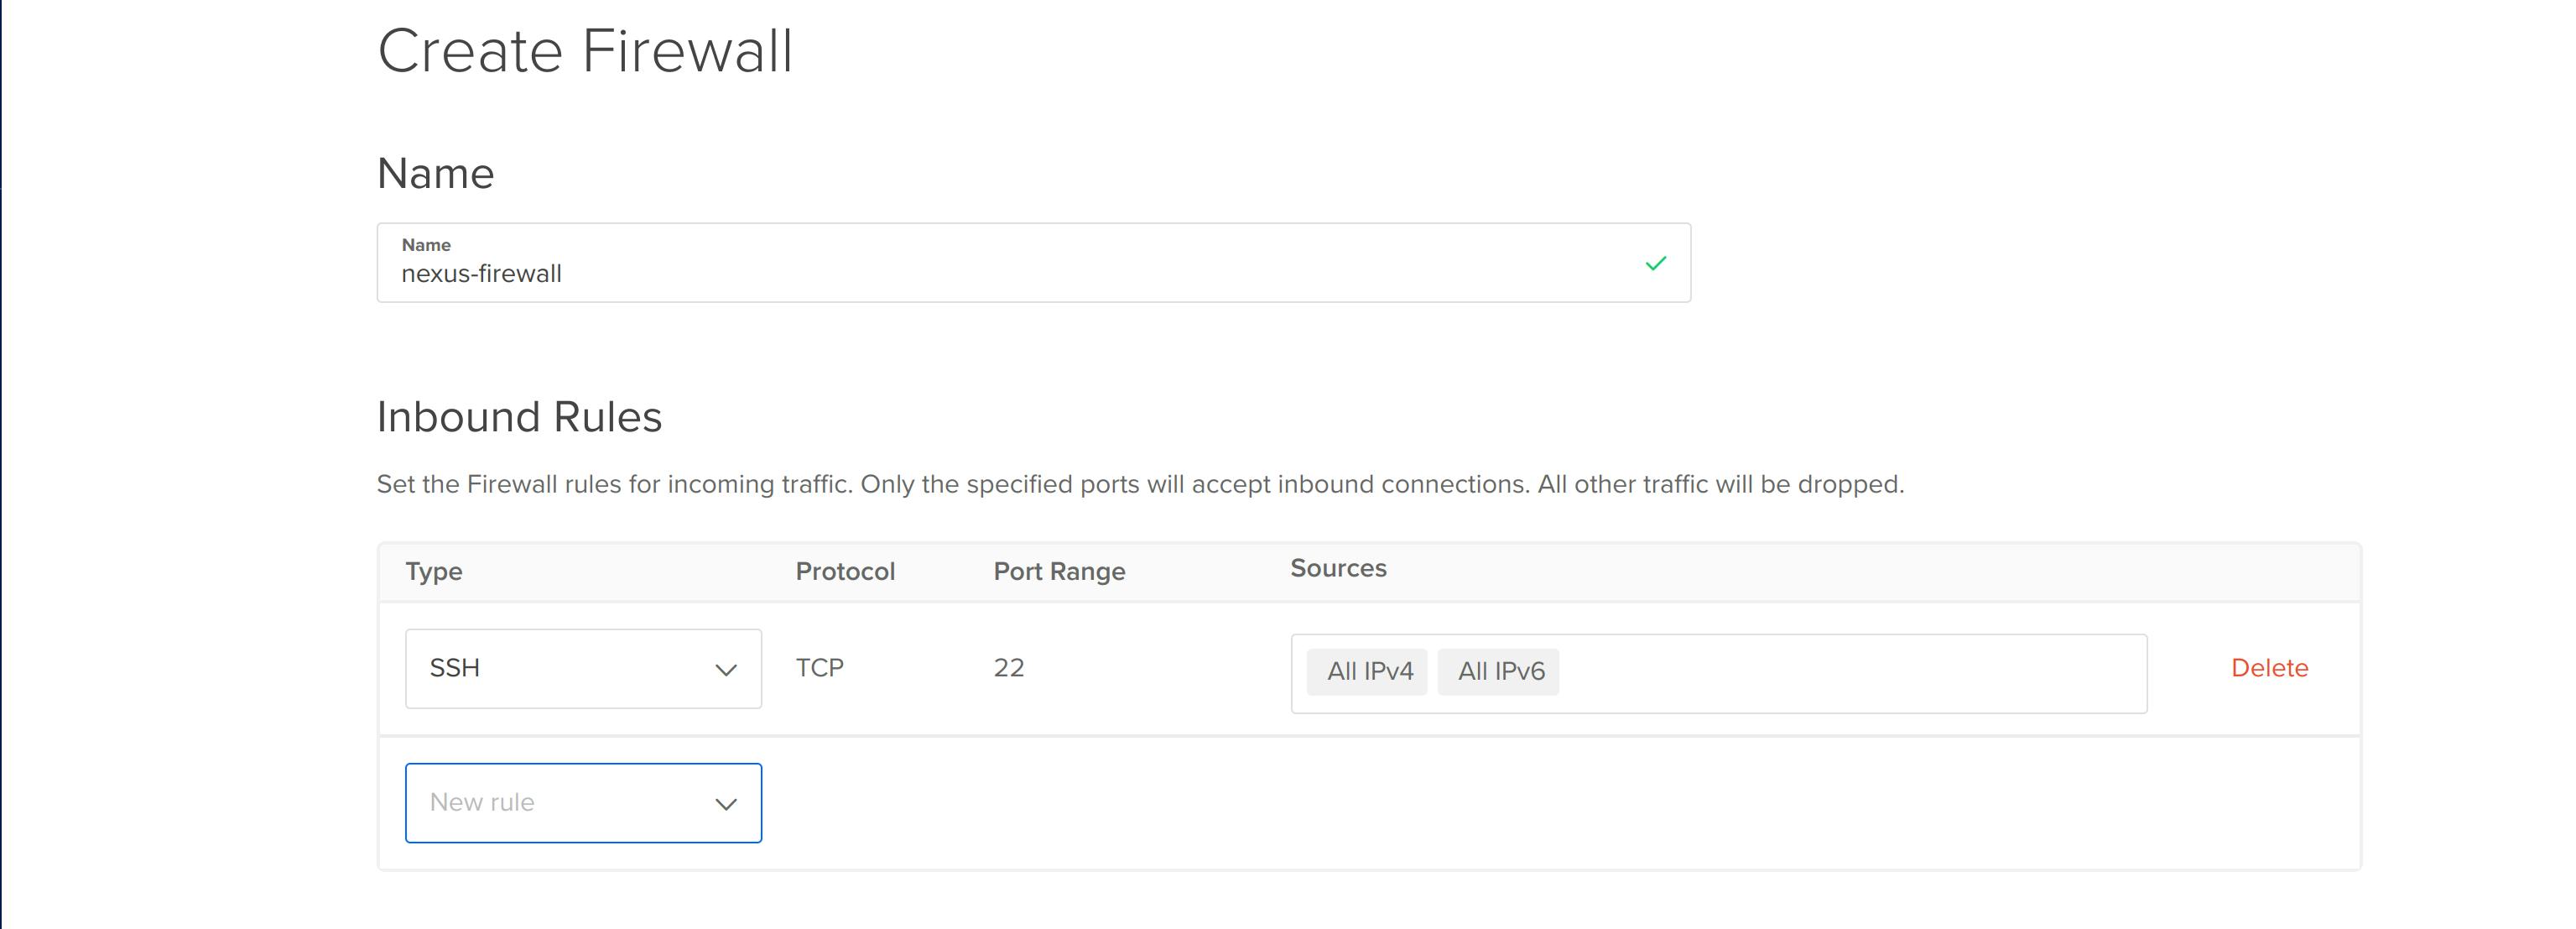
- Create a firewall
- Inbound Rules: Name it nexus-firewall and configure inbound rules. At port 22, on which you can access the nexus-server terminal, I suggest you allow access only to your device. Remove All IPv4 and IPv5 from the sources and add the IP address of your device.
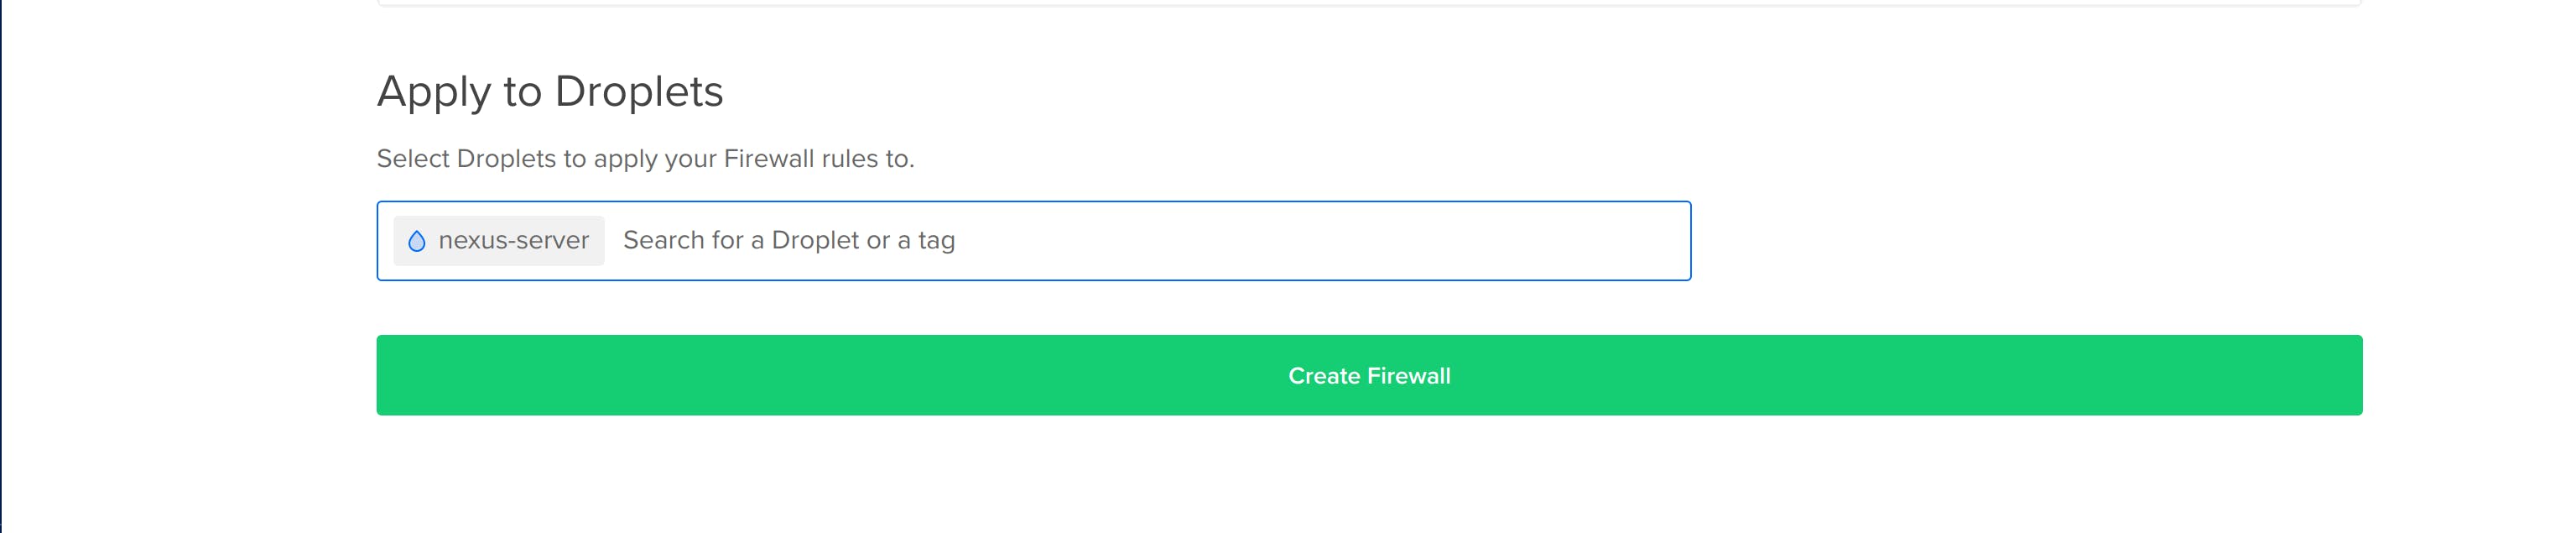
- Apply to Droplets: Add the nexus-server droplet to this list. Now, the nexus-firewall rules are applied to this droplet.
- Create a firewall
SSH into the server
Copy the IP address of the nexus-server droplet and ssh into it from your local terminal.
ssh root@64.227.128.95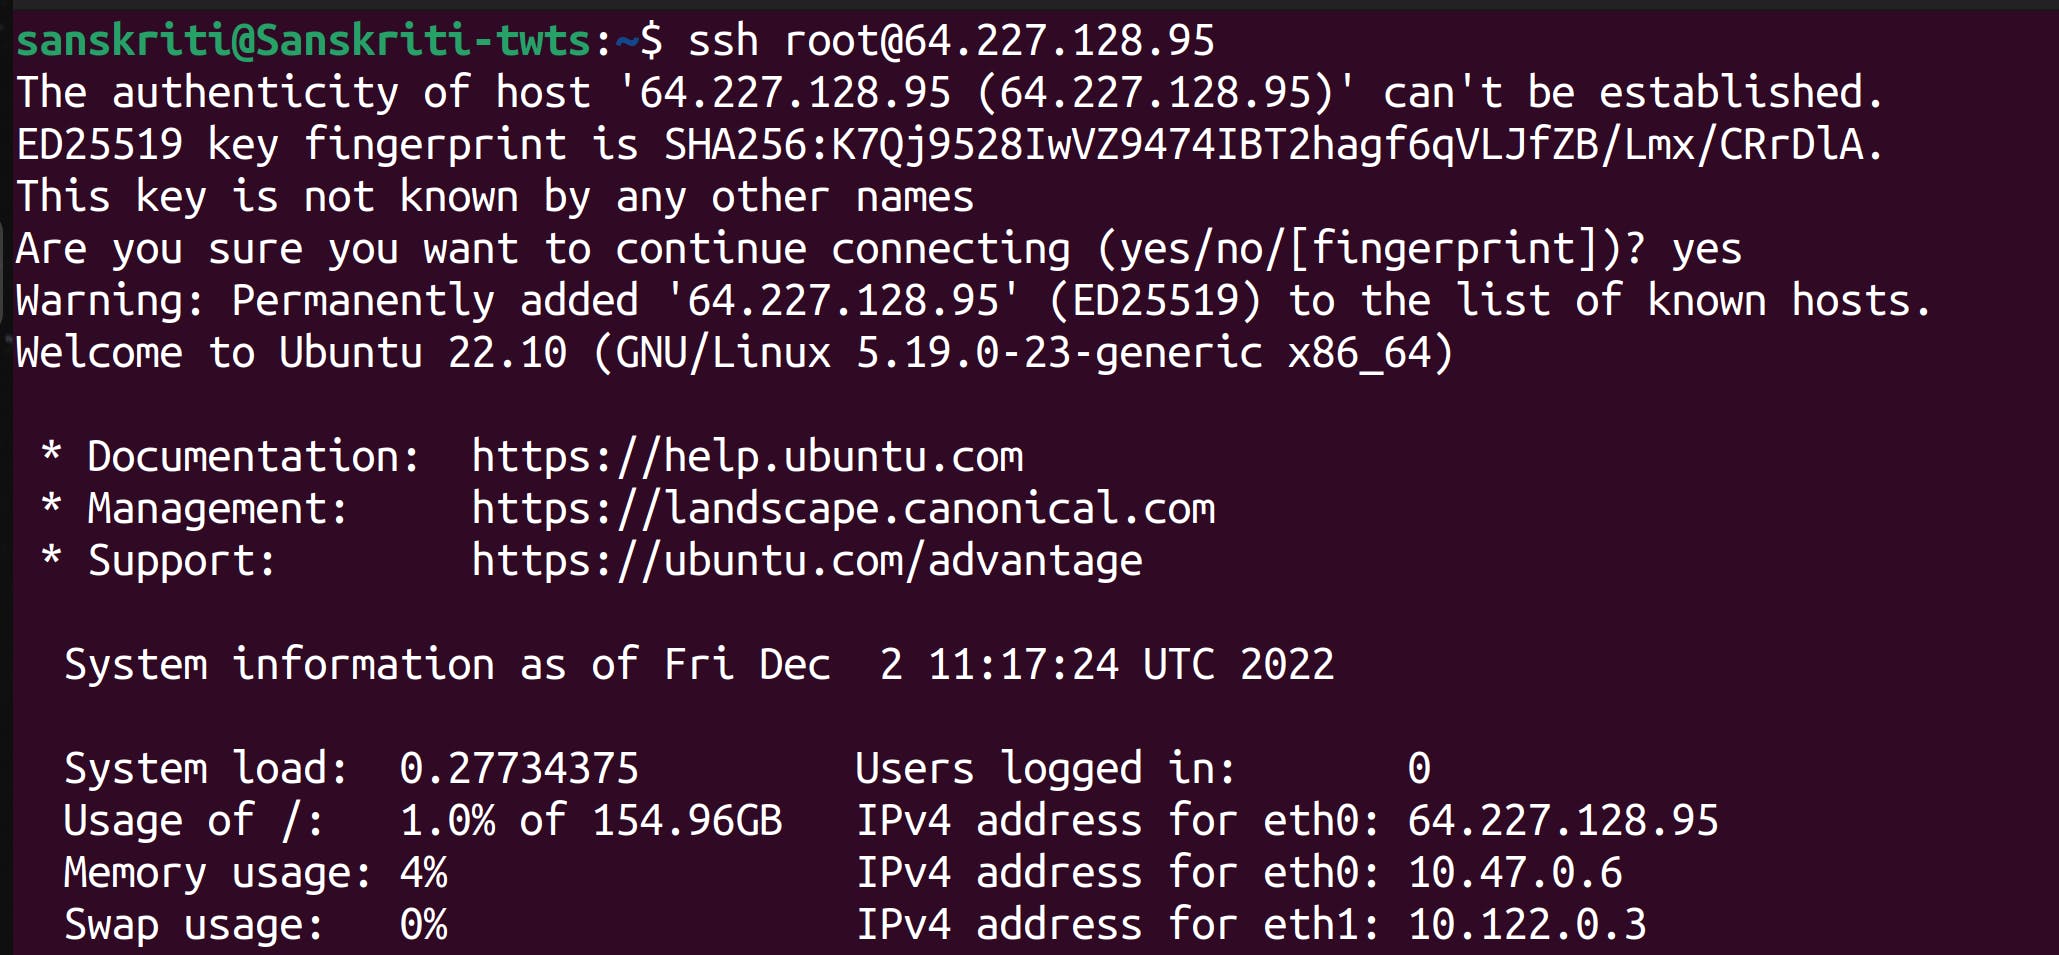 We can run commands on the server. I like to beautify the prompt, so I'll execute the following command:
 echo 'PS1="\[\e]0;\u@\h: \w\a\]${debian_chroot:+($debian_chroot)}\[\033[01;32m\]\u@\h\[\033[00m\]:\[\033[01;34m\]\w\[\033[00m\]\$ "' >> .bashrc && source .bashrcInstall docker
Update the apt package manager and install docker on your server.
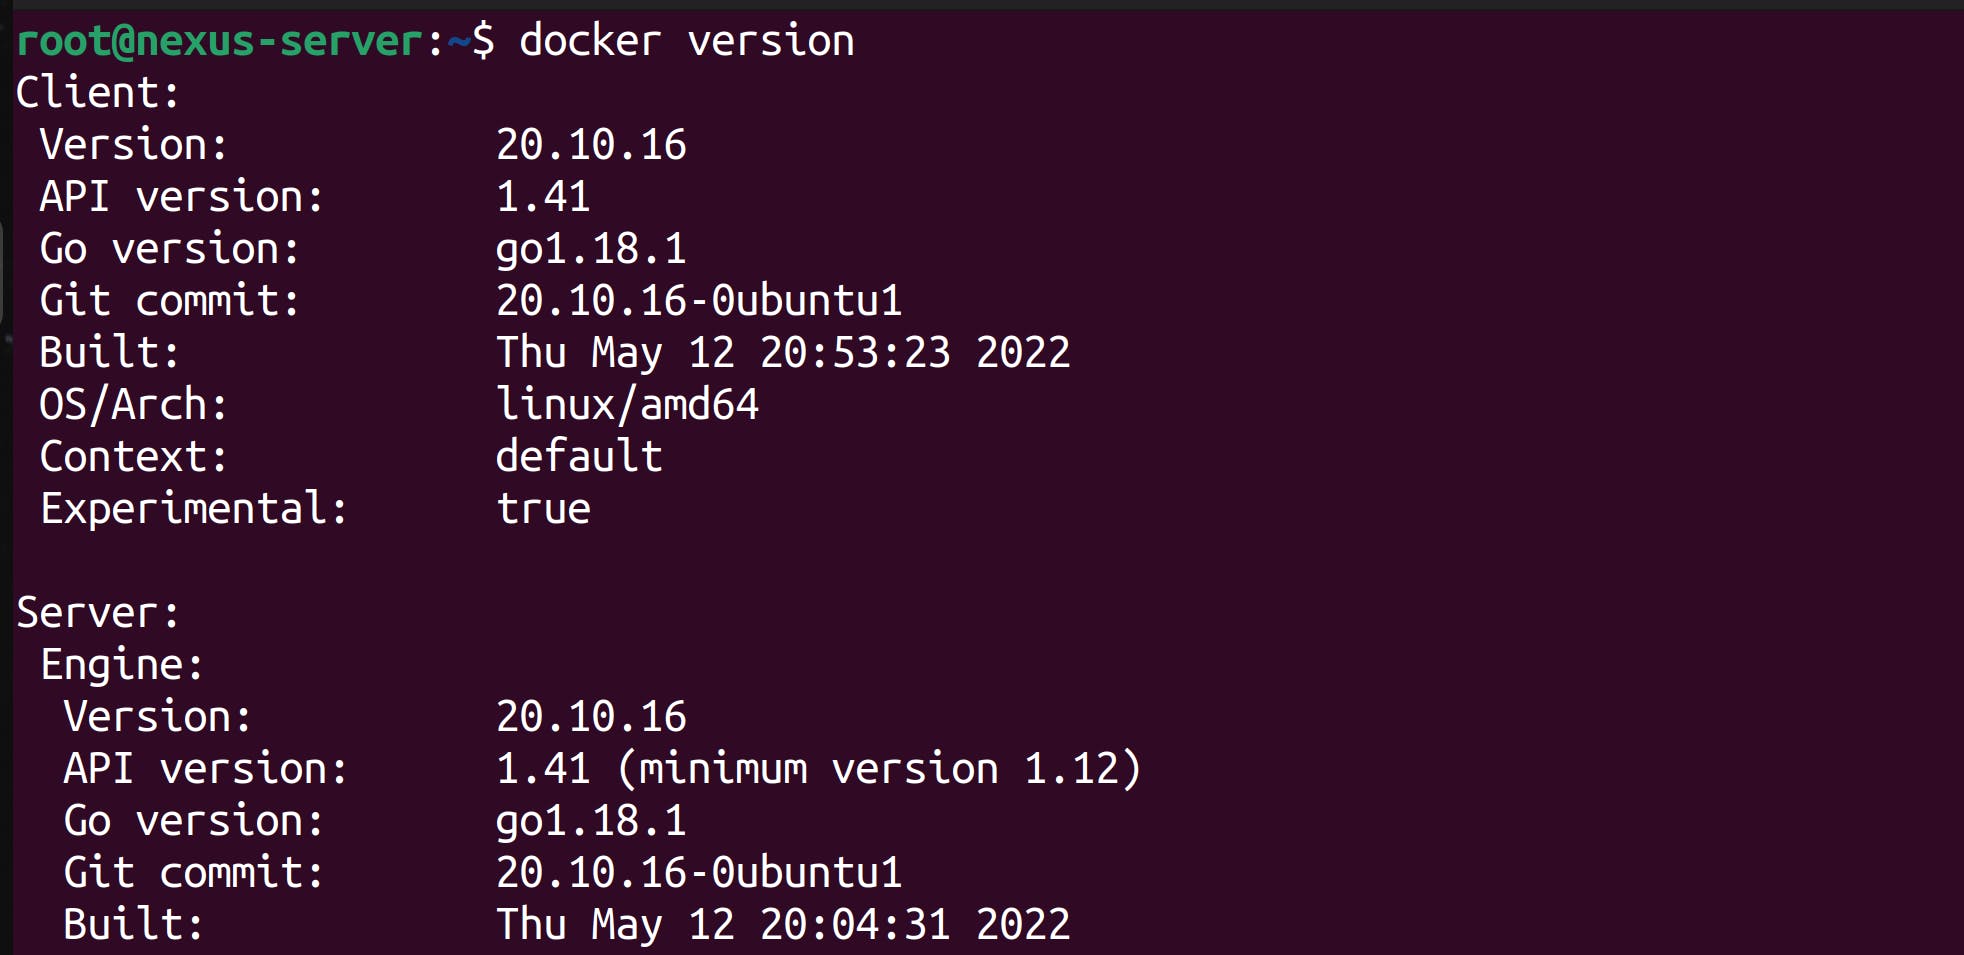
apt update -y && apt install docker.io -y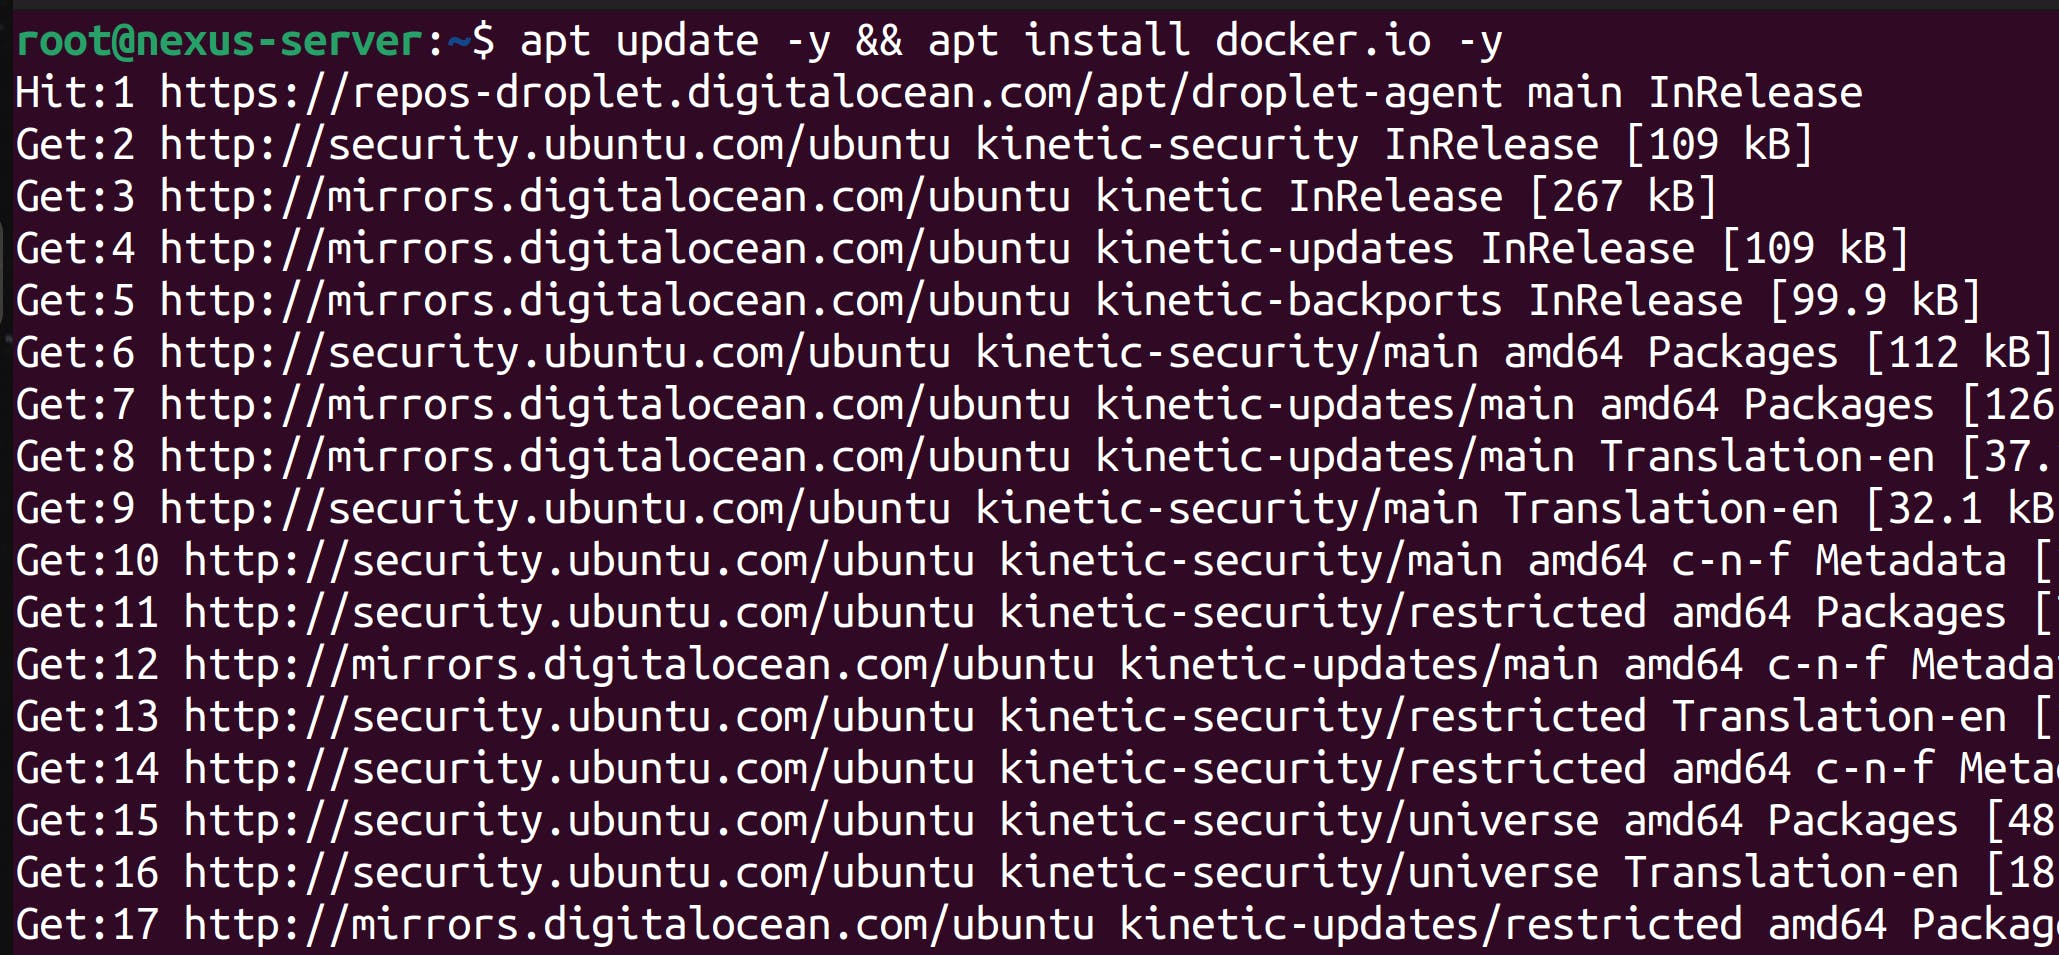 Docker installed!
Run Nexus
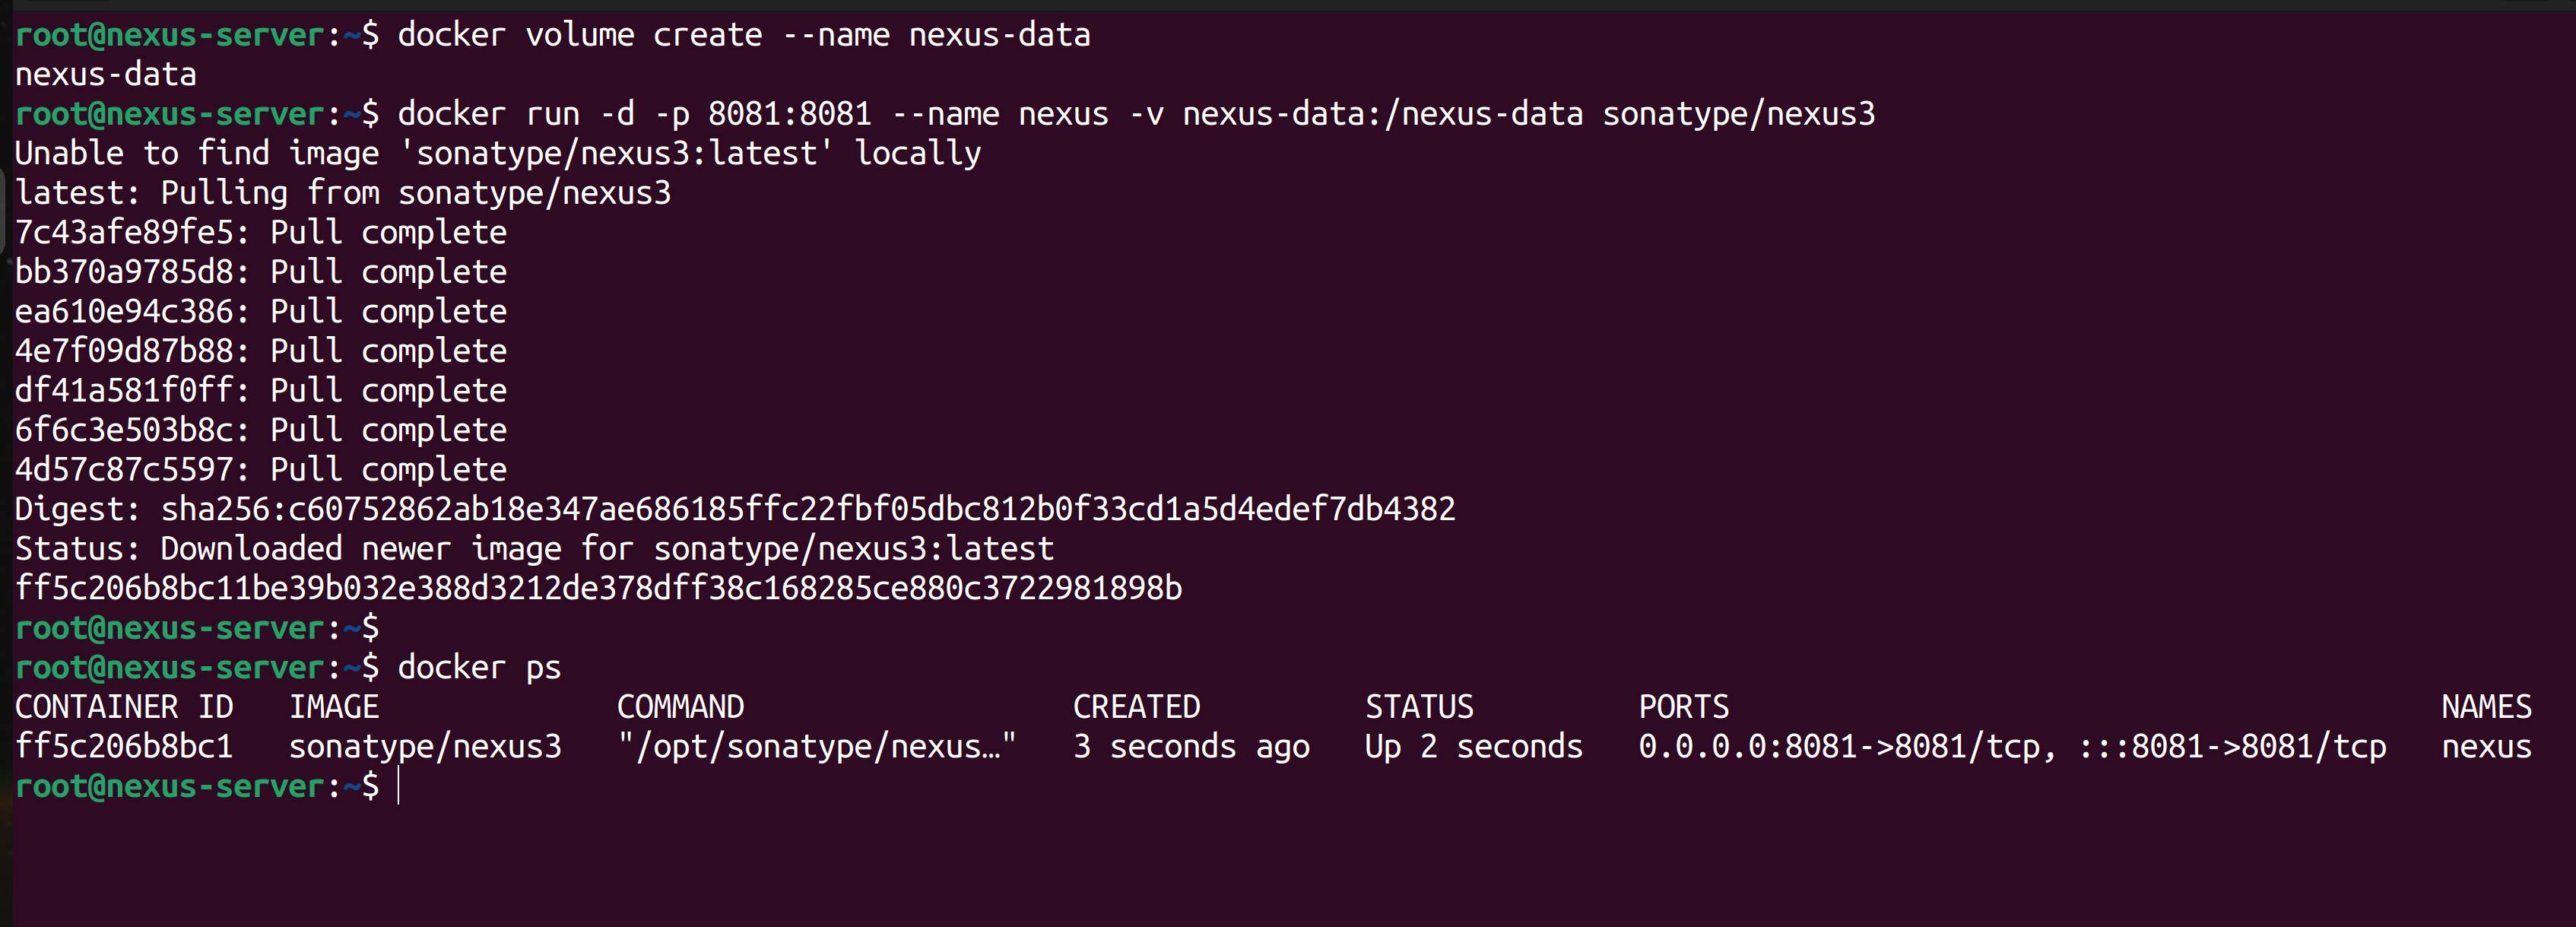
Run the nexus application following the official documentation. We are creating a persistent volume and attaching it to the container. This way, our data won't be lost even if the container fails.
docker volume create --name nexus-data docker run -d -p 8081:8081 --name nexus -v nexus-data:/nexus-data sonatype/nexus3As you can see, the nexus application is running on port 8081.
Configure the nexus-firewall
Configure the nexus-firewall. To access the nexus application on port 8081 of the nexus-server droplet, you have to configure the firewall. Permit to access the application running on port 8081.
Access Nexus application
Go to your browser and enter ipAddressofNexusServer:8081. As you can see below, the nexus application is up and running.
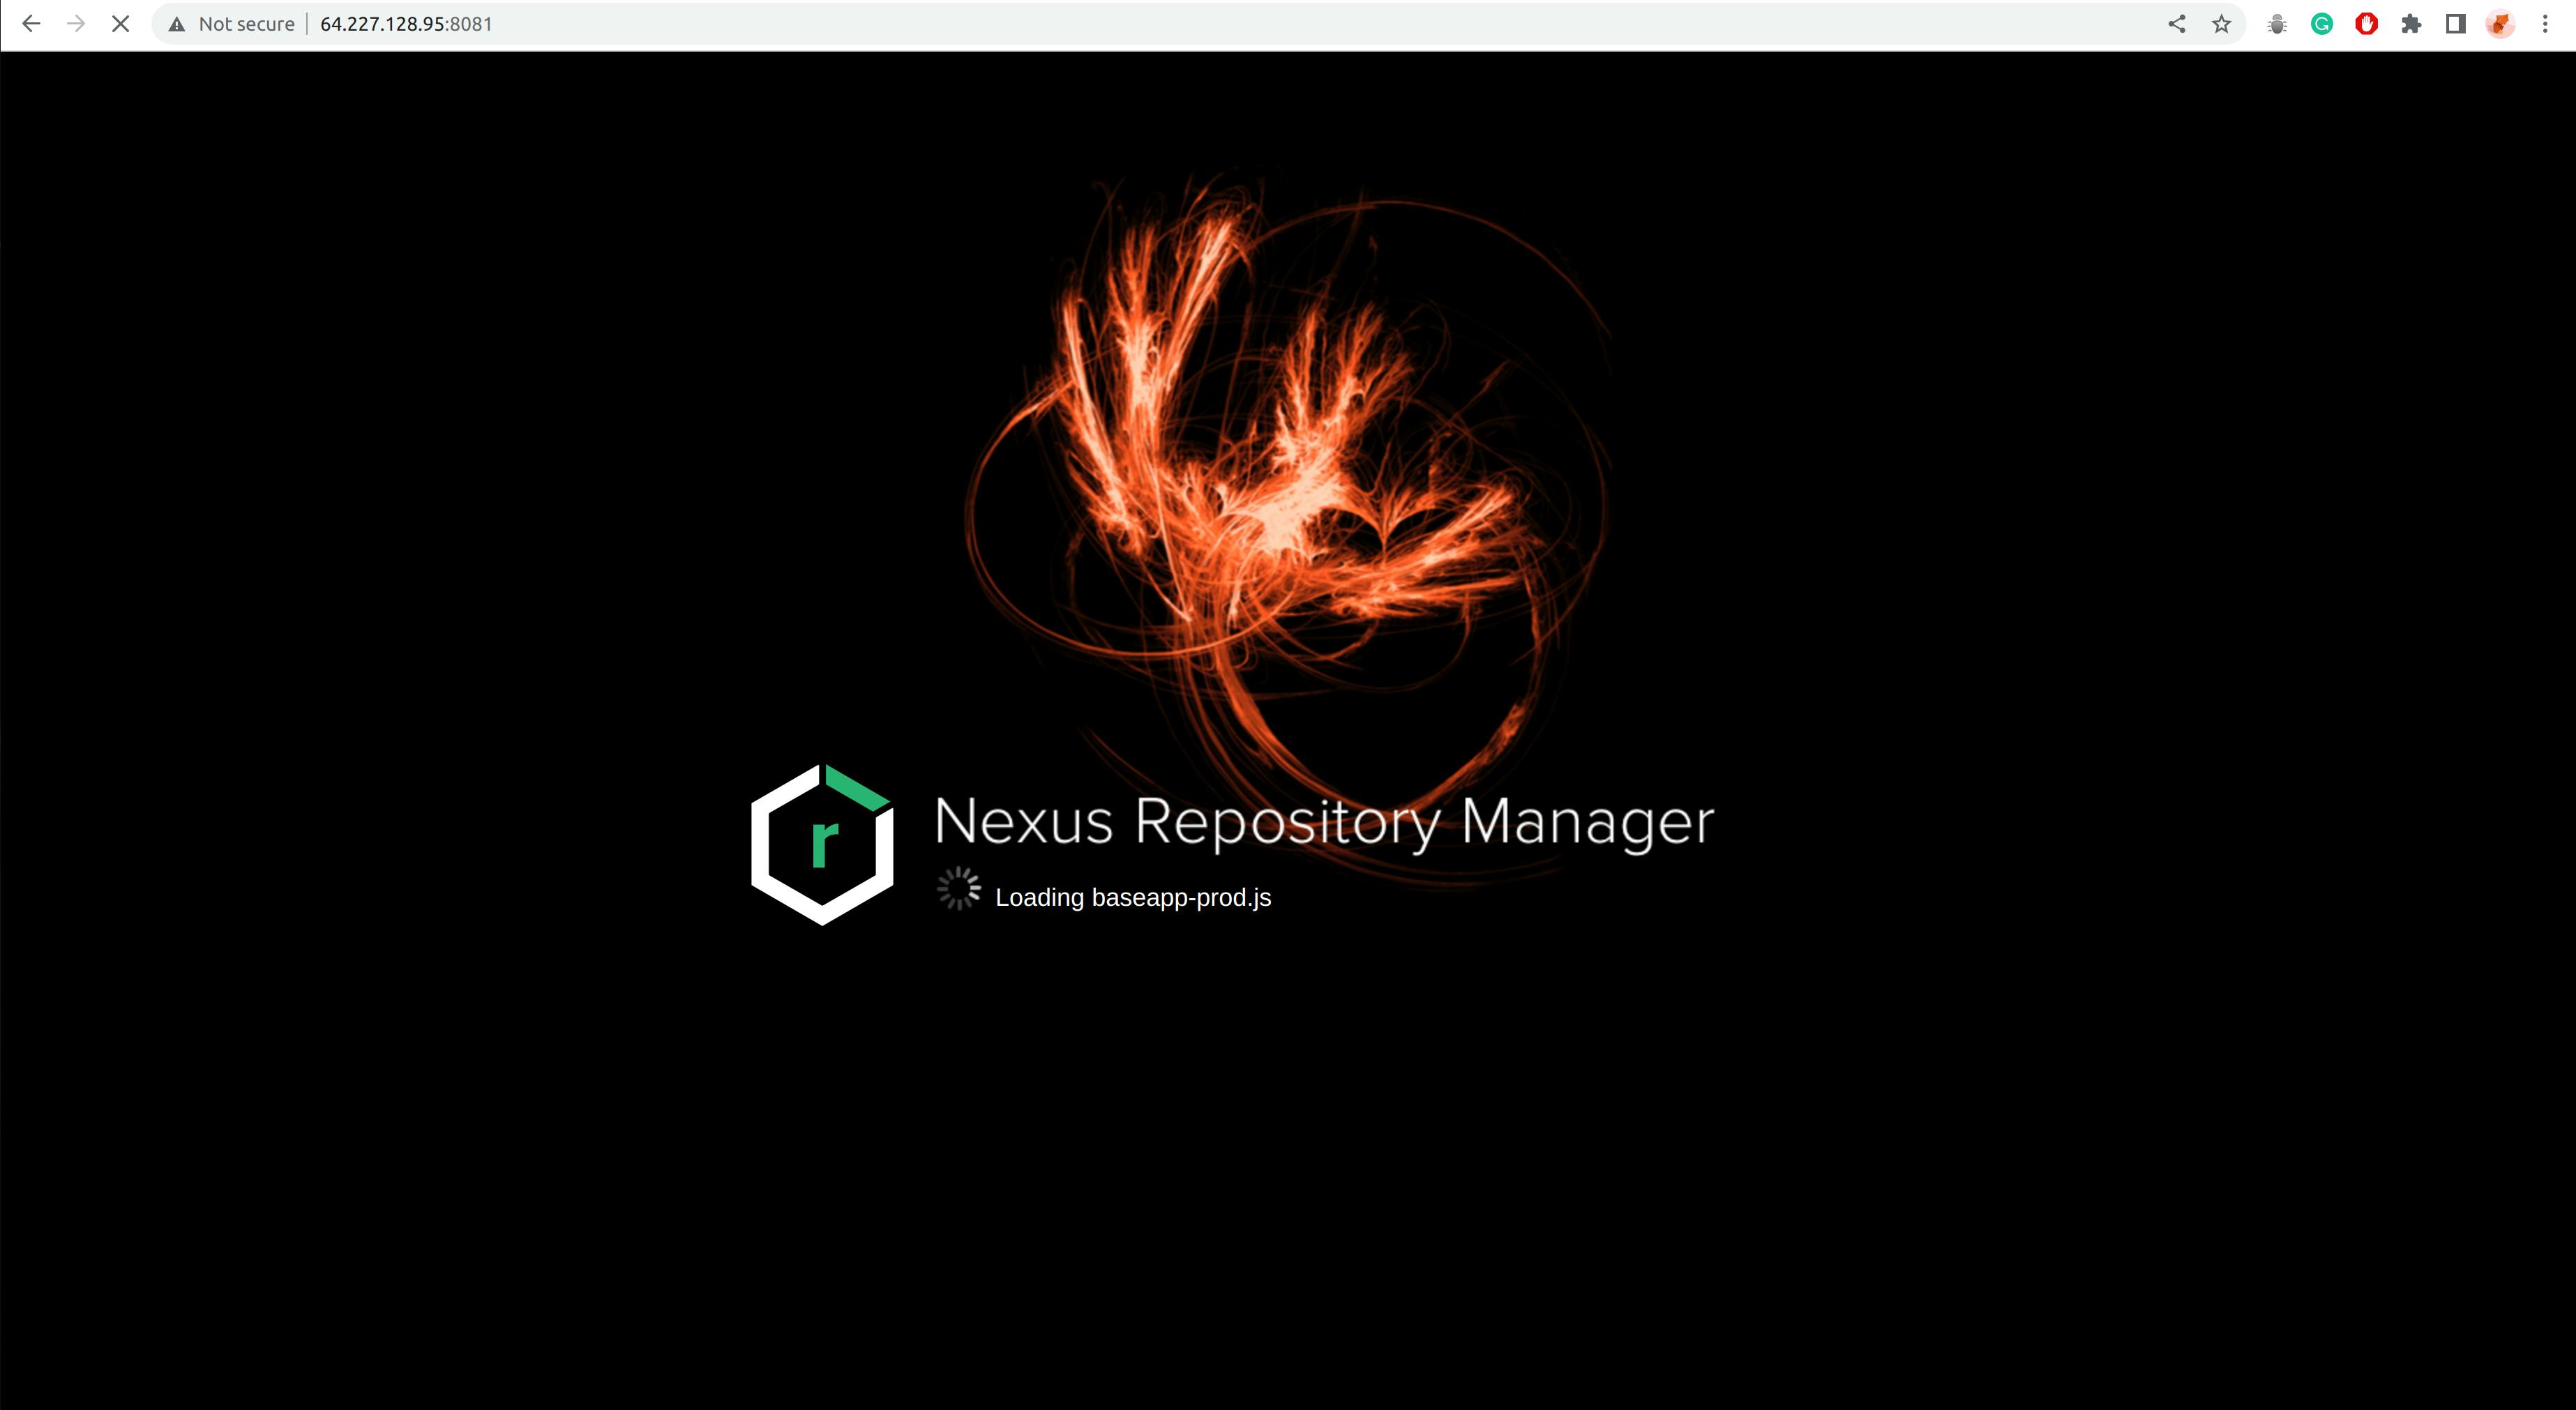
Quick Nexus Setup
This screen will load up.

- Get the password from /nexus-data/admin.password files that is present in the nexus container.
docker exec -it nexus bash cat /nexus-data/admin.password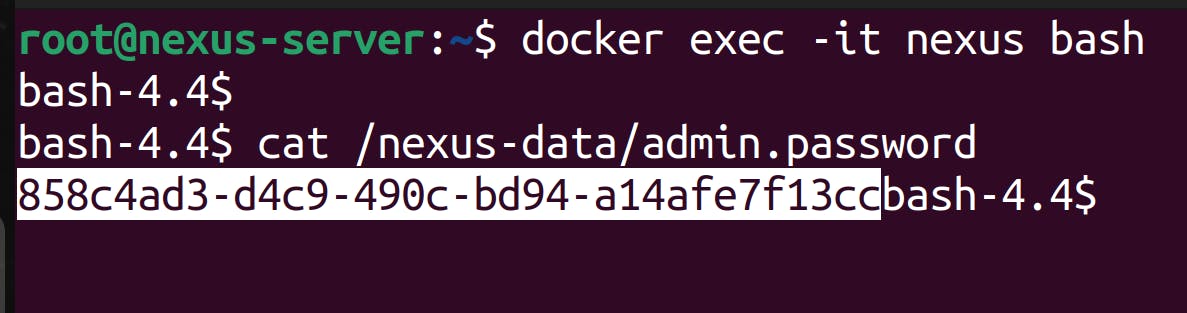
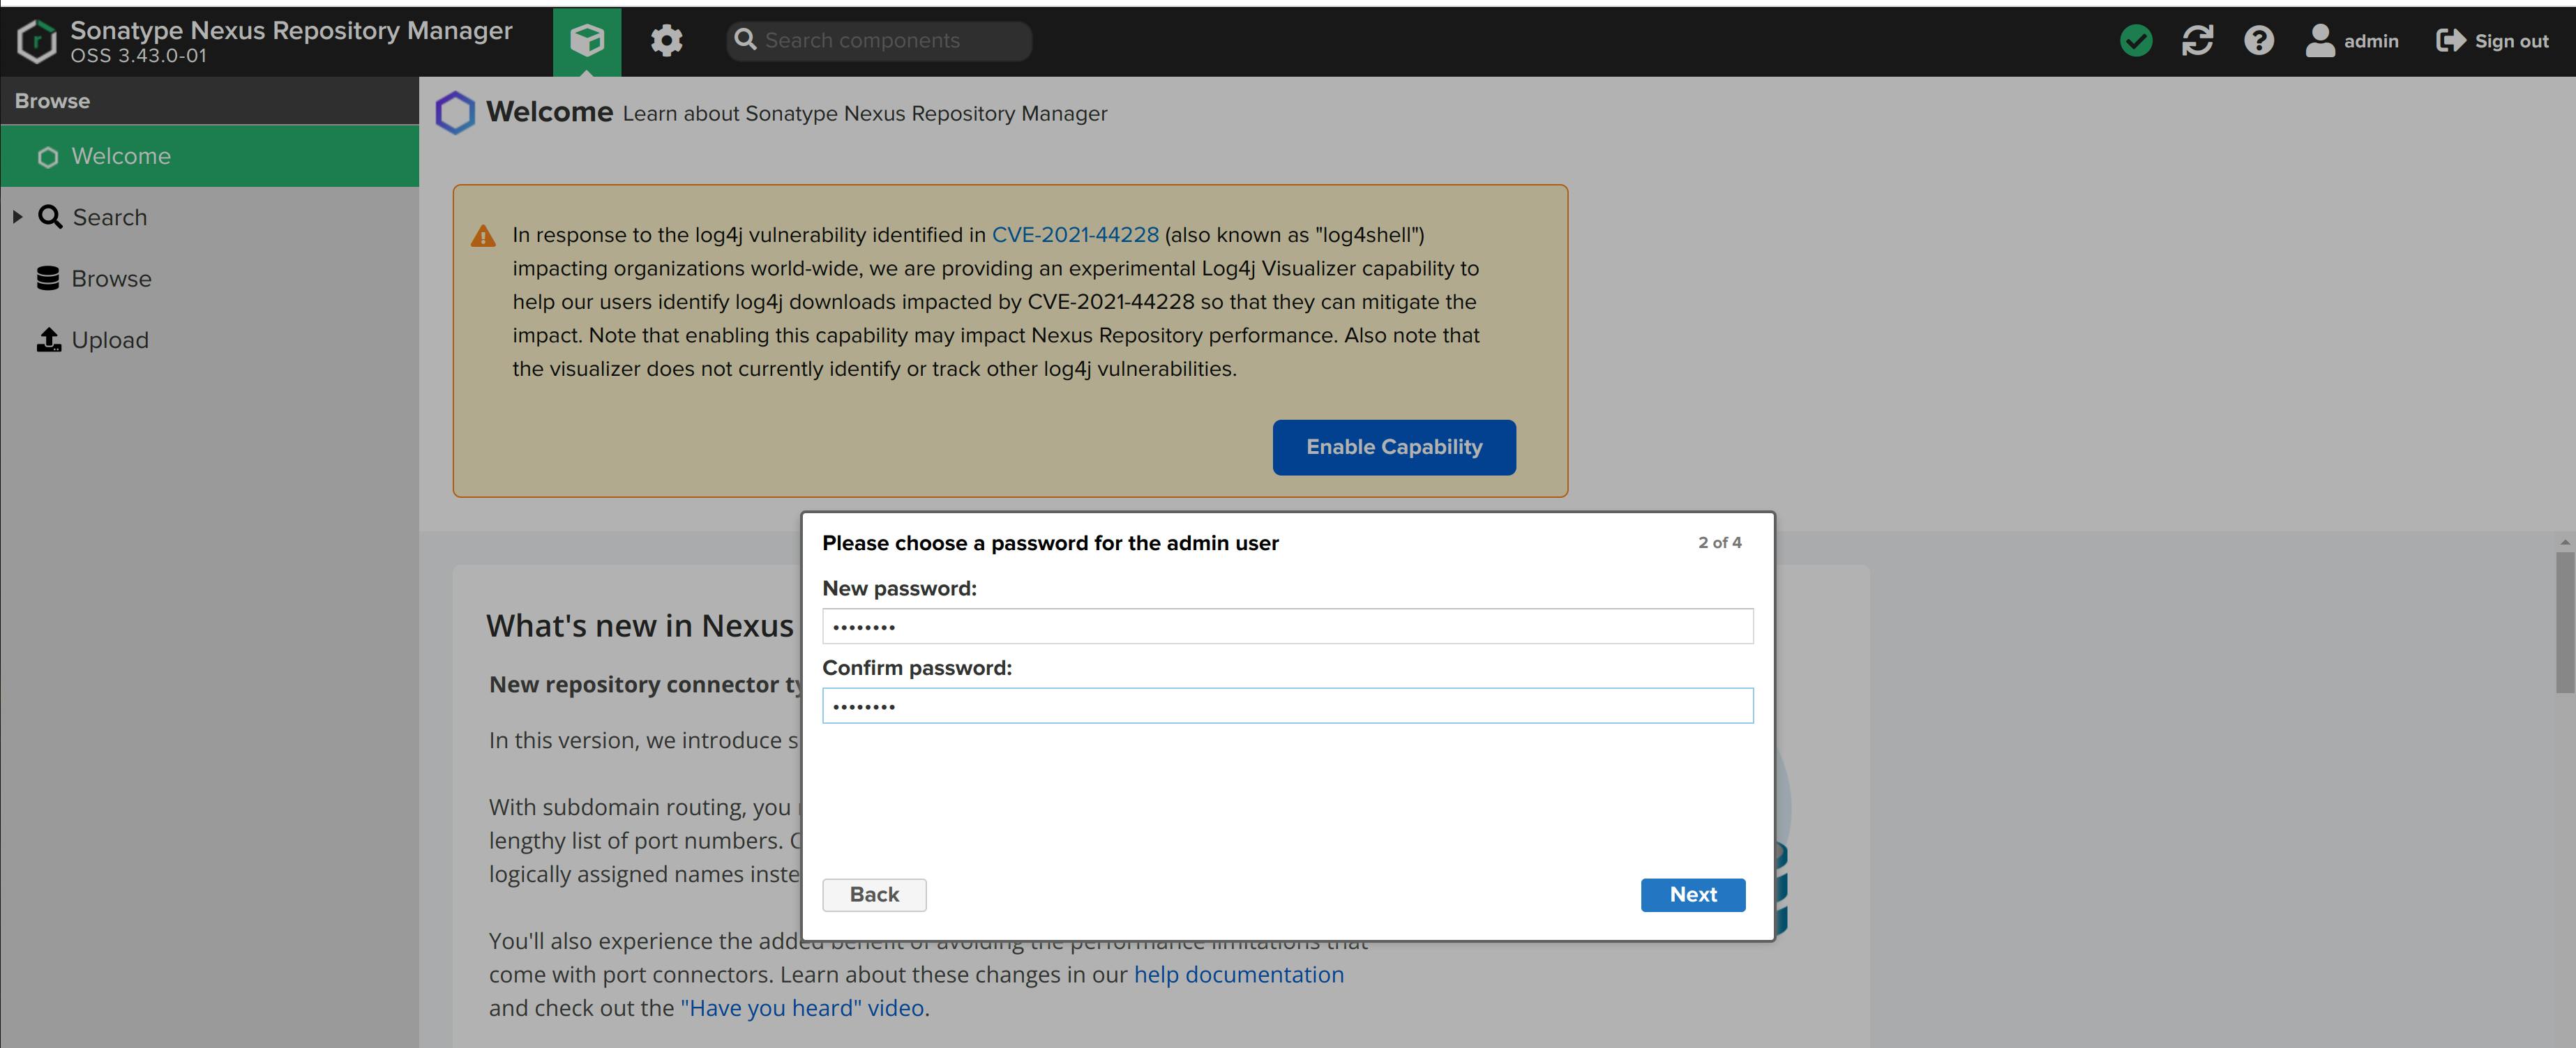
- Enter the username and password. Click on Sign-In button. Now, create a new password for the admin user.
- Disable anonymous access

In the below image, you can observe two green boxes. The first box is cube-shaped, and the second is like a setting. They provide a user view and an admin view, respectively. We'll use the admin view to make changes in the Nexus repository manager.
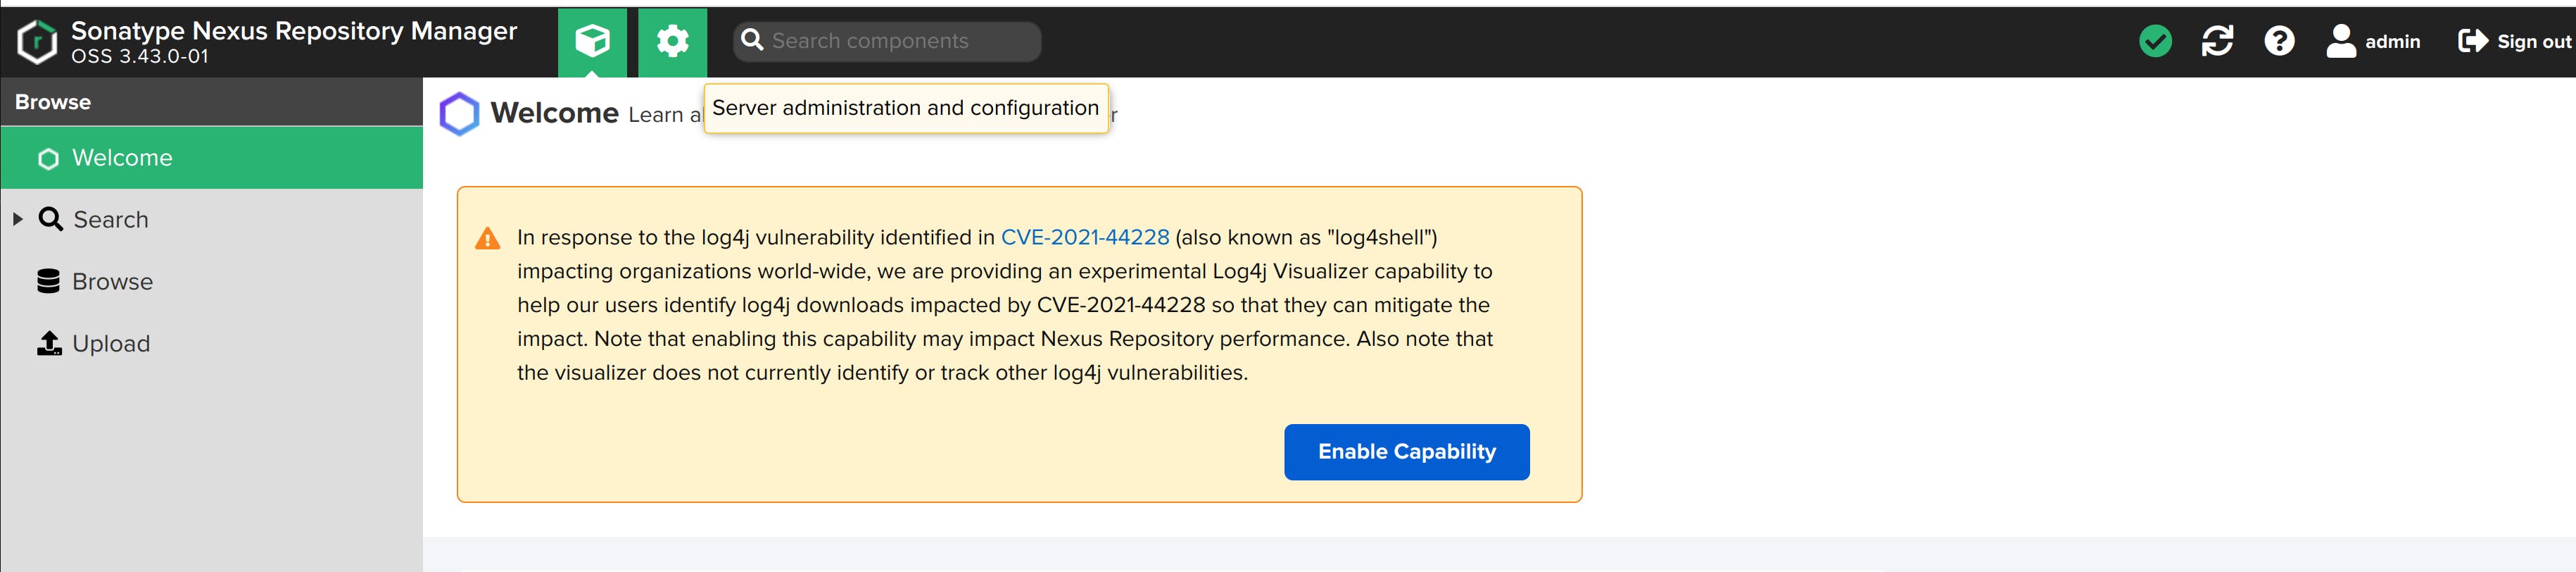
Nexus is all set up. Now, let's move on to the next step.
- Get the password from /nexus-data/admin.password files that is present in the nexus container.
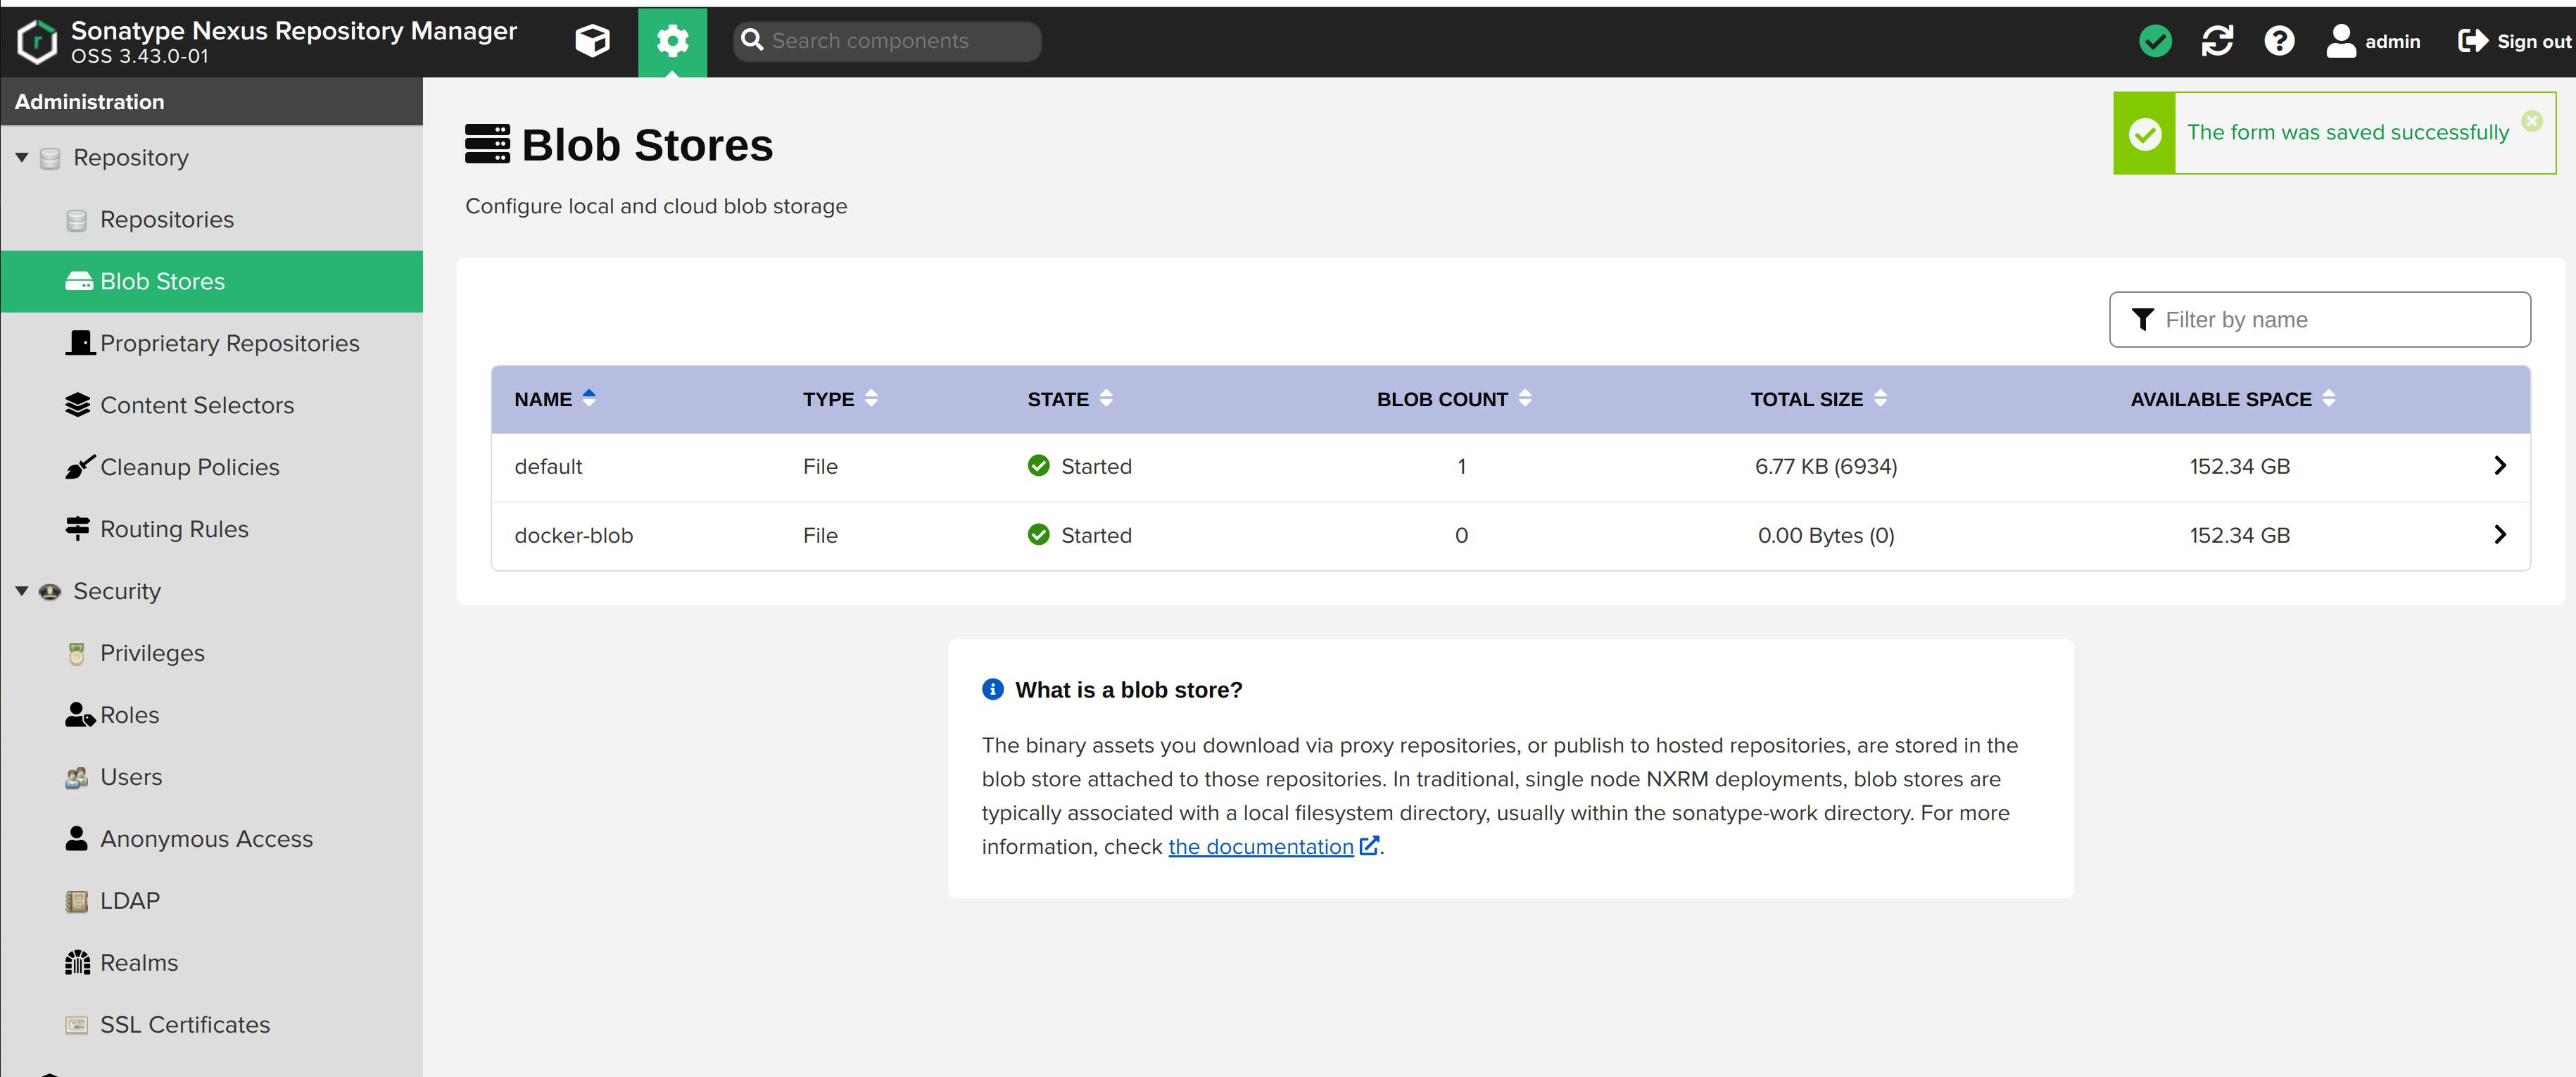
Blob Store
We need storage for the repository that we'll create. The blob store is used to store repository contents. We can also store contents in a default blob store. But for now, let's create one.
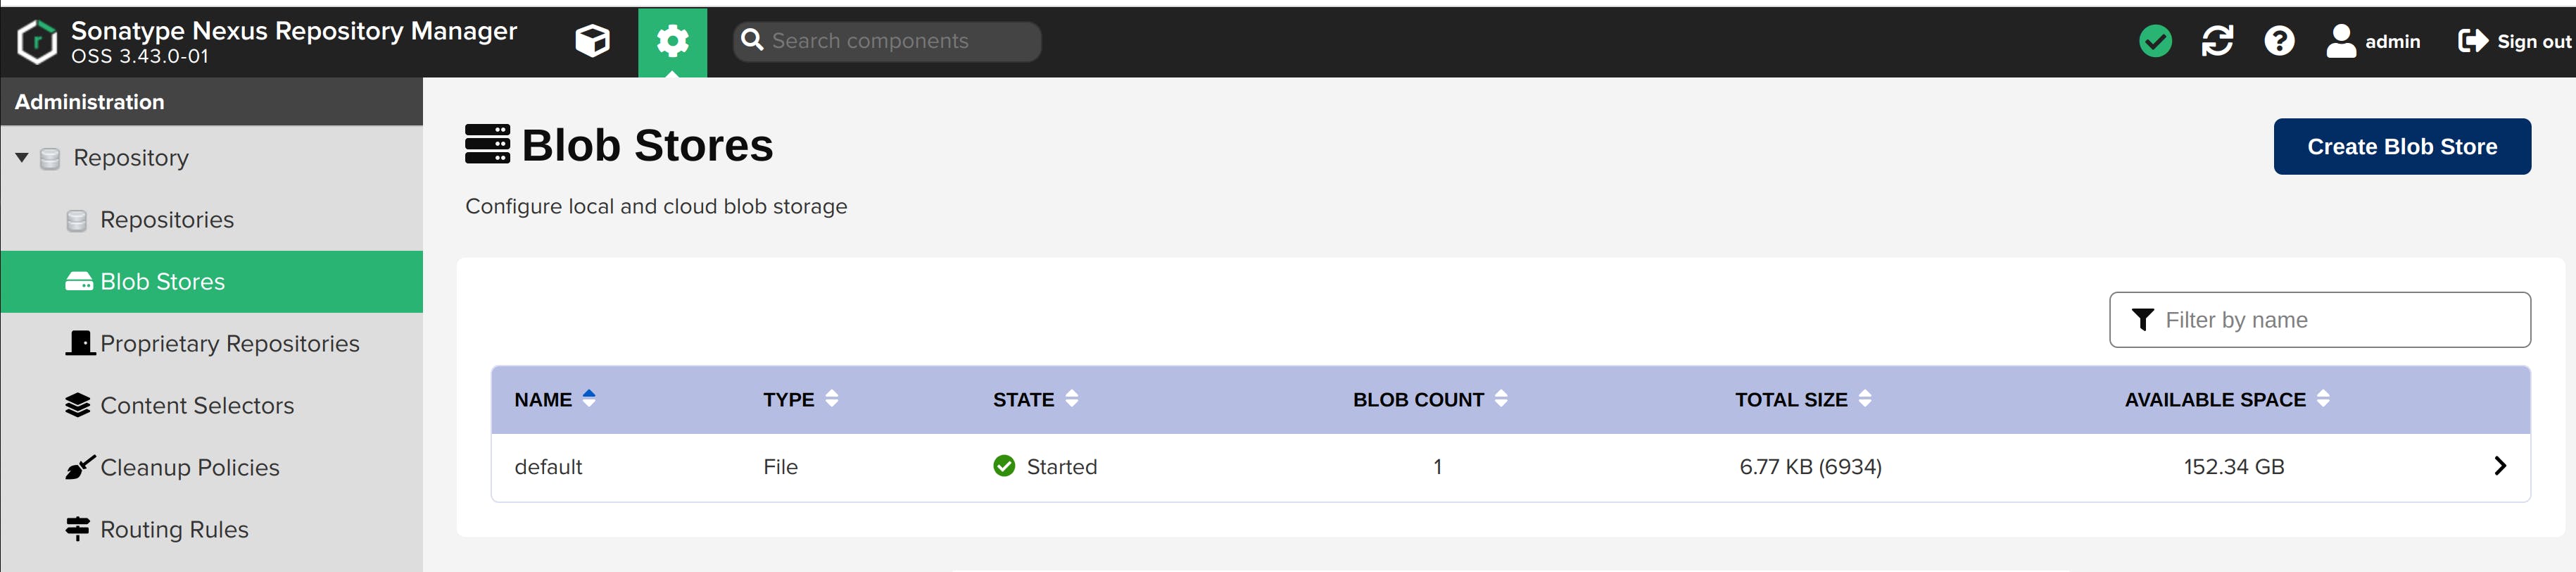
Navigate to Administration -> Repository -> Blob Stores.
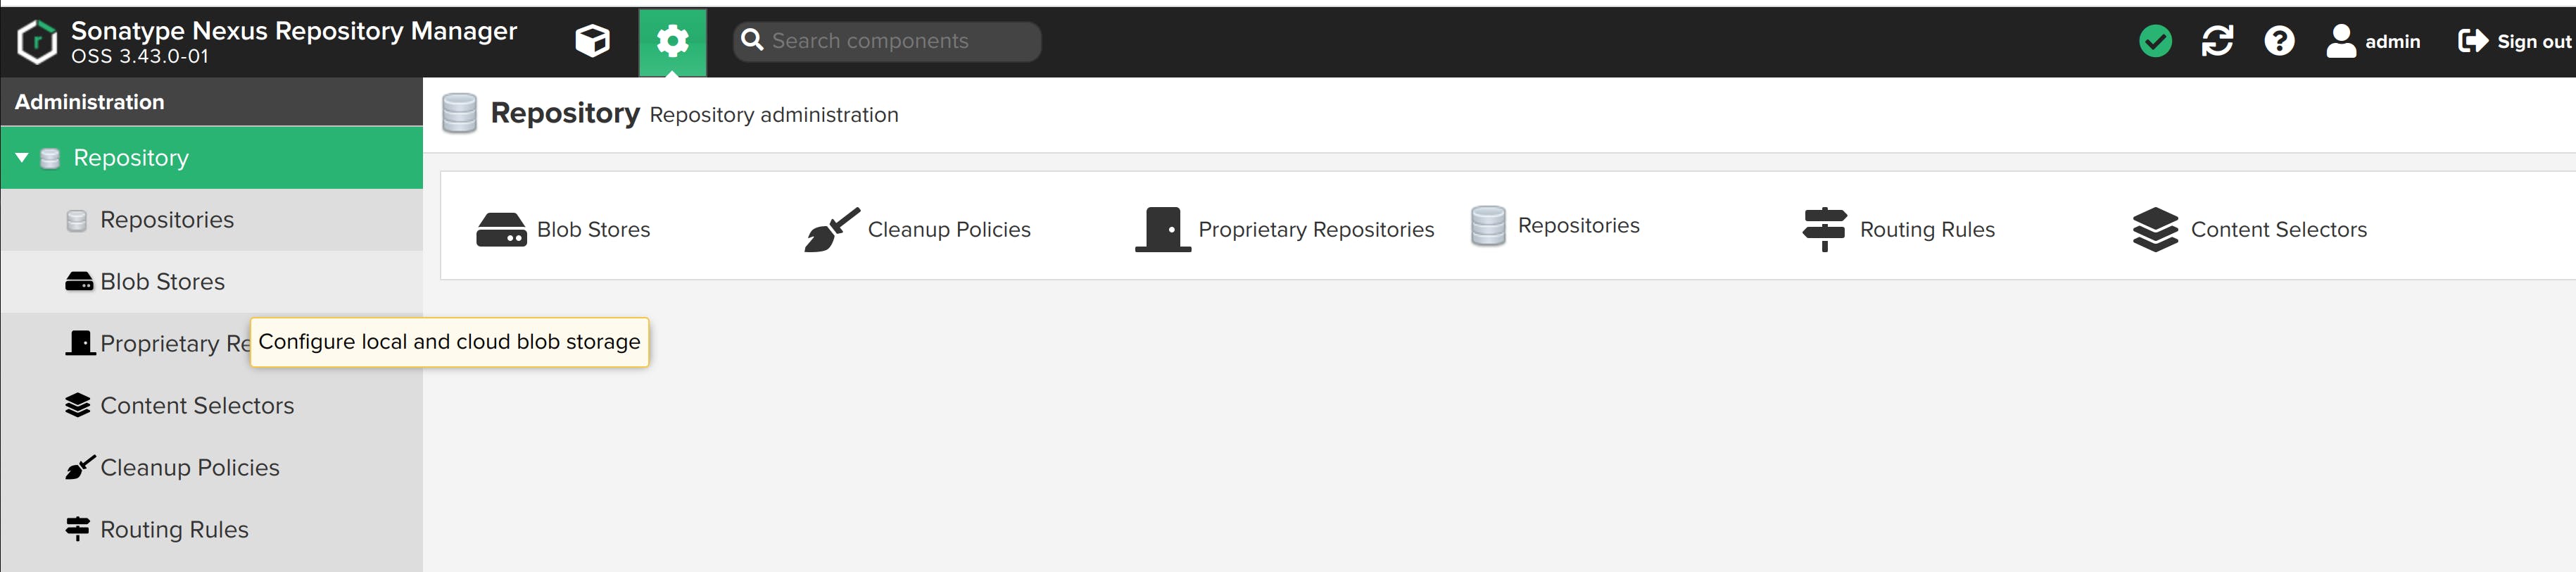
Click on Create Blob Store
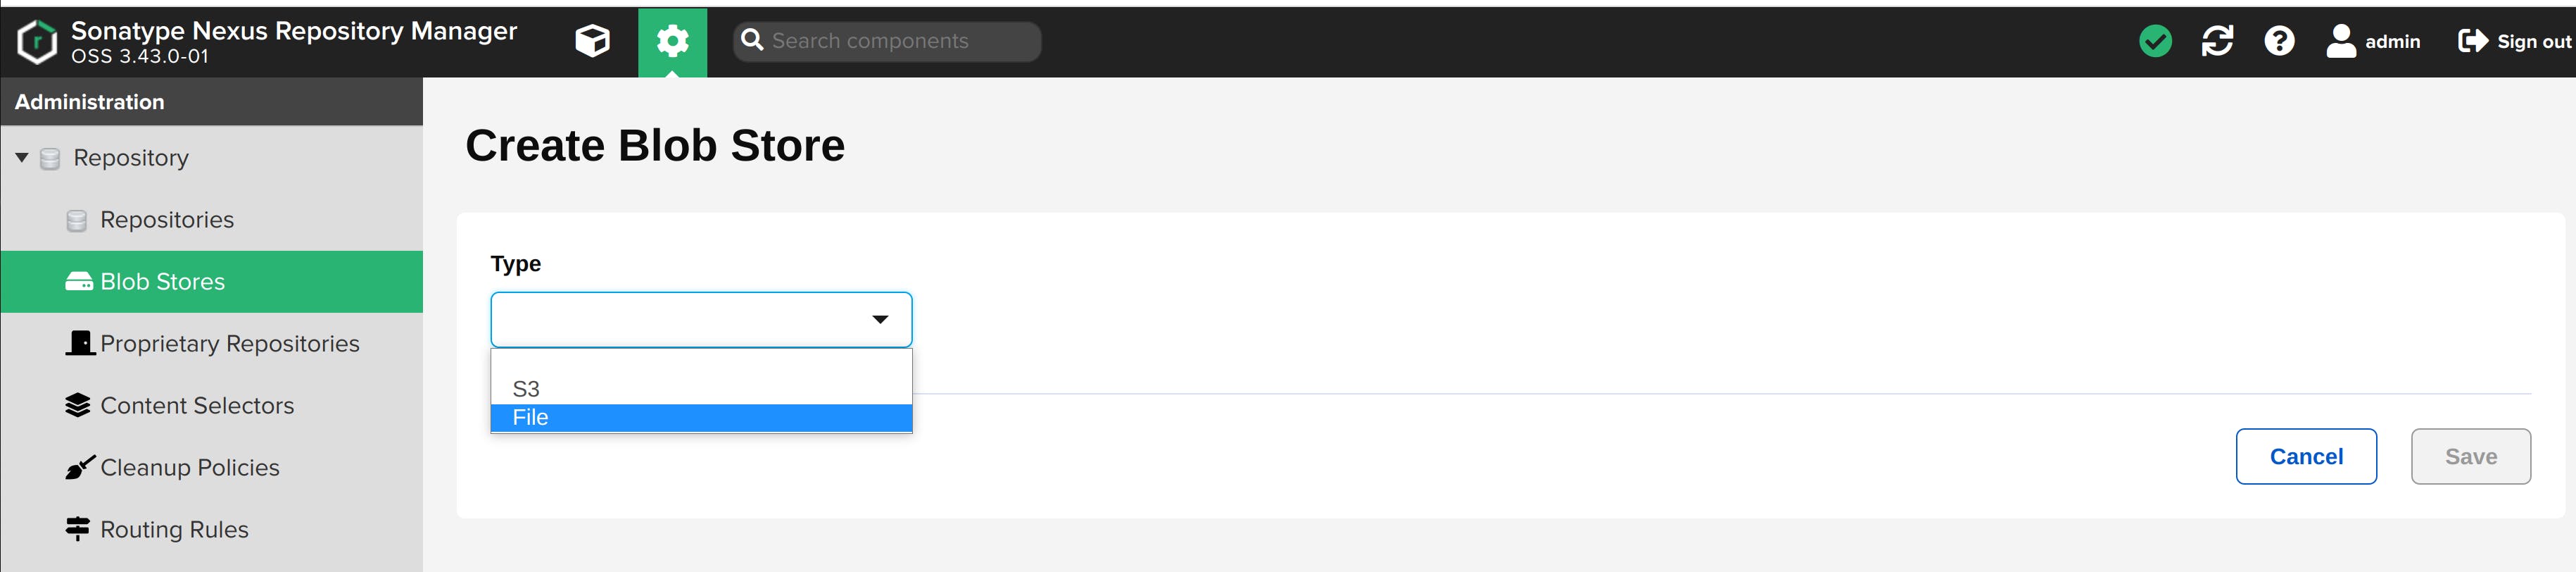
You'll see two option: - File - Store blobs in file system-based storage. - S3 - Store blobs in AWS S3 cloud storage. I'll choose File type for this project.
Name it docker-blob and click on the Save button.
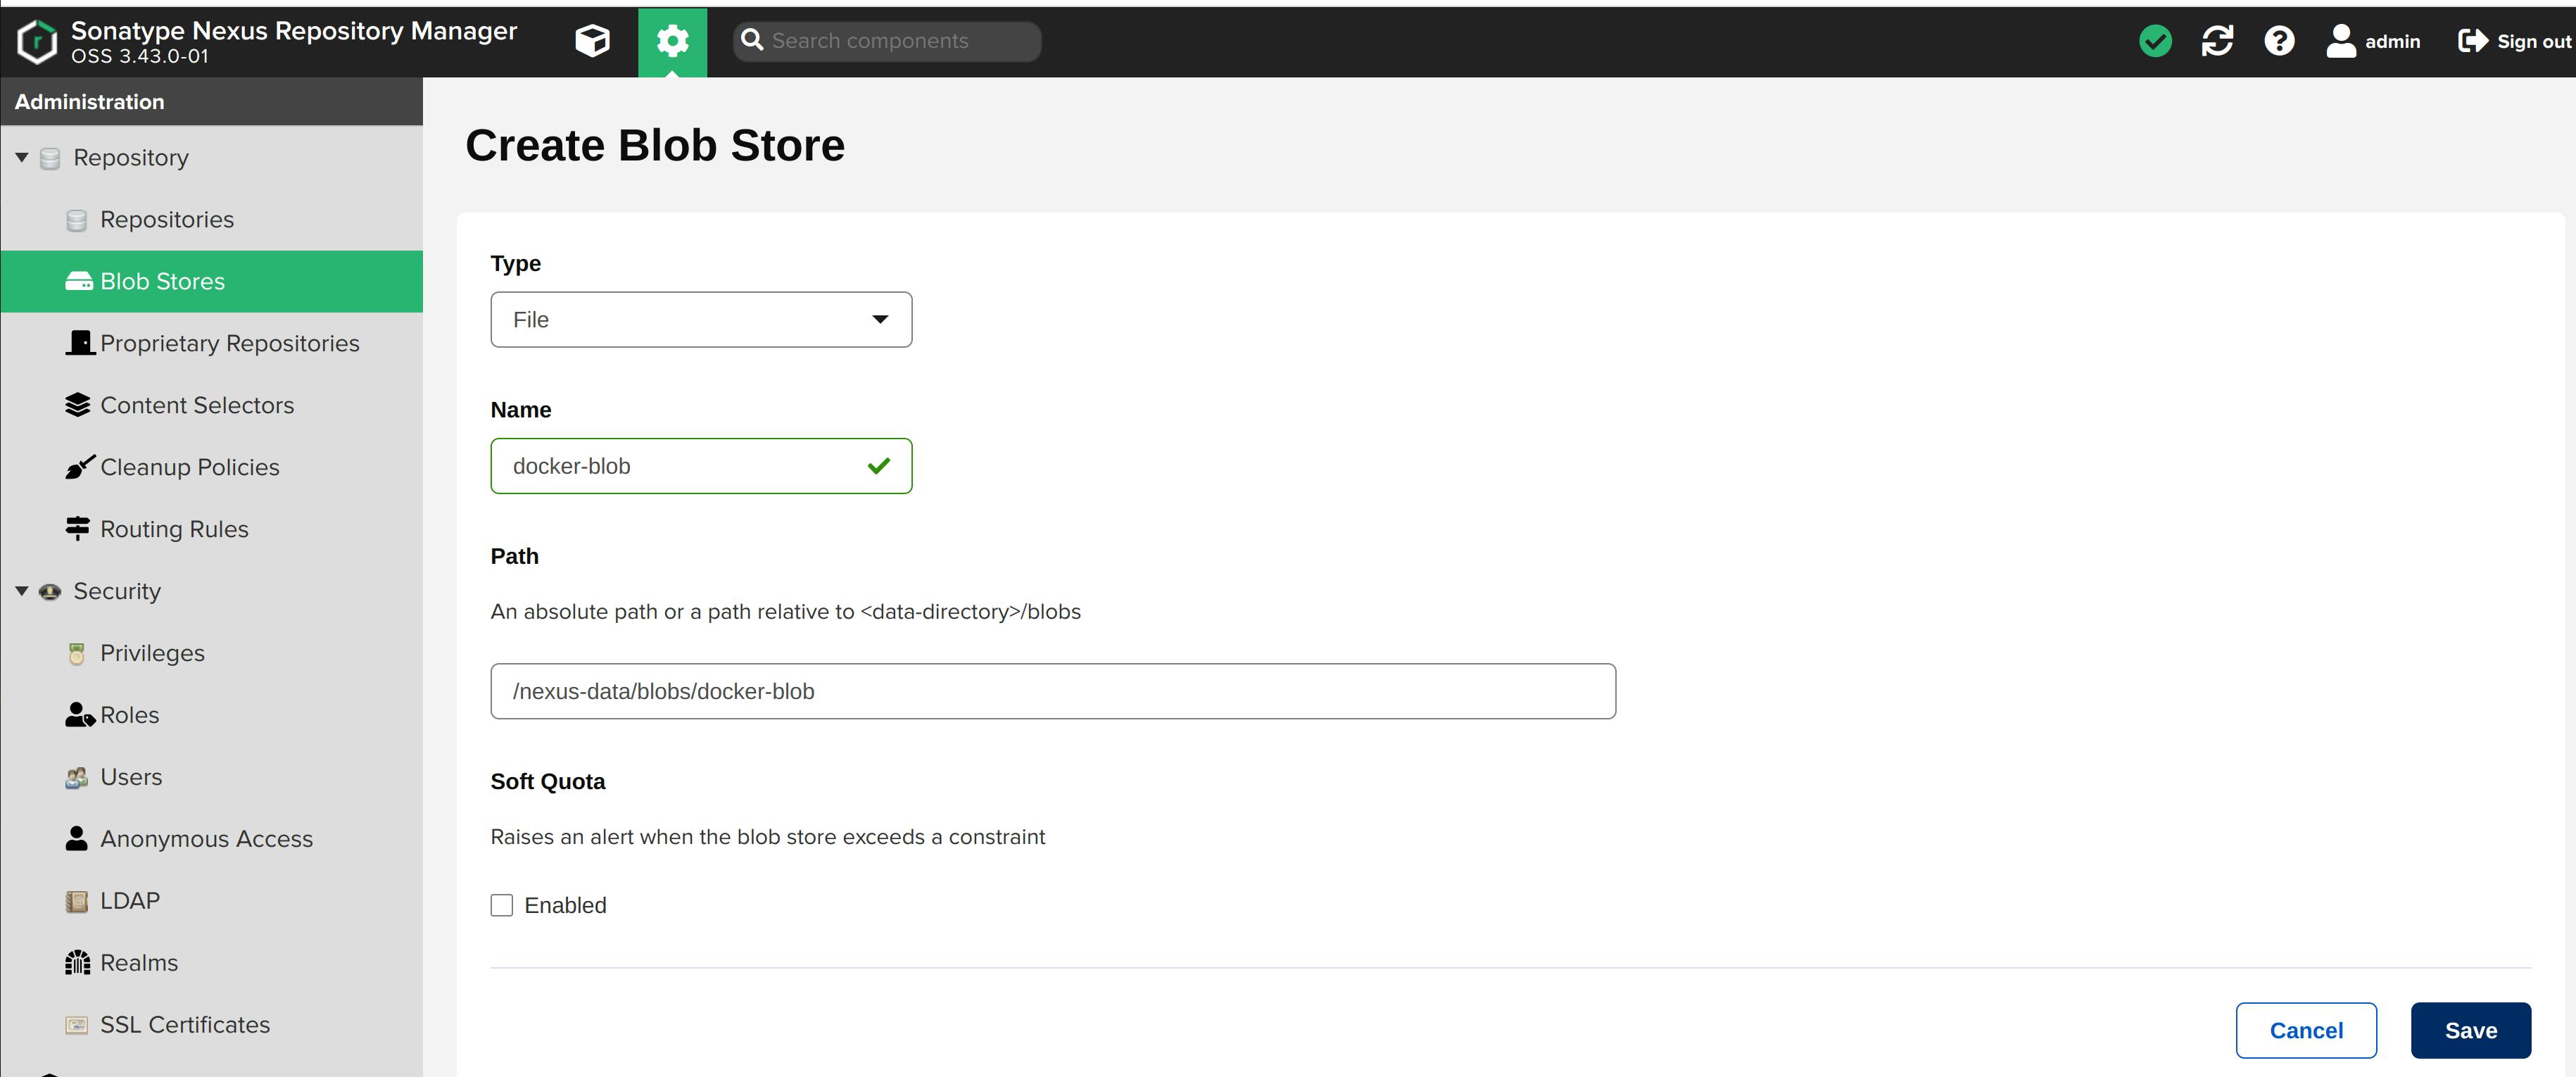
docker-blob storage created.
Create a docker repository
We have to create a docker repository on Nexus to publish docker images. Follow the below steps:
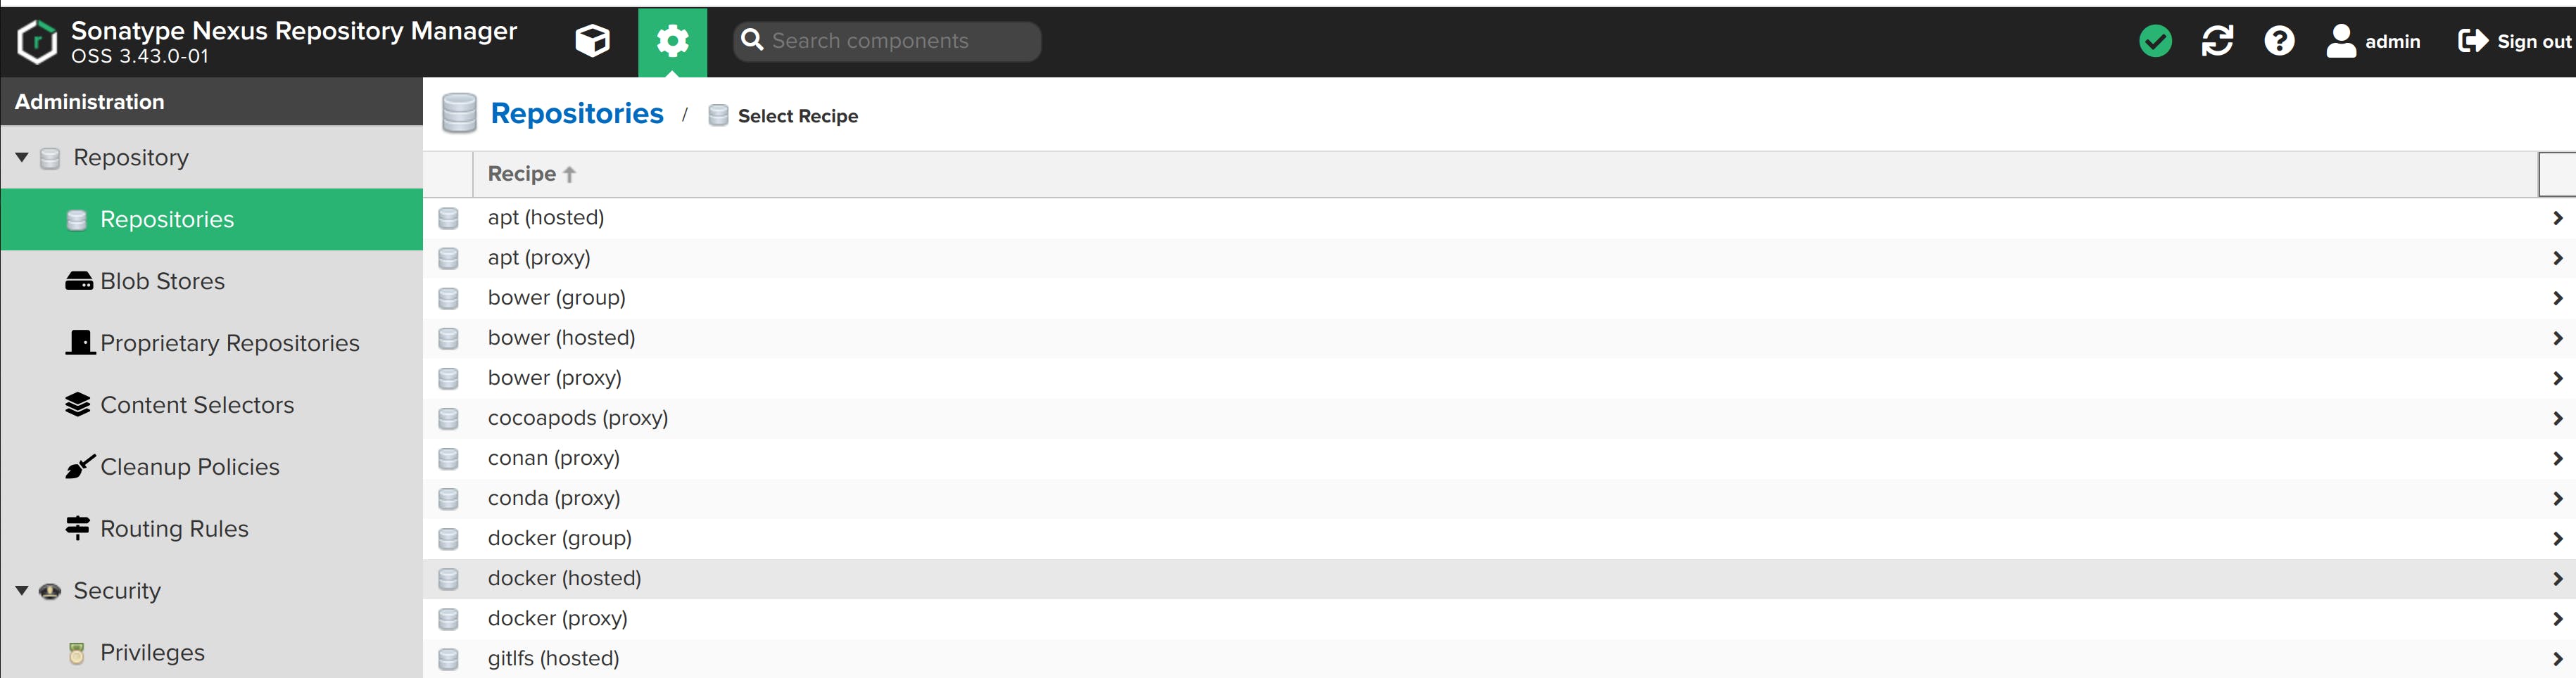
Navigate to Repositories -> Create repository.
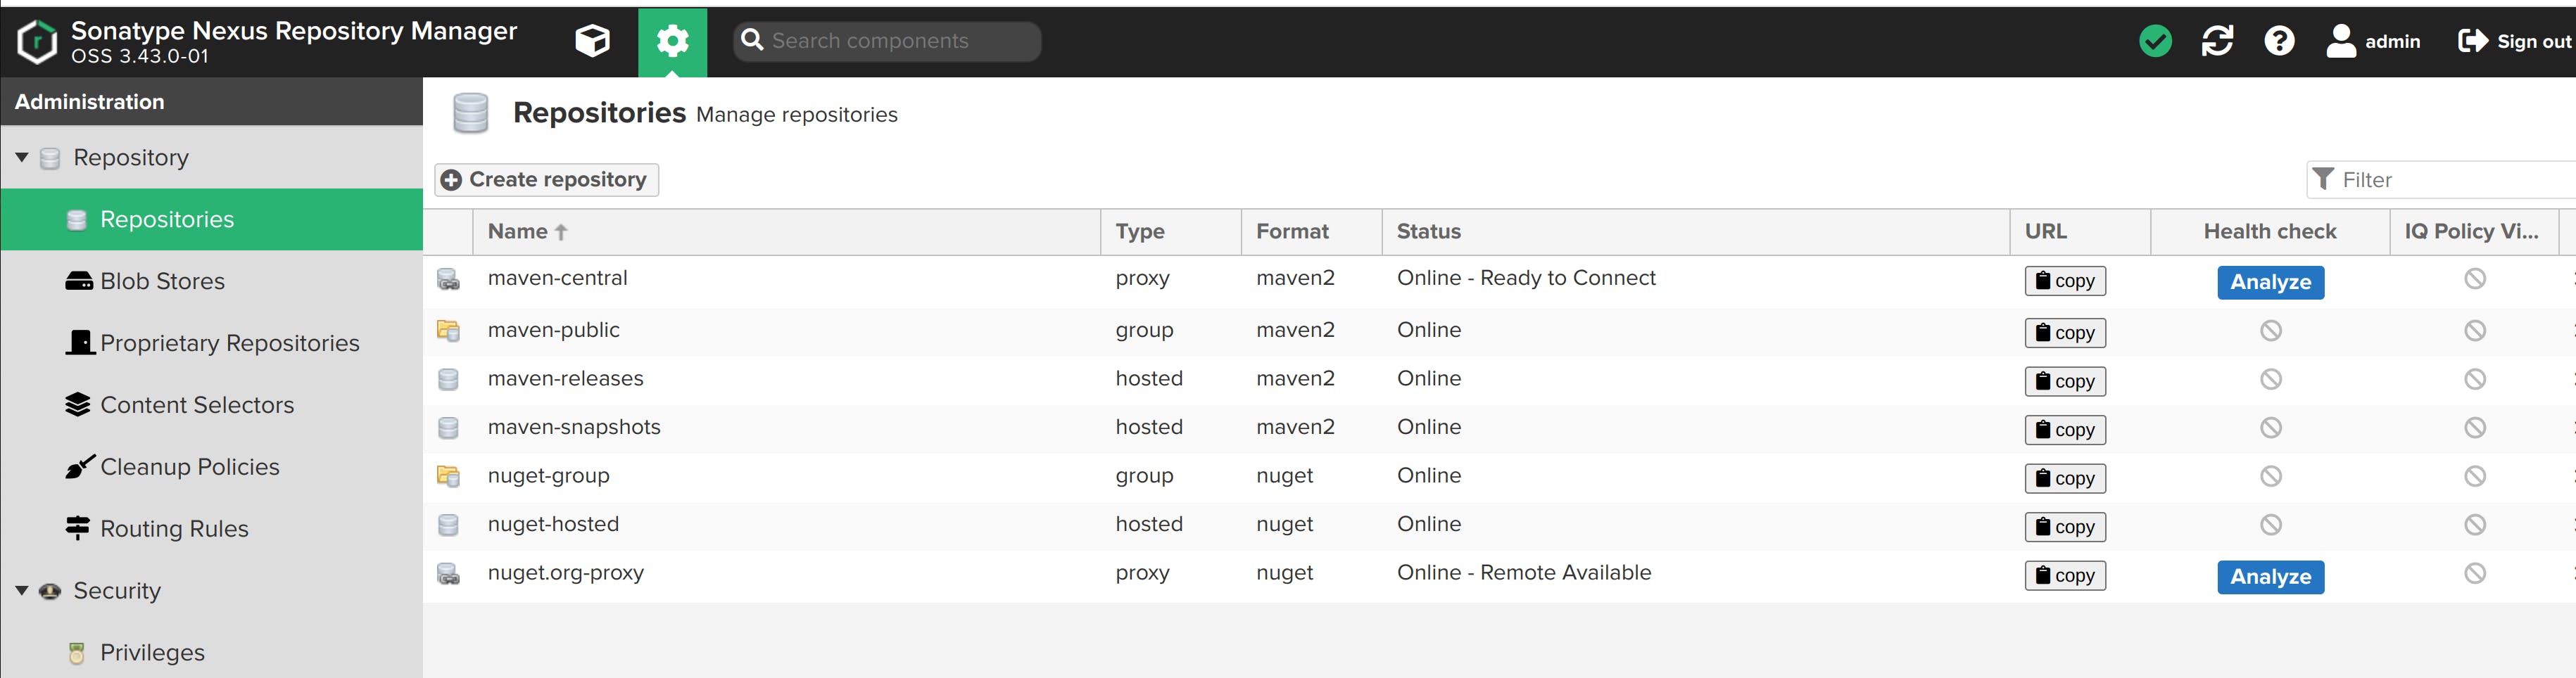
Select docker (hosted).
Name it dockerhosted-repo. We'll create an HTTP connector at port 8082 (any port other than port 8081, where the nexus application is running). Port 8082 is where the docker repository by nexus will be hosted.
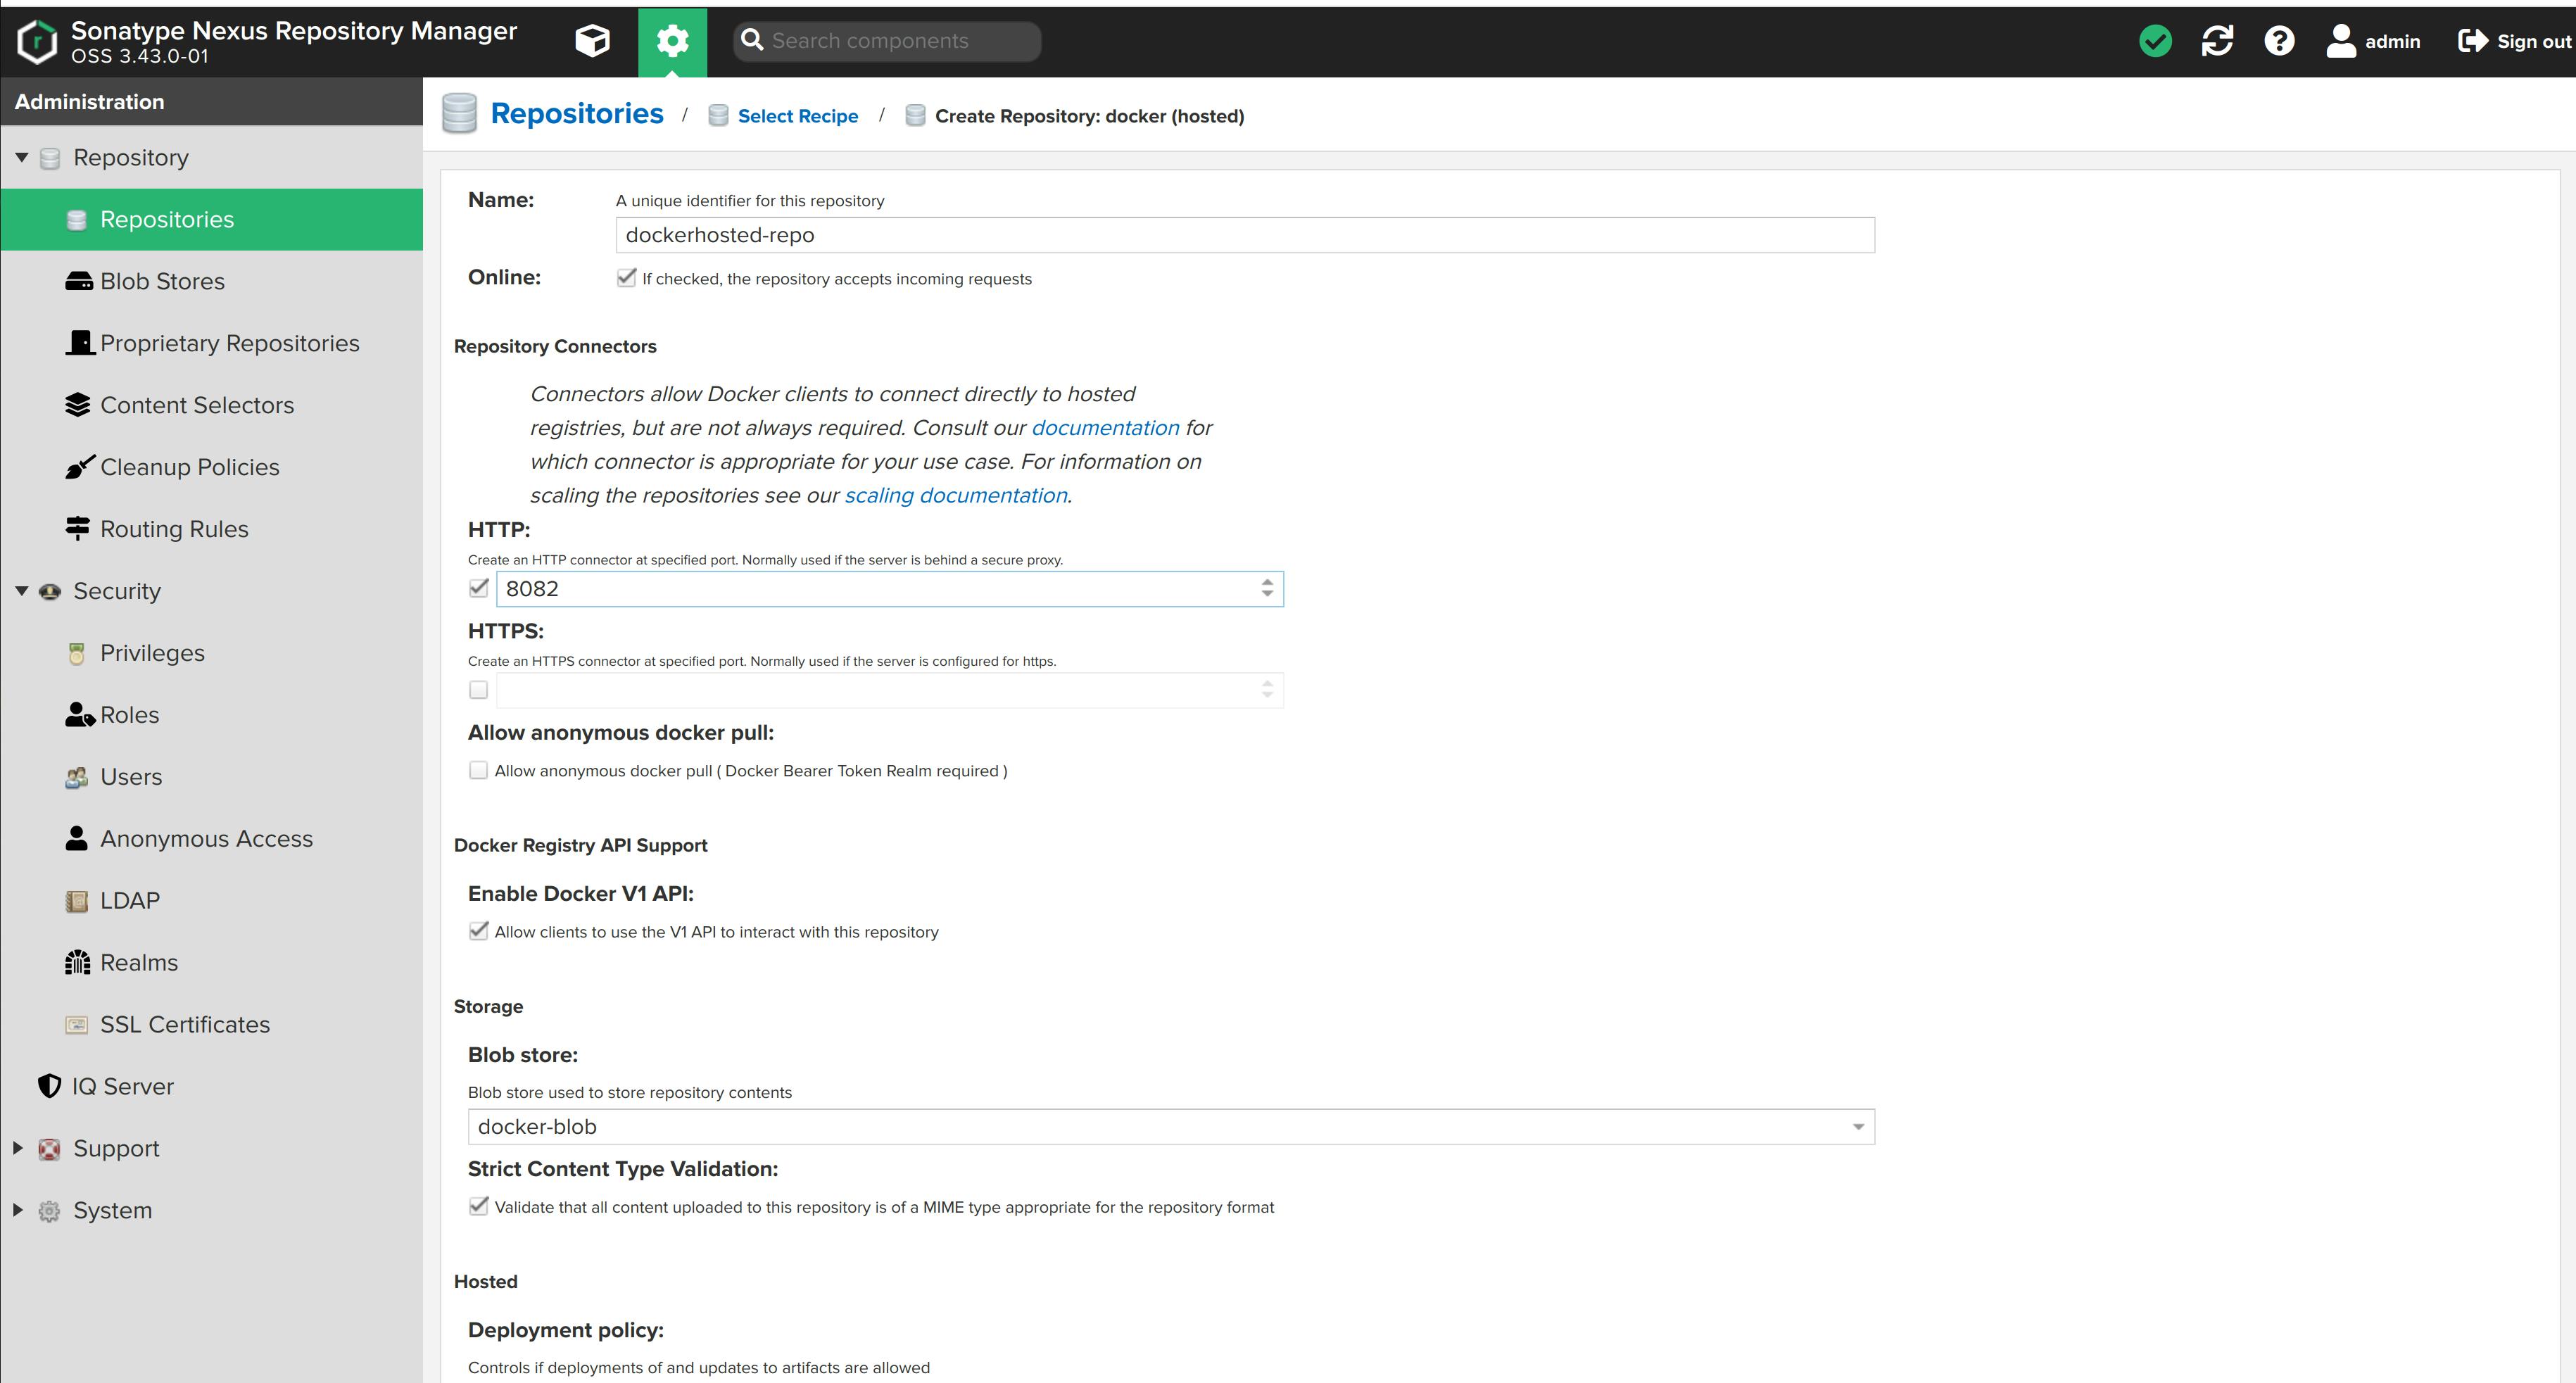
Choose docker-blob to store repository contents.
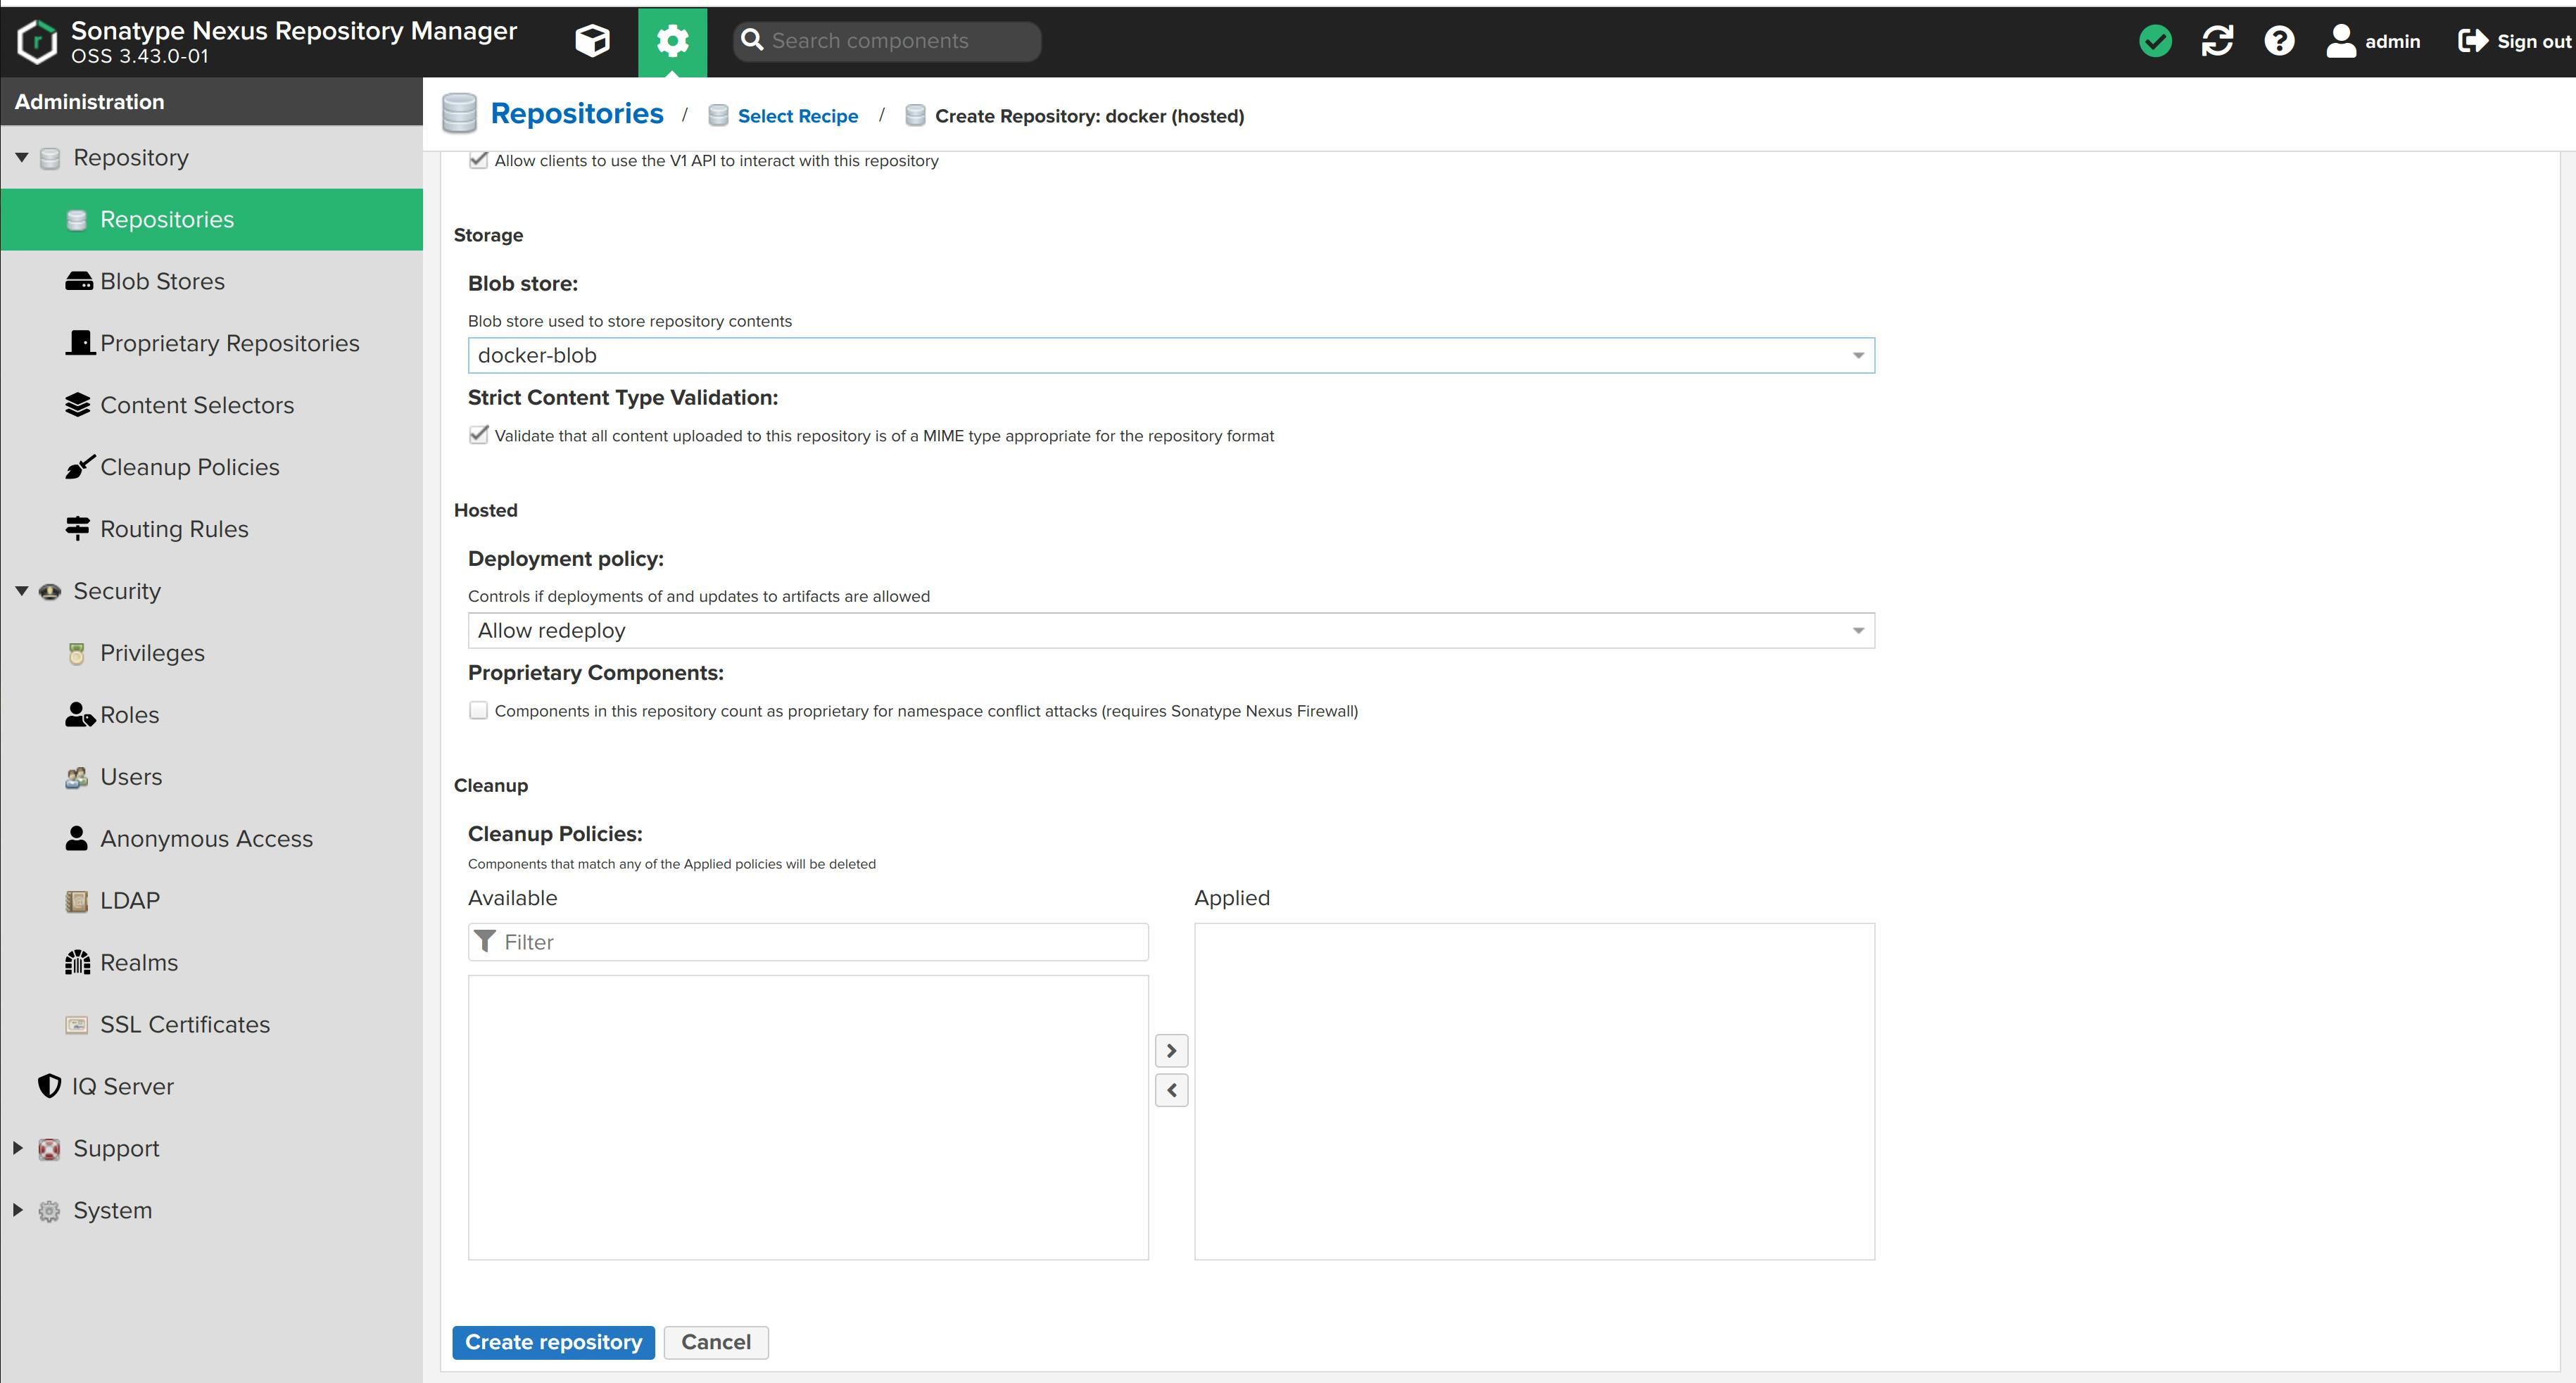
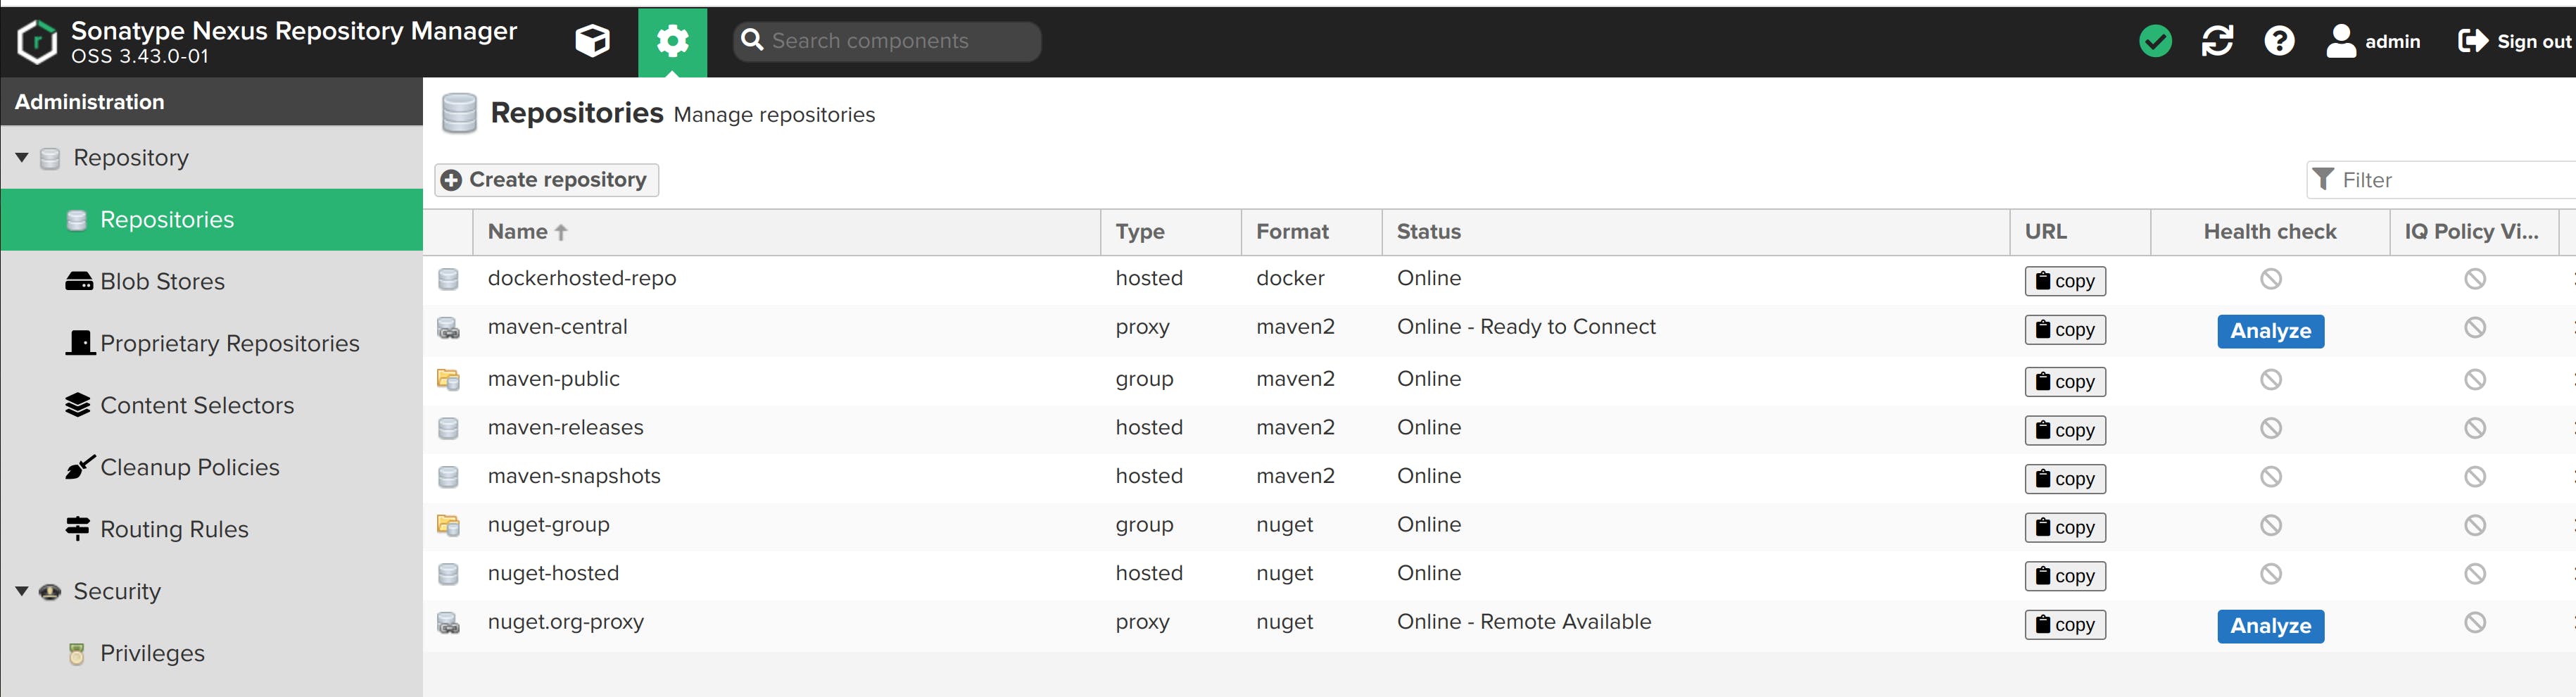
Click on Create repository. The dokcerhosted-repo is created.
Create a Role
Roles aggregate privileges into a related context and can, in turn, be grouped to create more complex roles.
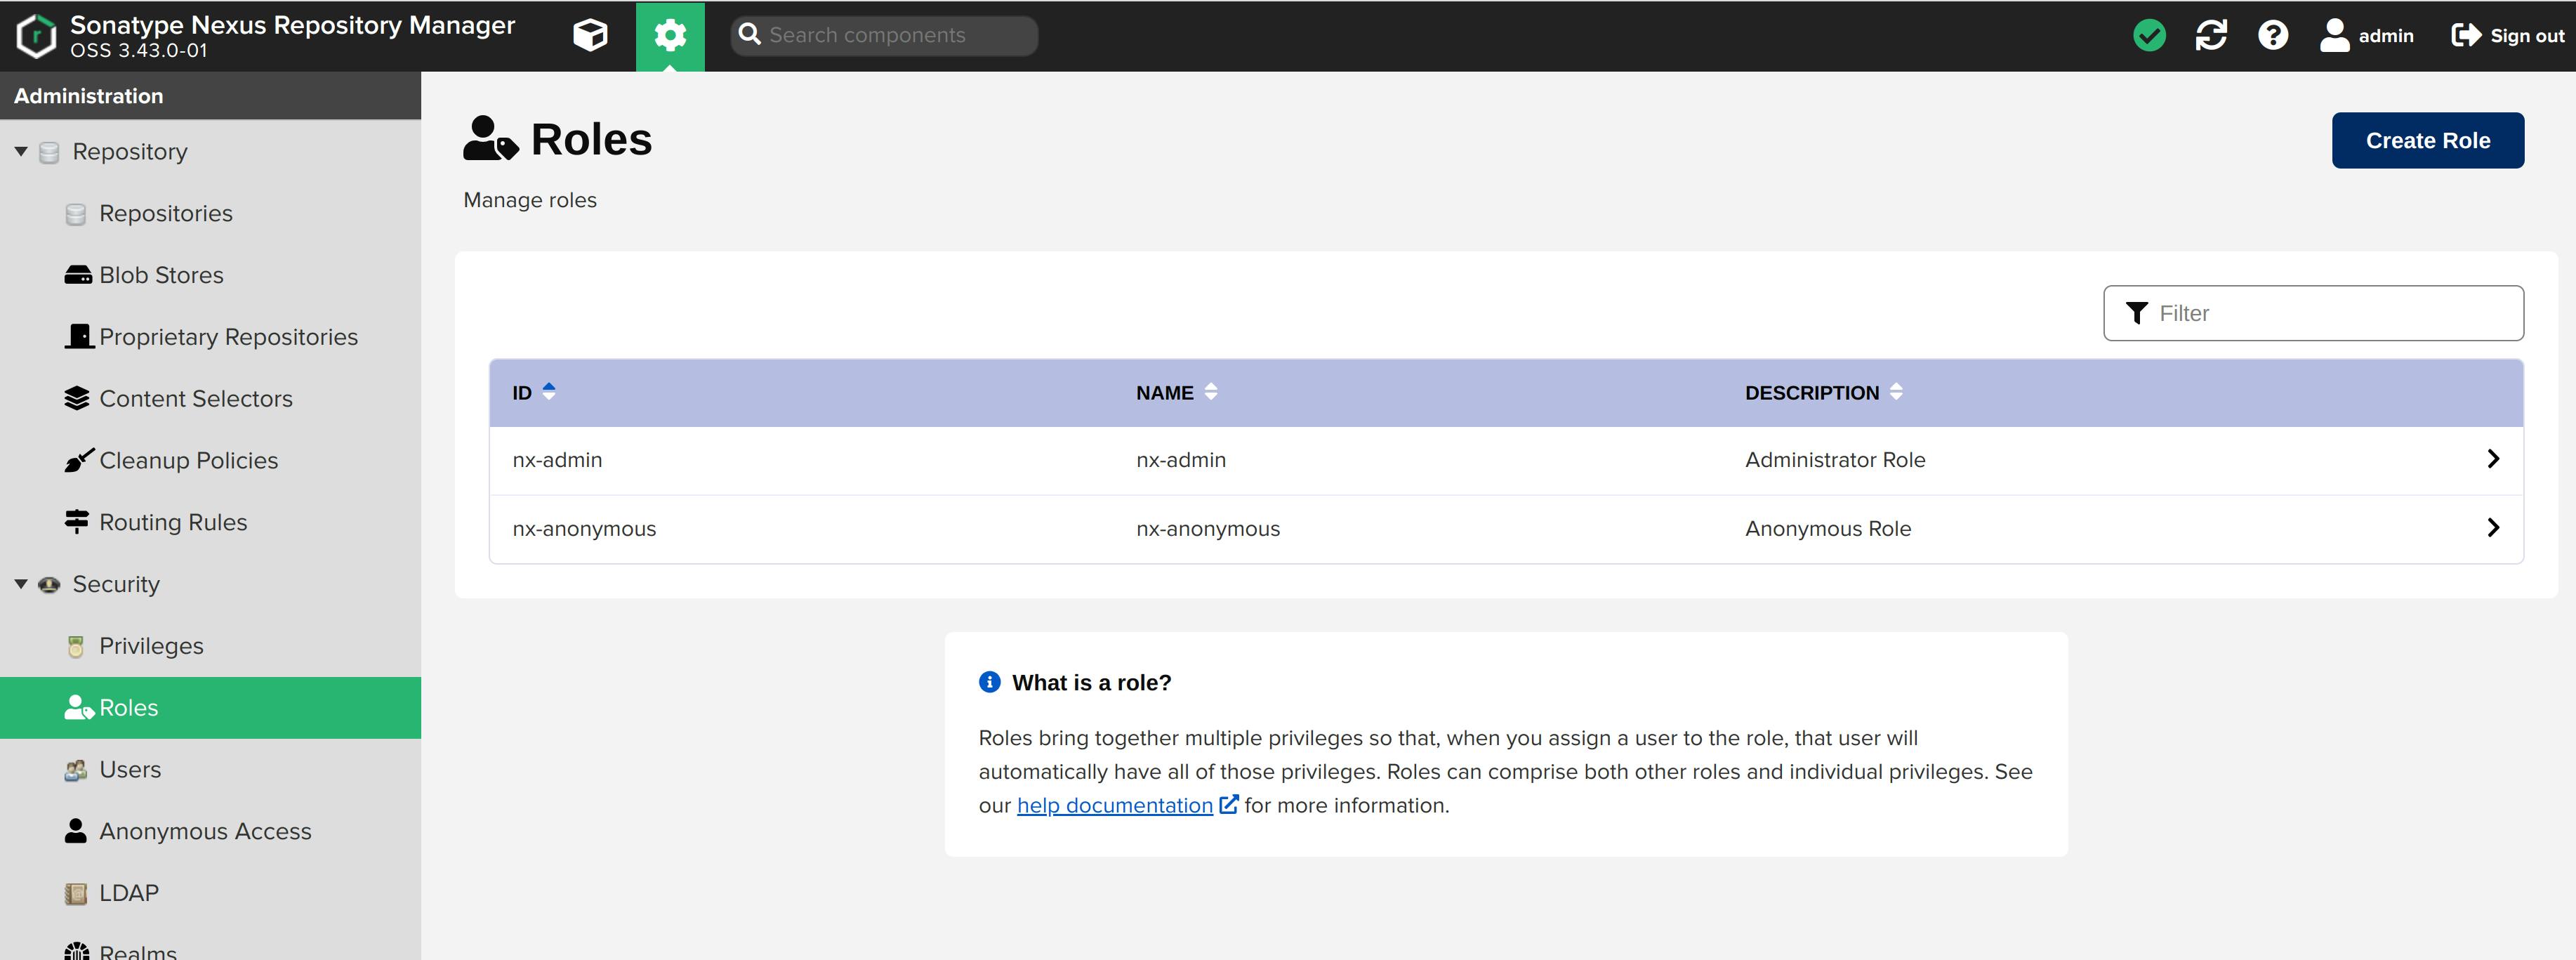
The repository manager ships with a predefined admin as well as an anonymous role.
First, we'll create a role, give access privileges for the dockerhosted-repo repository, and then assign this role to a user. Using this user, we will log in to the dockherhosted-repo running at port 8082 and push docker images there.
To create a new role, follow these steps:
Select Roles from the sidebar menu. Click on Create Role
Select Nexus-role as the role type.
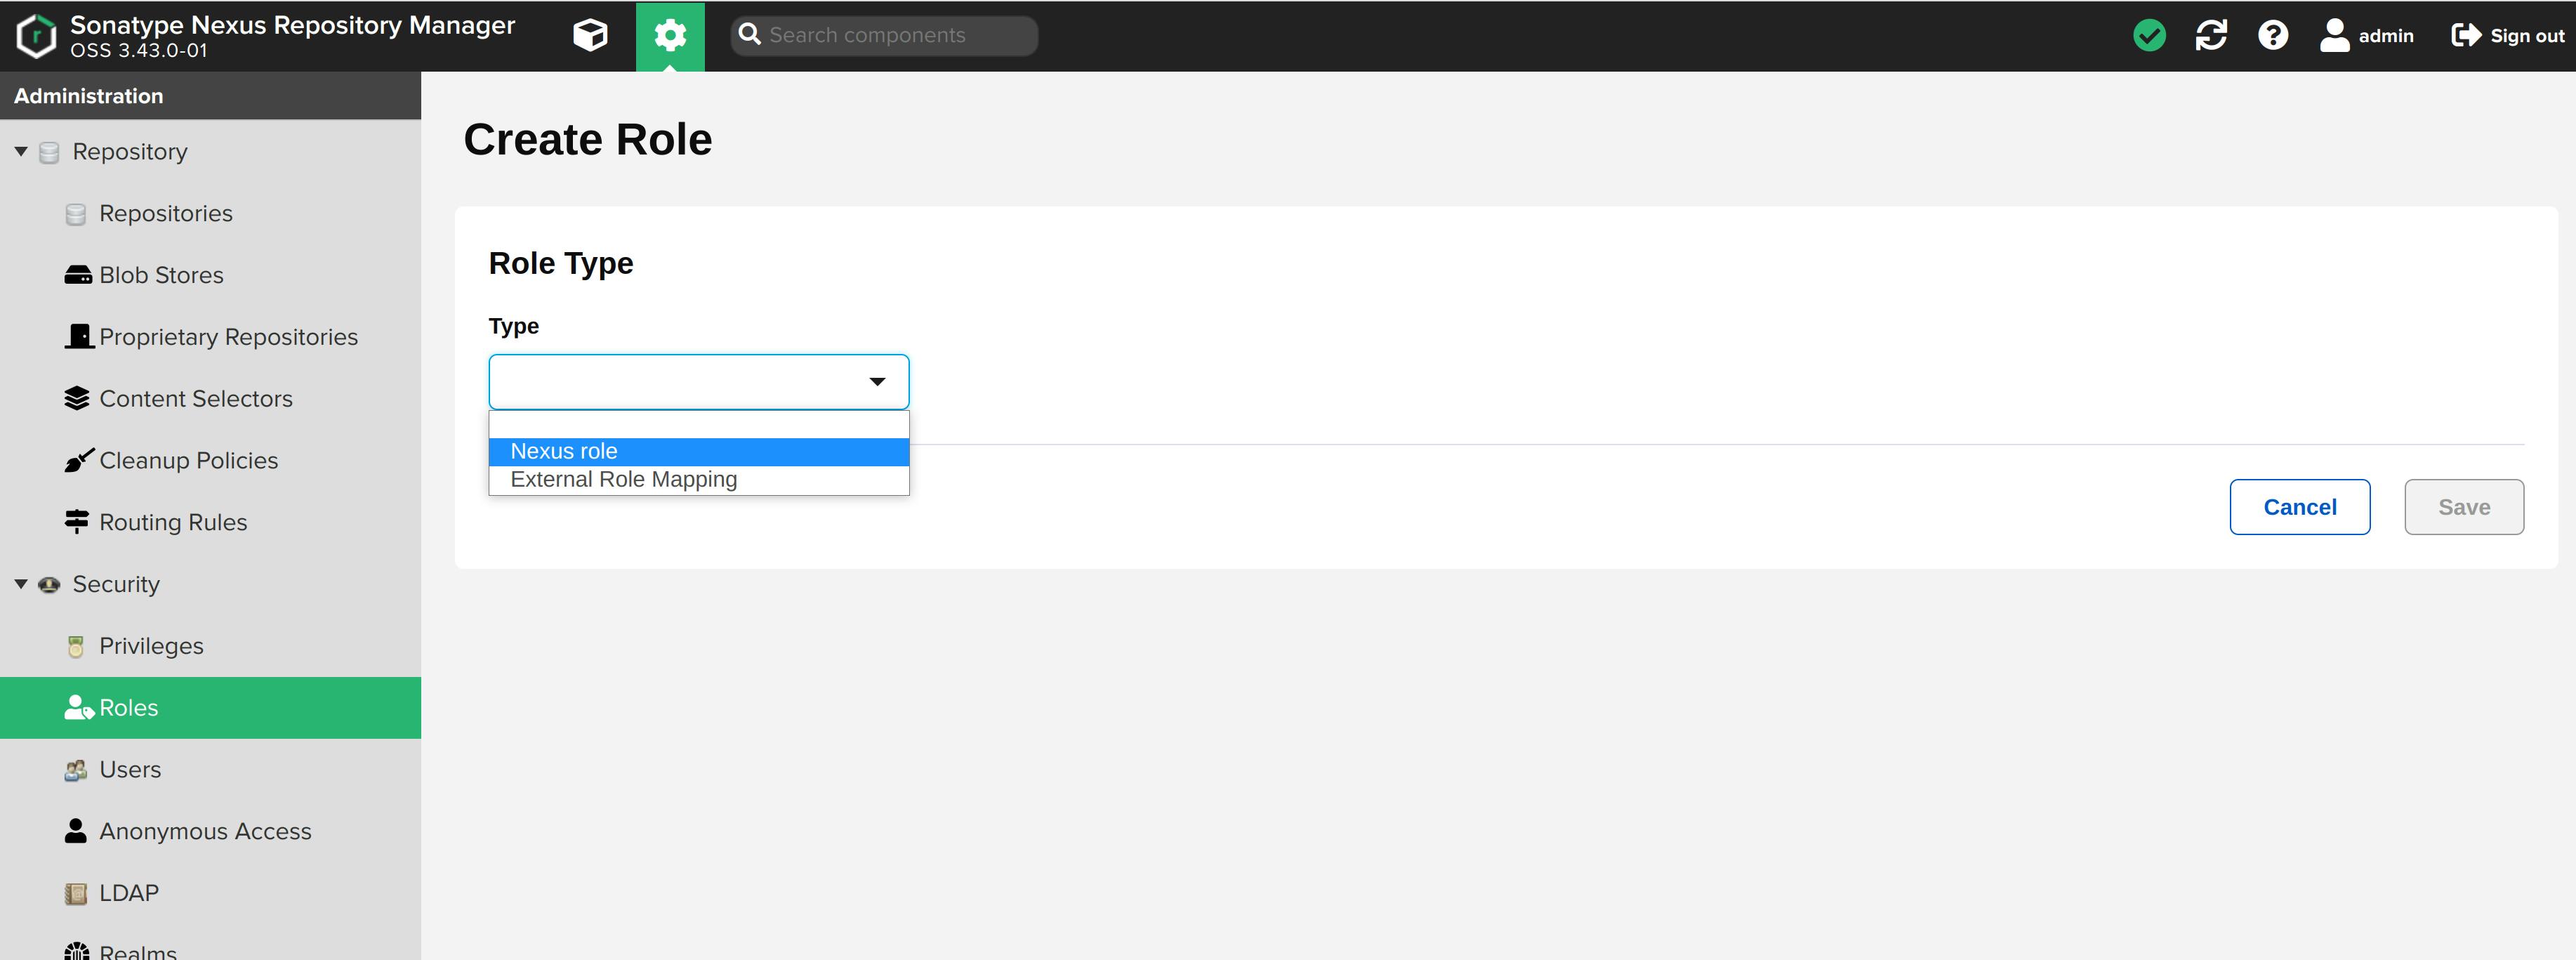
Add Role ID and Role Name. I am naming both as nx-docker.
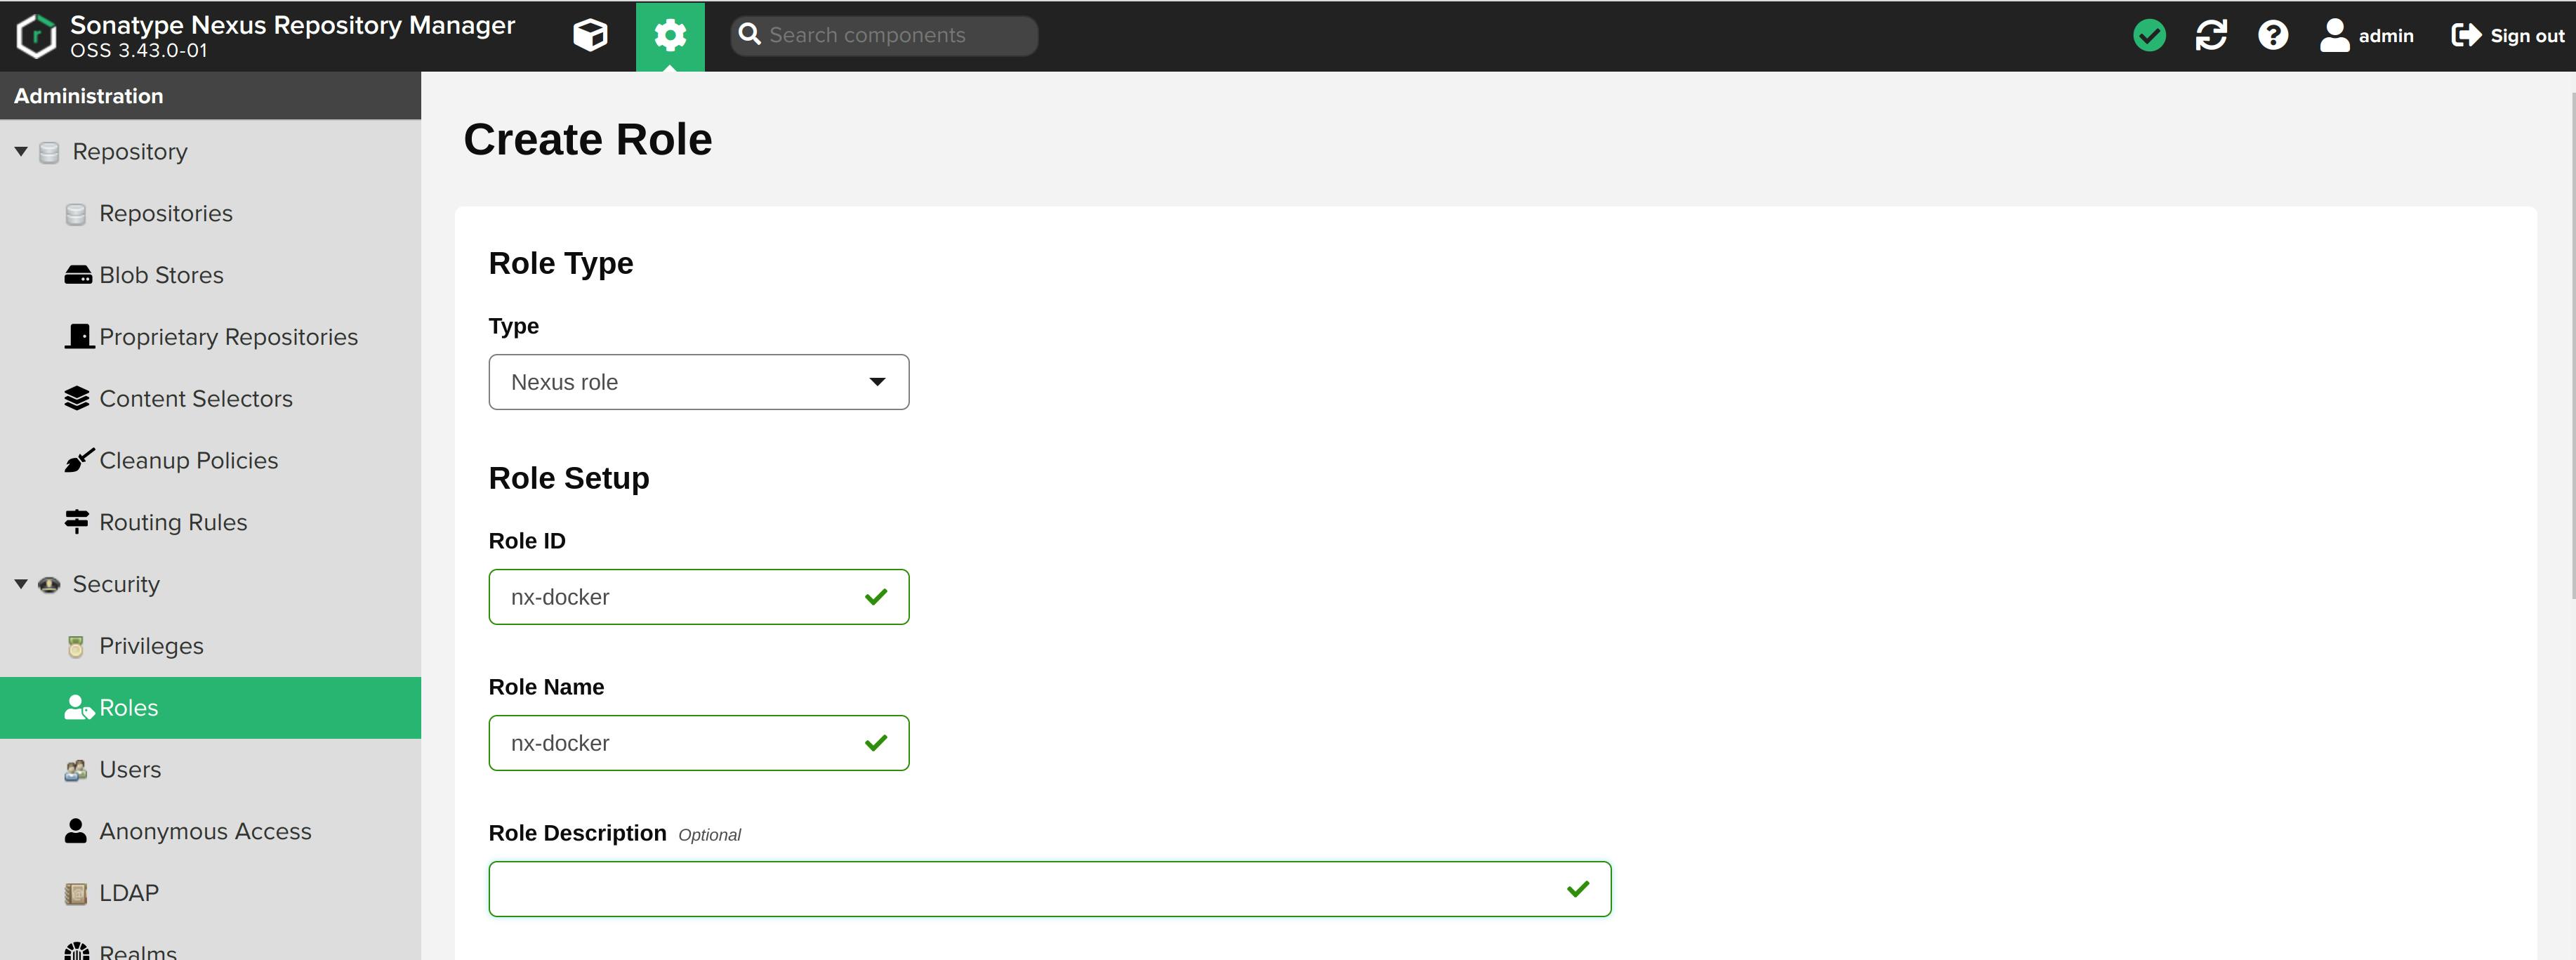
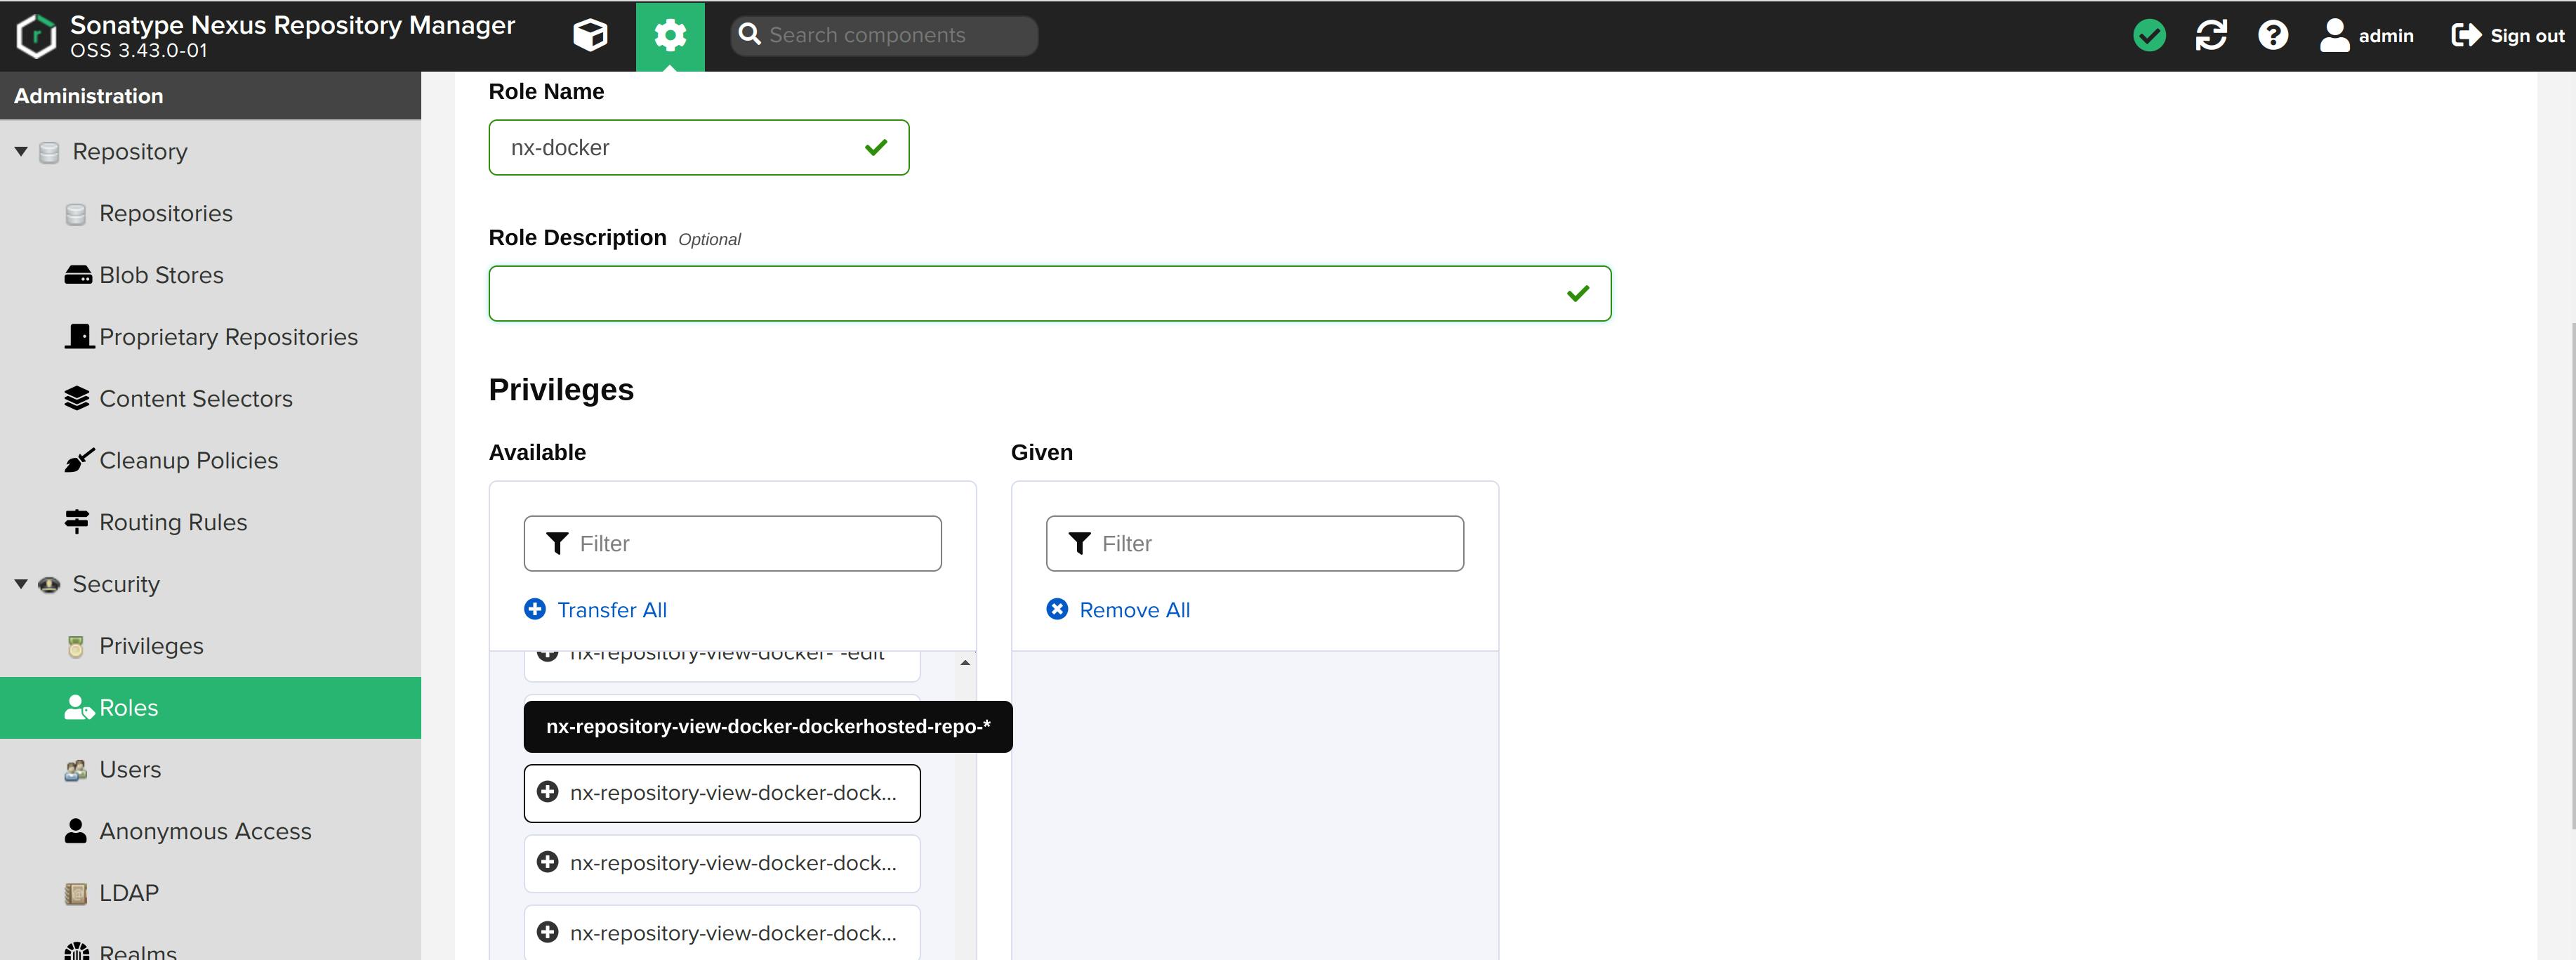
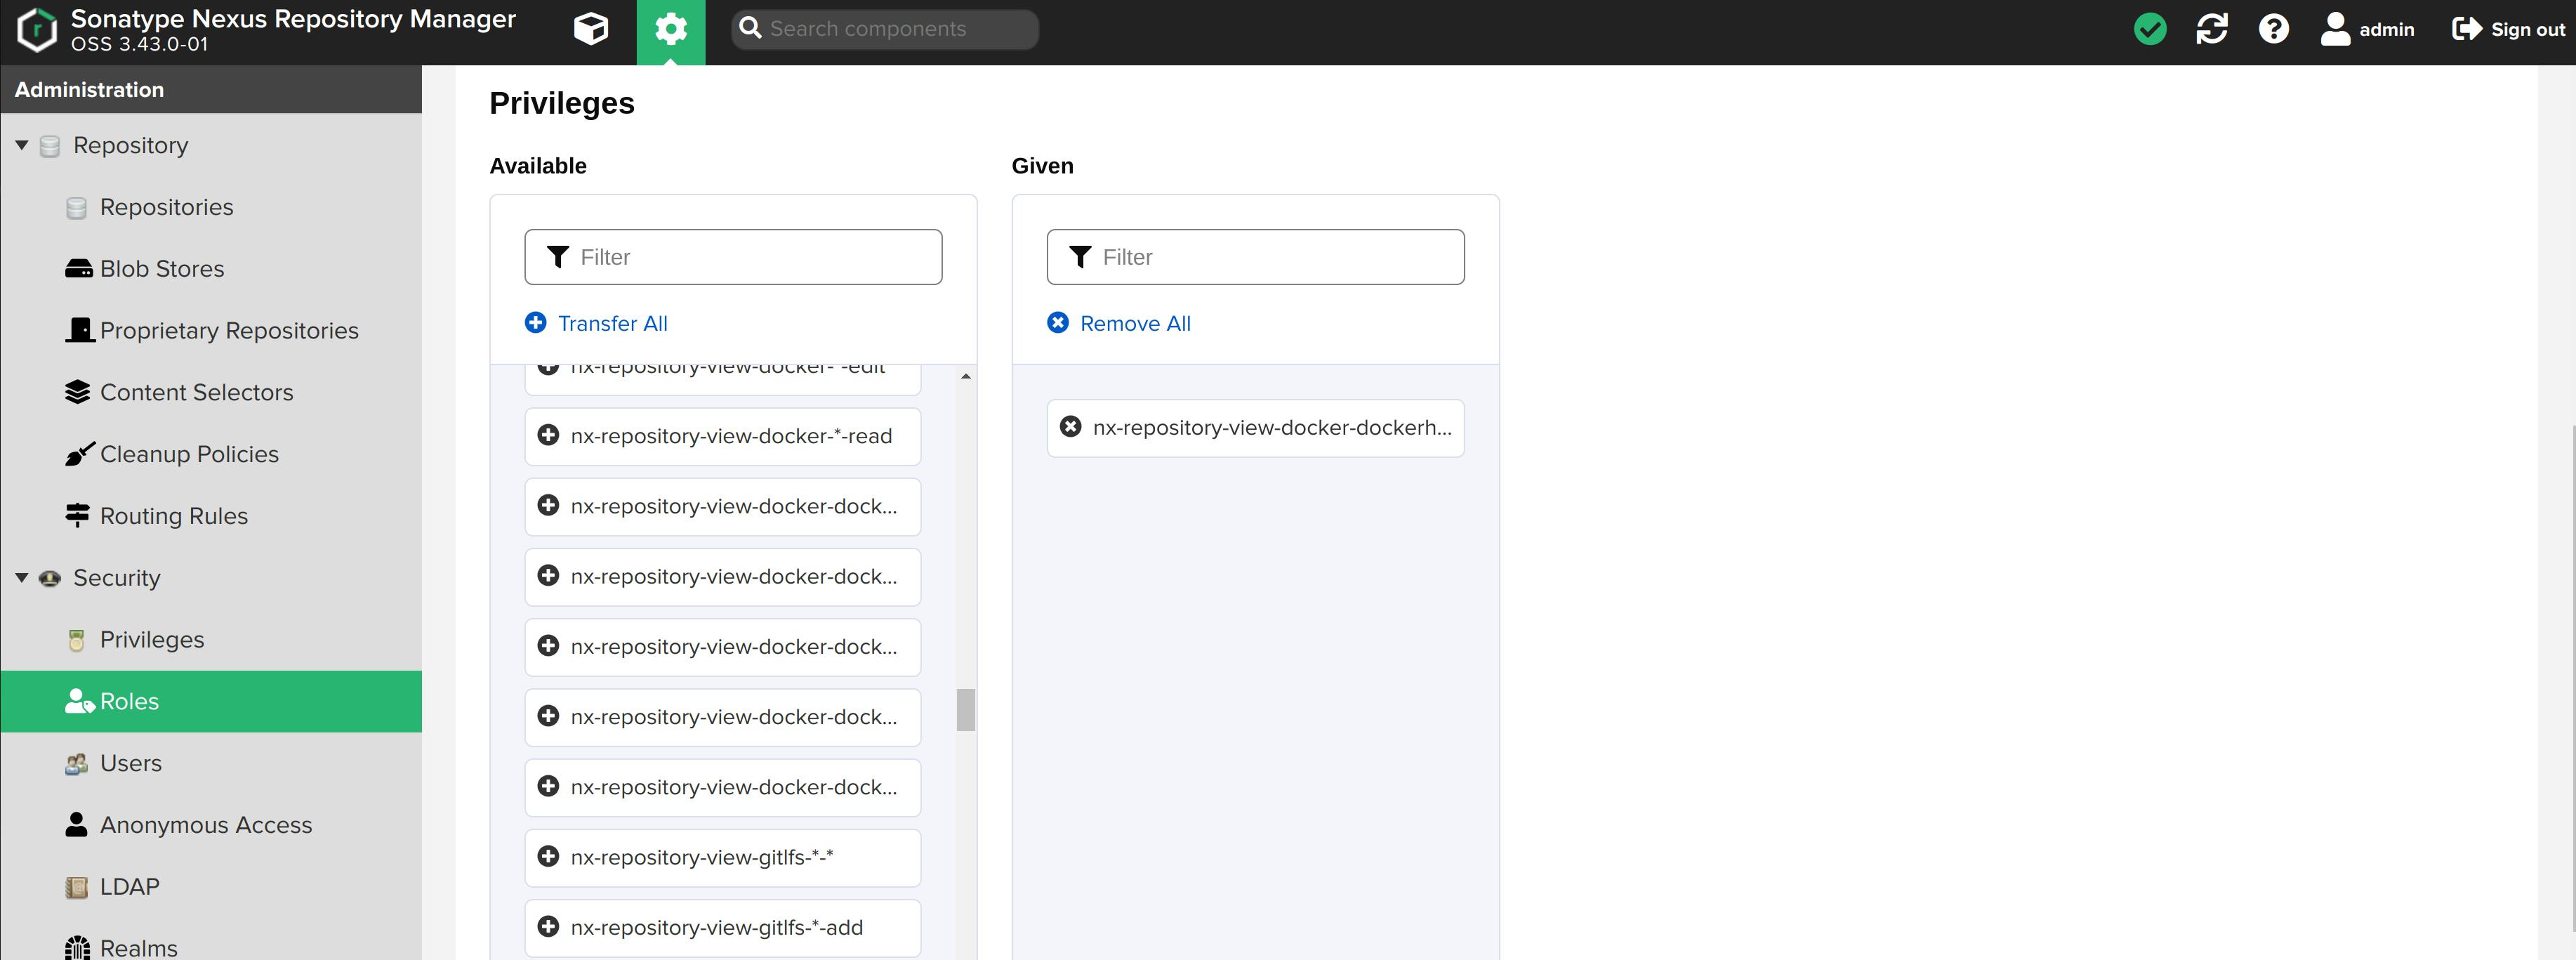
Add nexus-repository-view-docker-dockerhosted-repo-* privilege to this role.
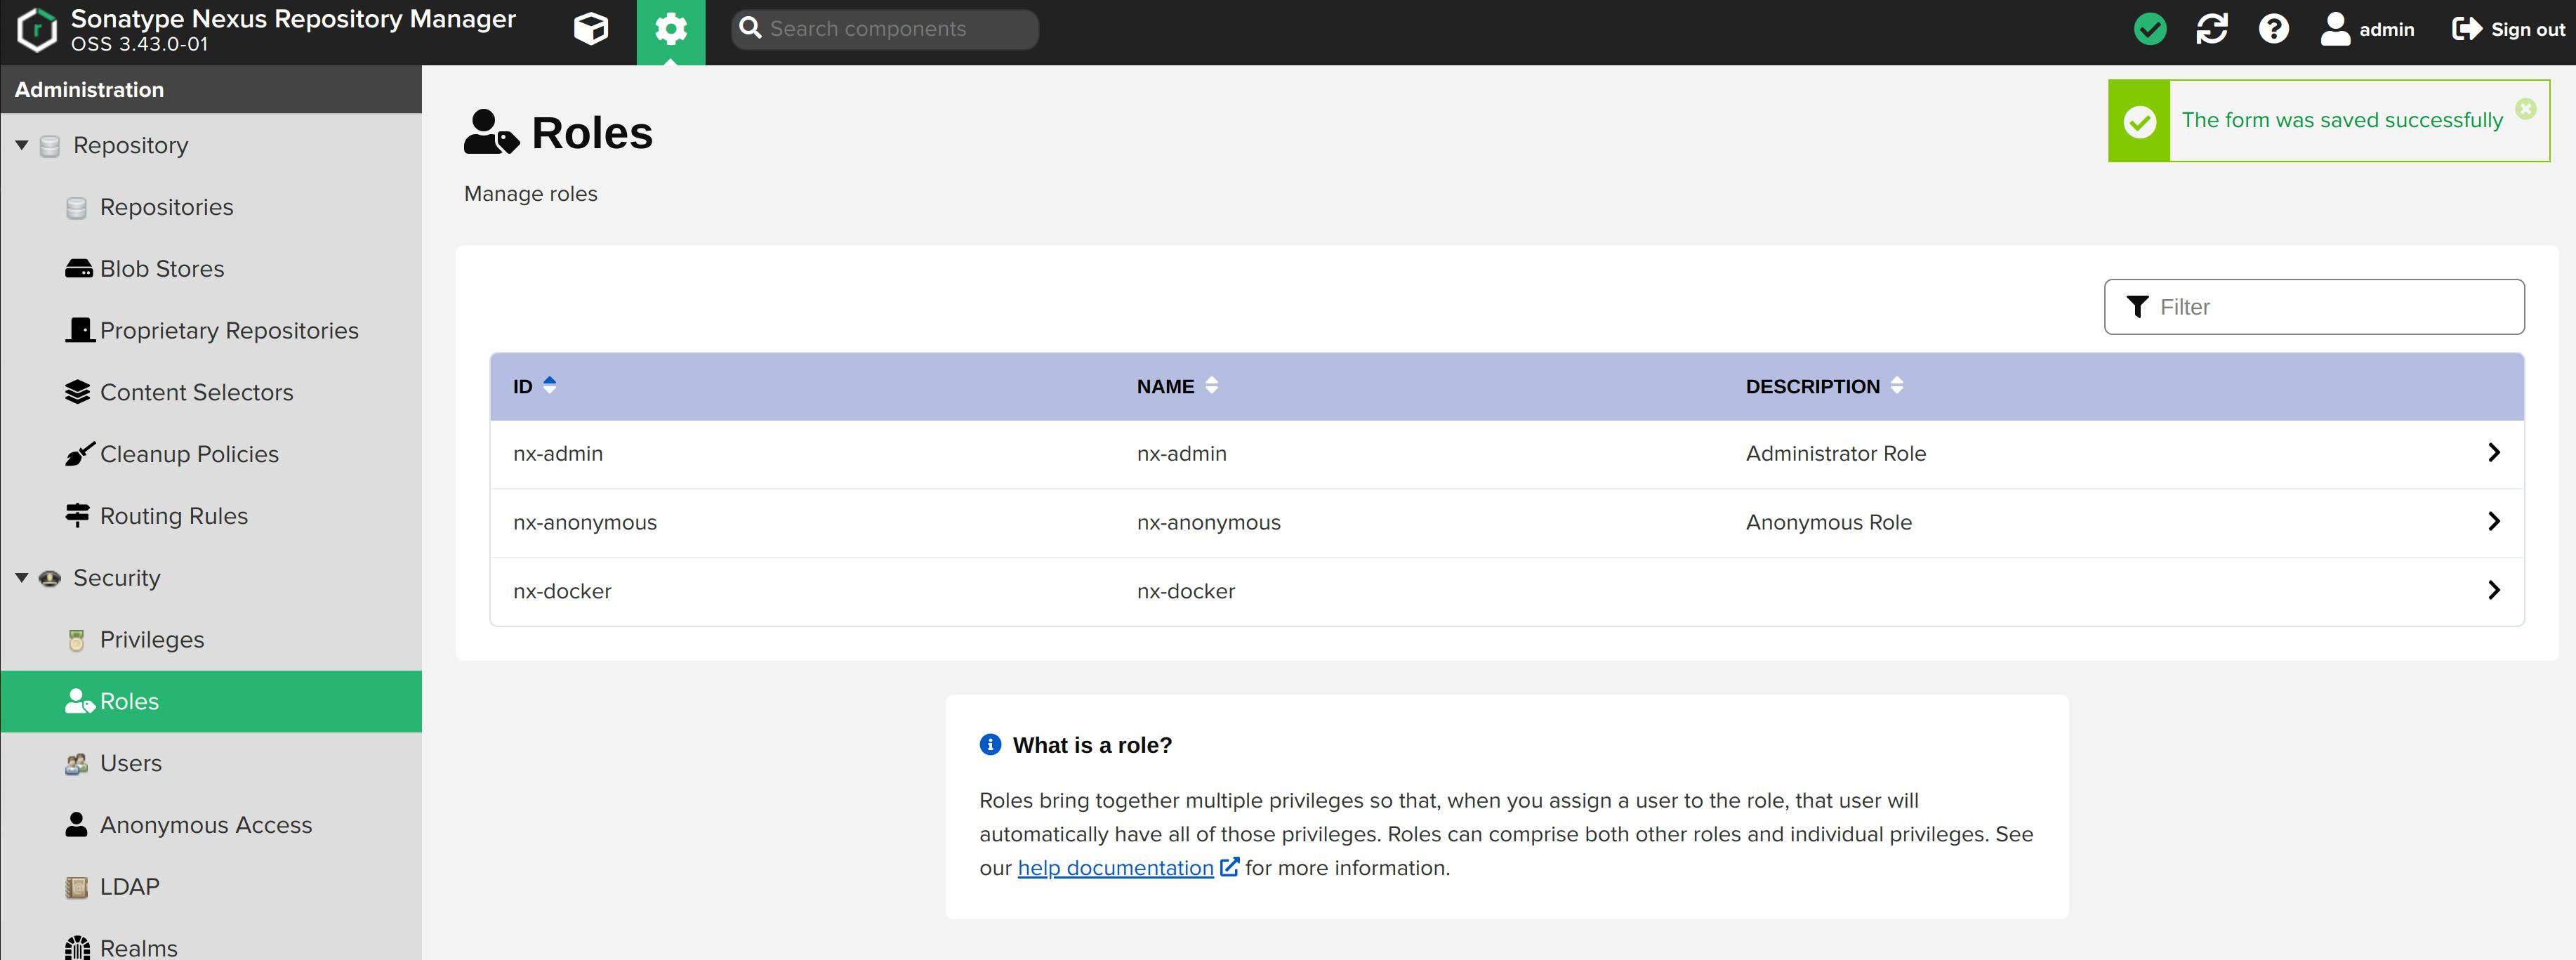
Role created!
Creating a role is like having a position in your company. For example, you have a CEO position in your company. CEO has some privileges that only this role can exercise. So, that is about the role. CEO is the role name, and making decisions is the privilege assigned to this role. Now, If I say that Indra Nooyi is the CEO of the company, then Indra is the user here who is assigned a CEO role. I hope you get the idea.
Read more about Role in the official documentation.
Create a User
Now it's time to create a user and assign the nexus-docker role to it.
To create a user:
Select Users from the sidebar menu. Click on + Create local user.
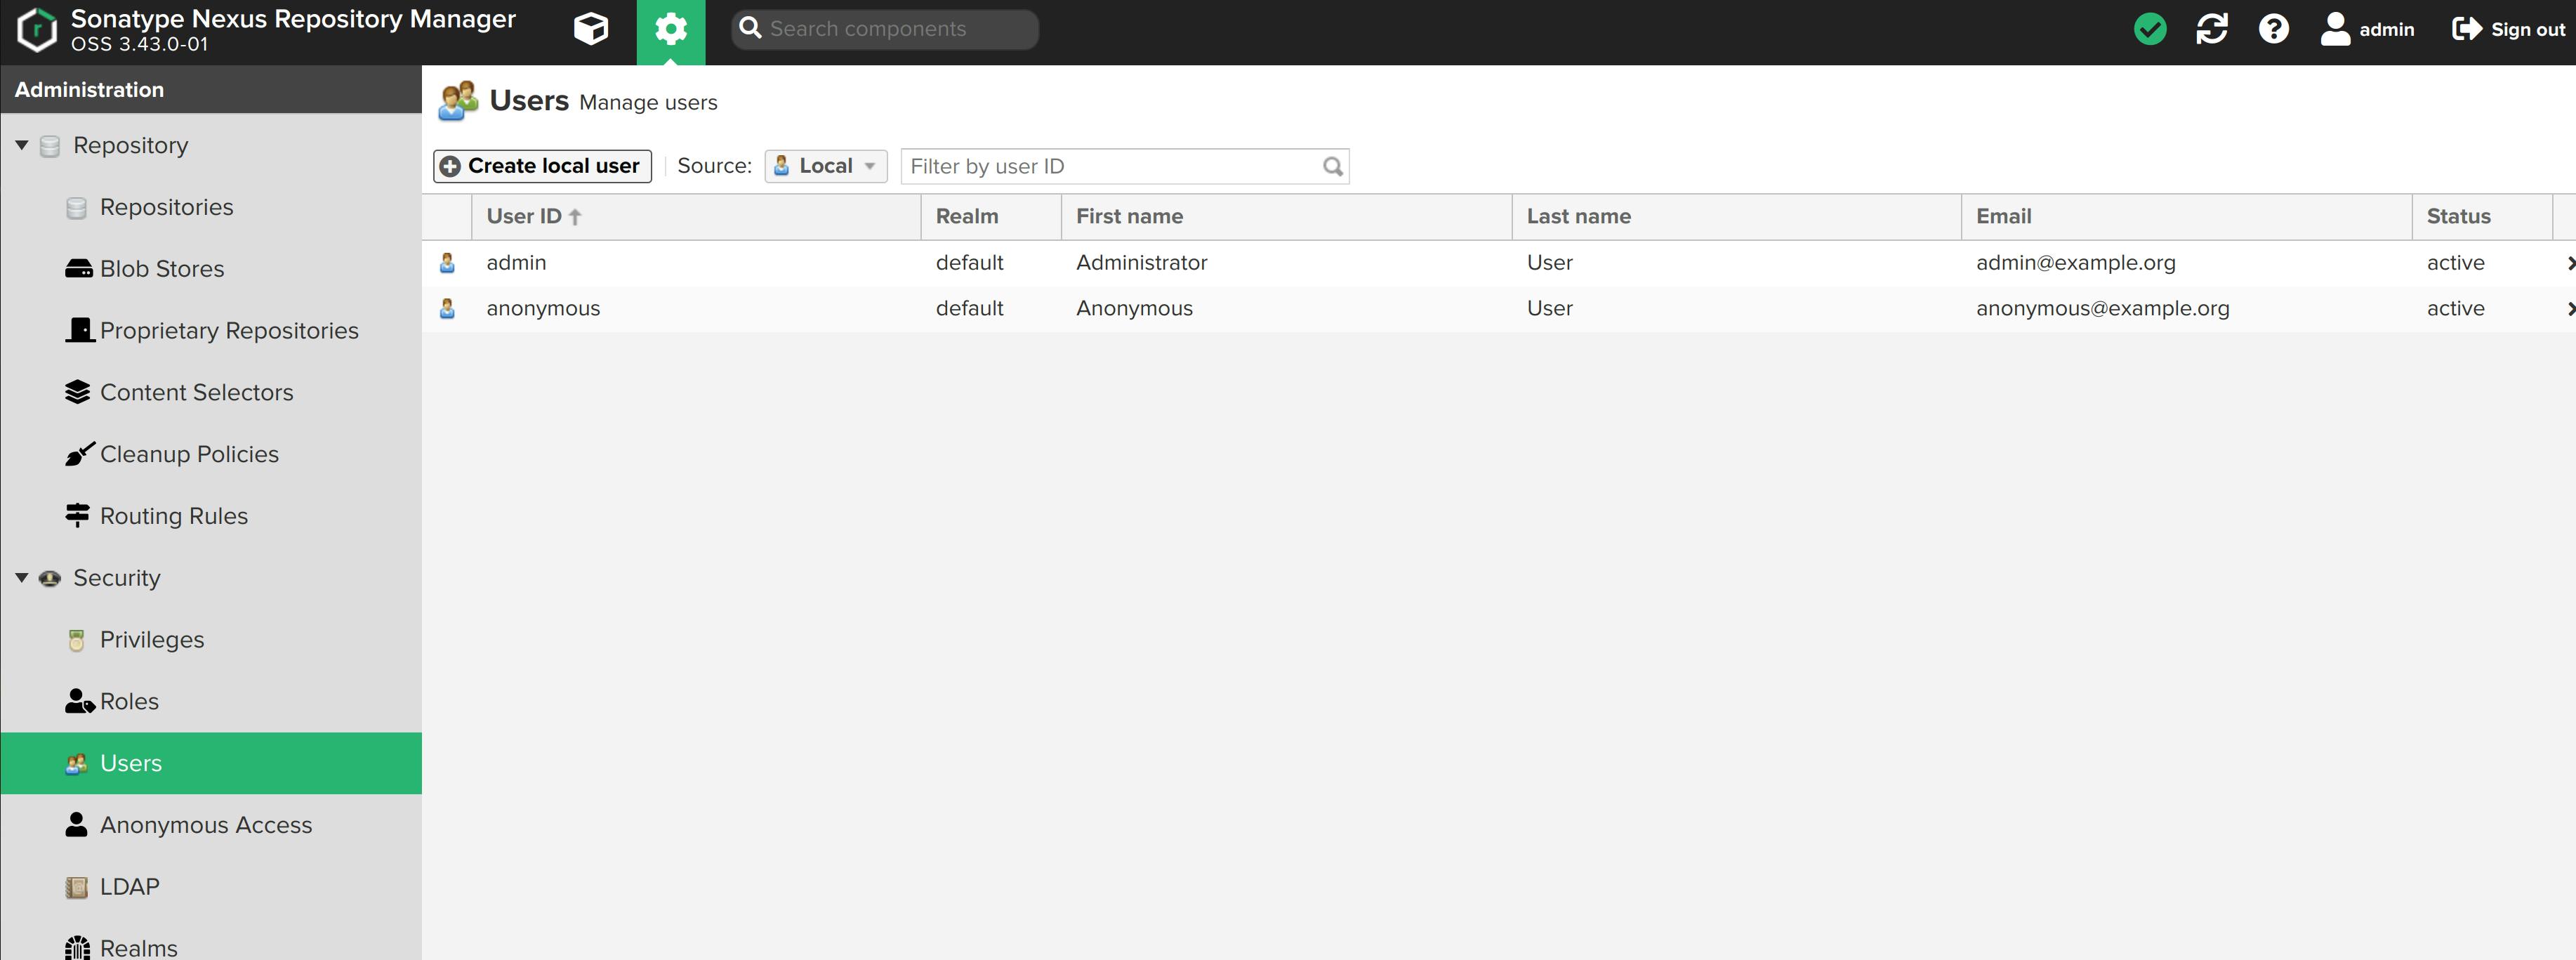
I am naming this user jenkins and assigning it the nexus-docker role. We'll use this user's username and password to create a nexus credentials ID in the Jenkins application. This nexus ID will then be used to log in to the dockerhosted-repo and push images.
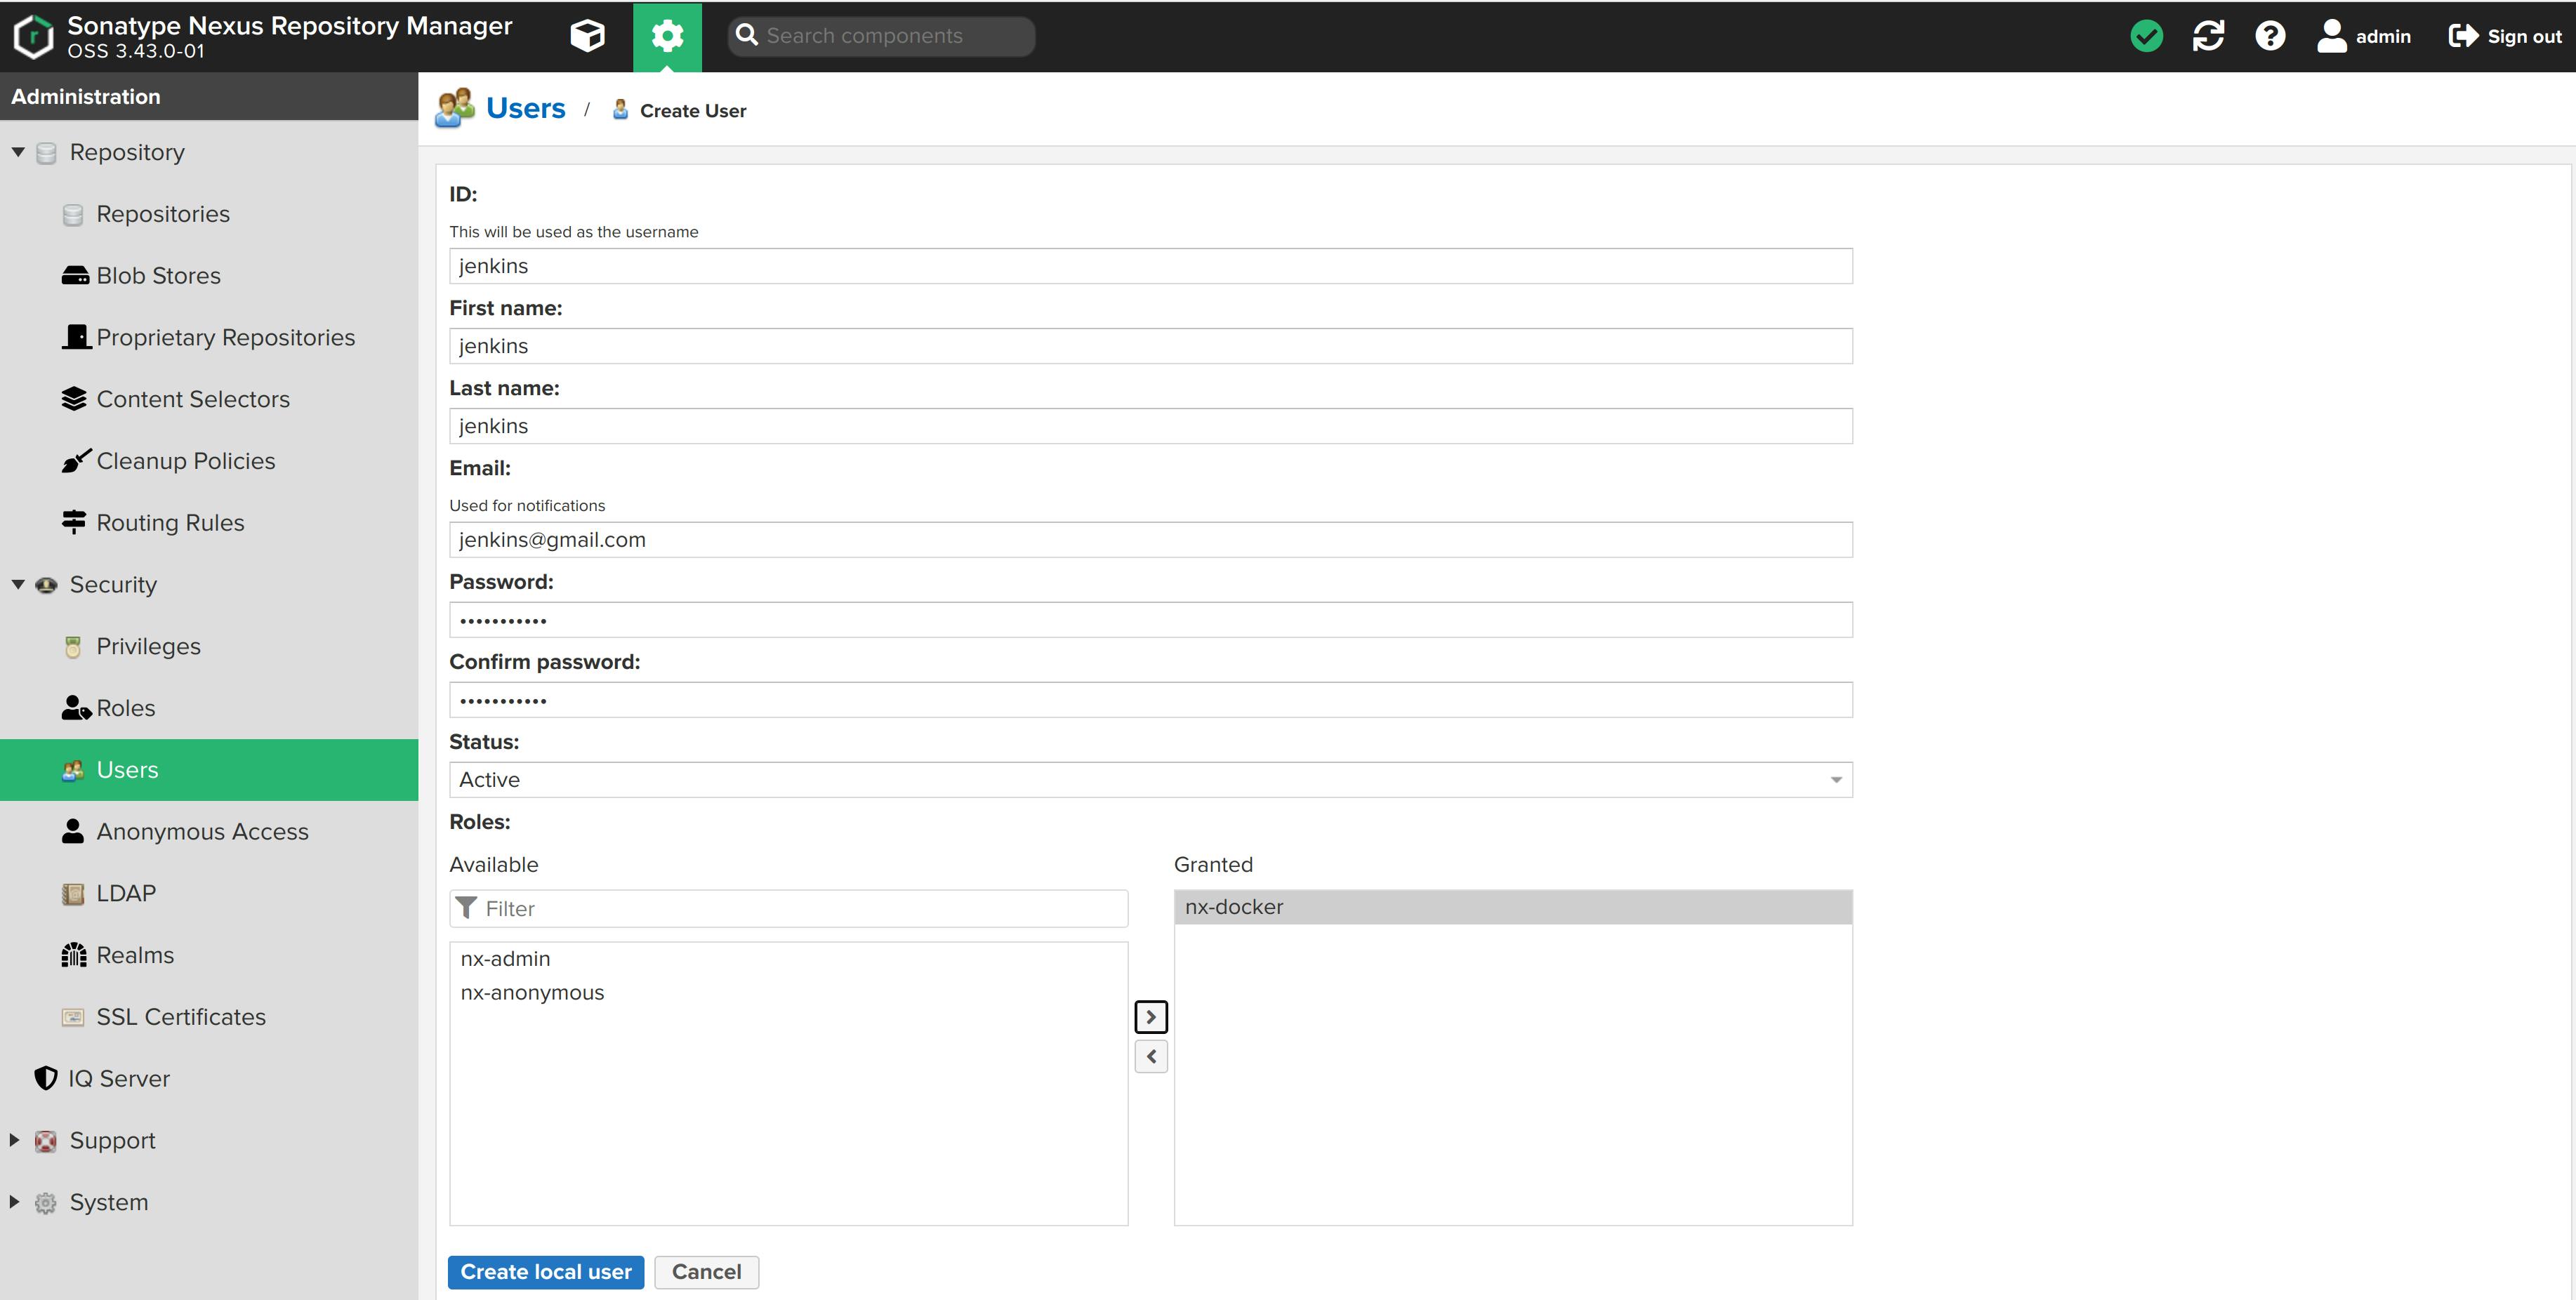
In the script.groovy file I have mentioned this user.

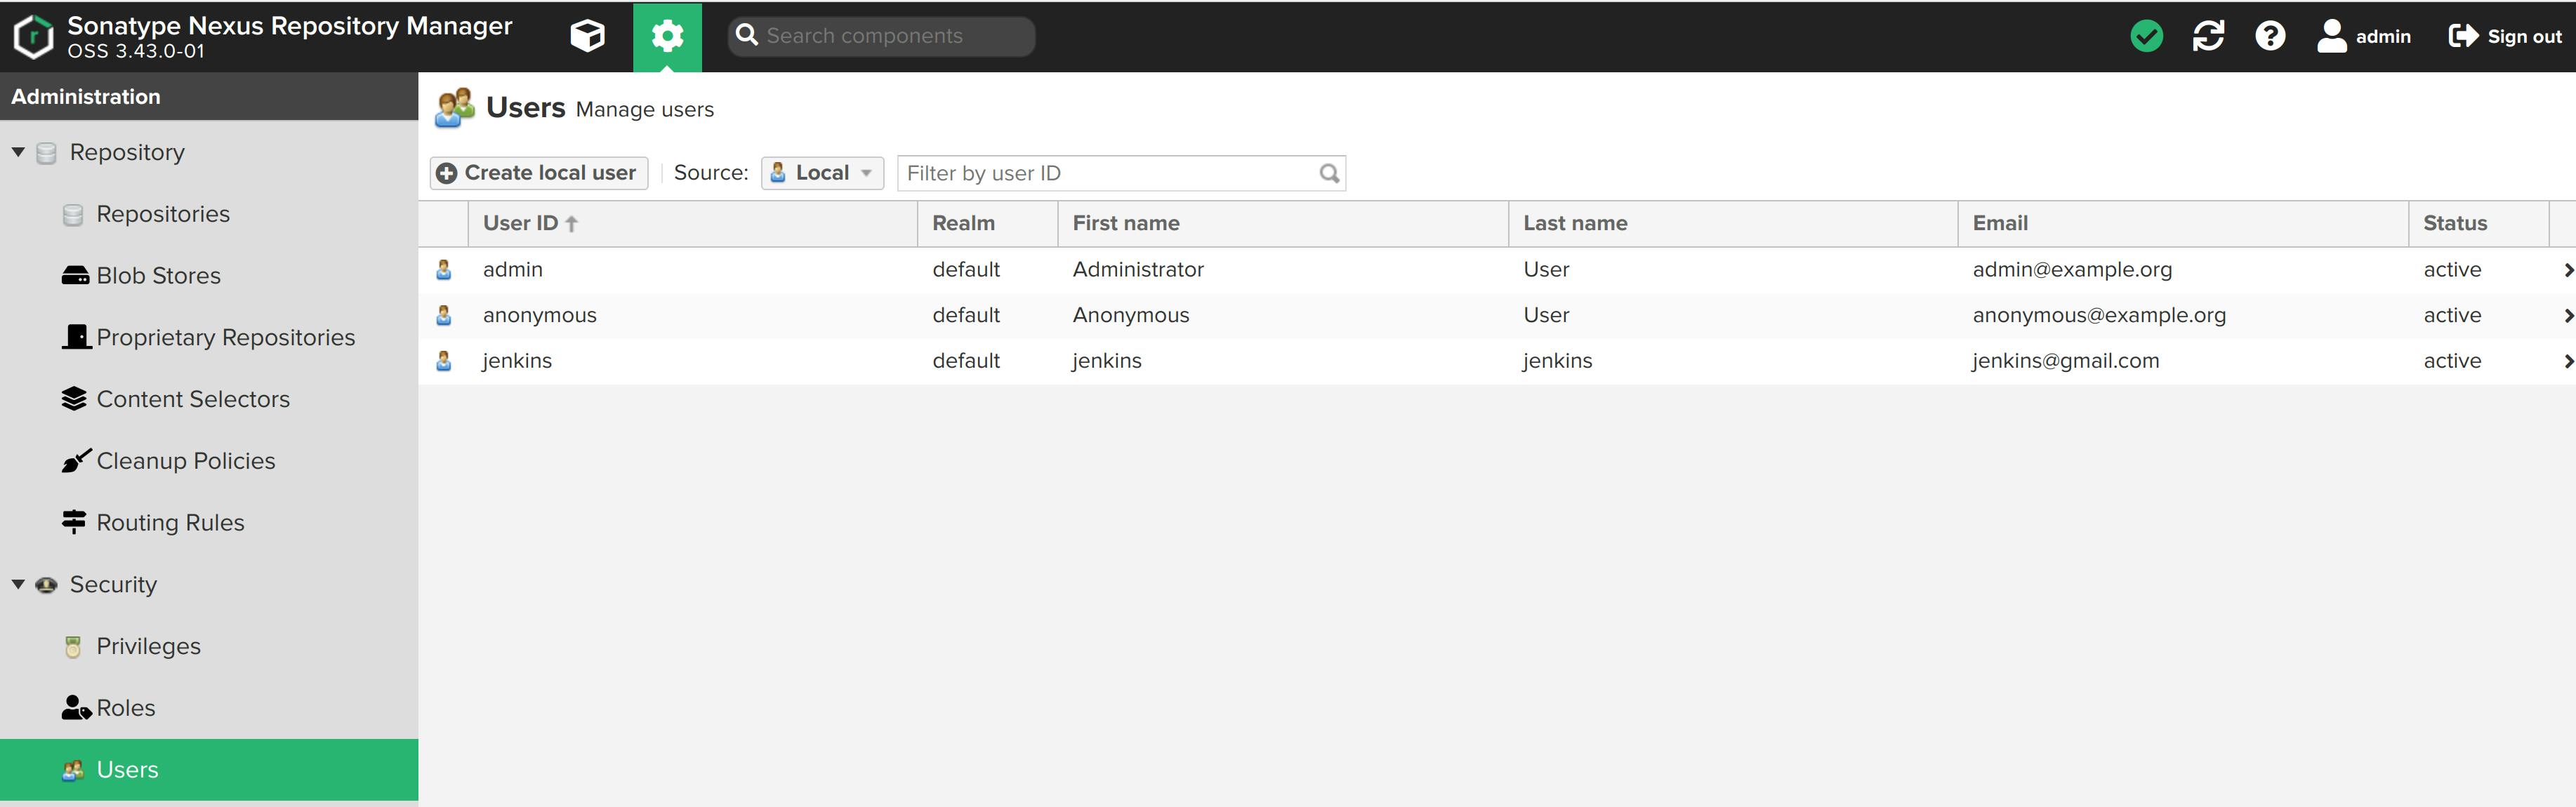
jenkins user created!
Realms
In order to access docker anonymously, you also need to enable the Docker Bearer Token Realm as generally outlined in Realms. This realm is inactive by default. Activate it.
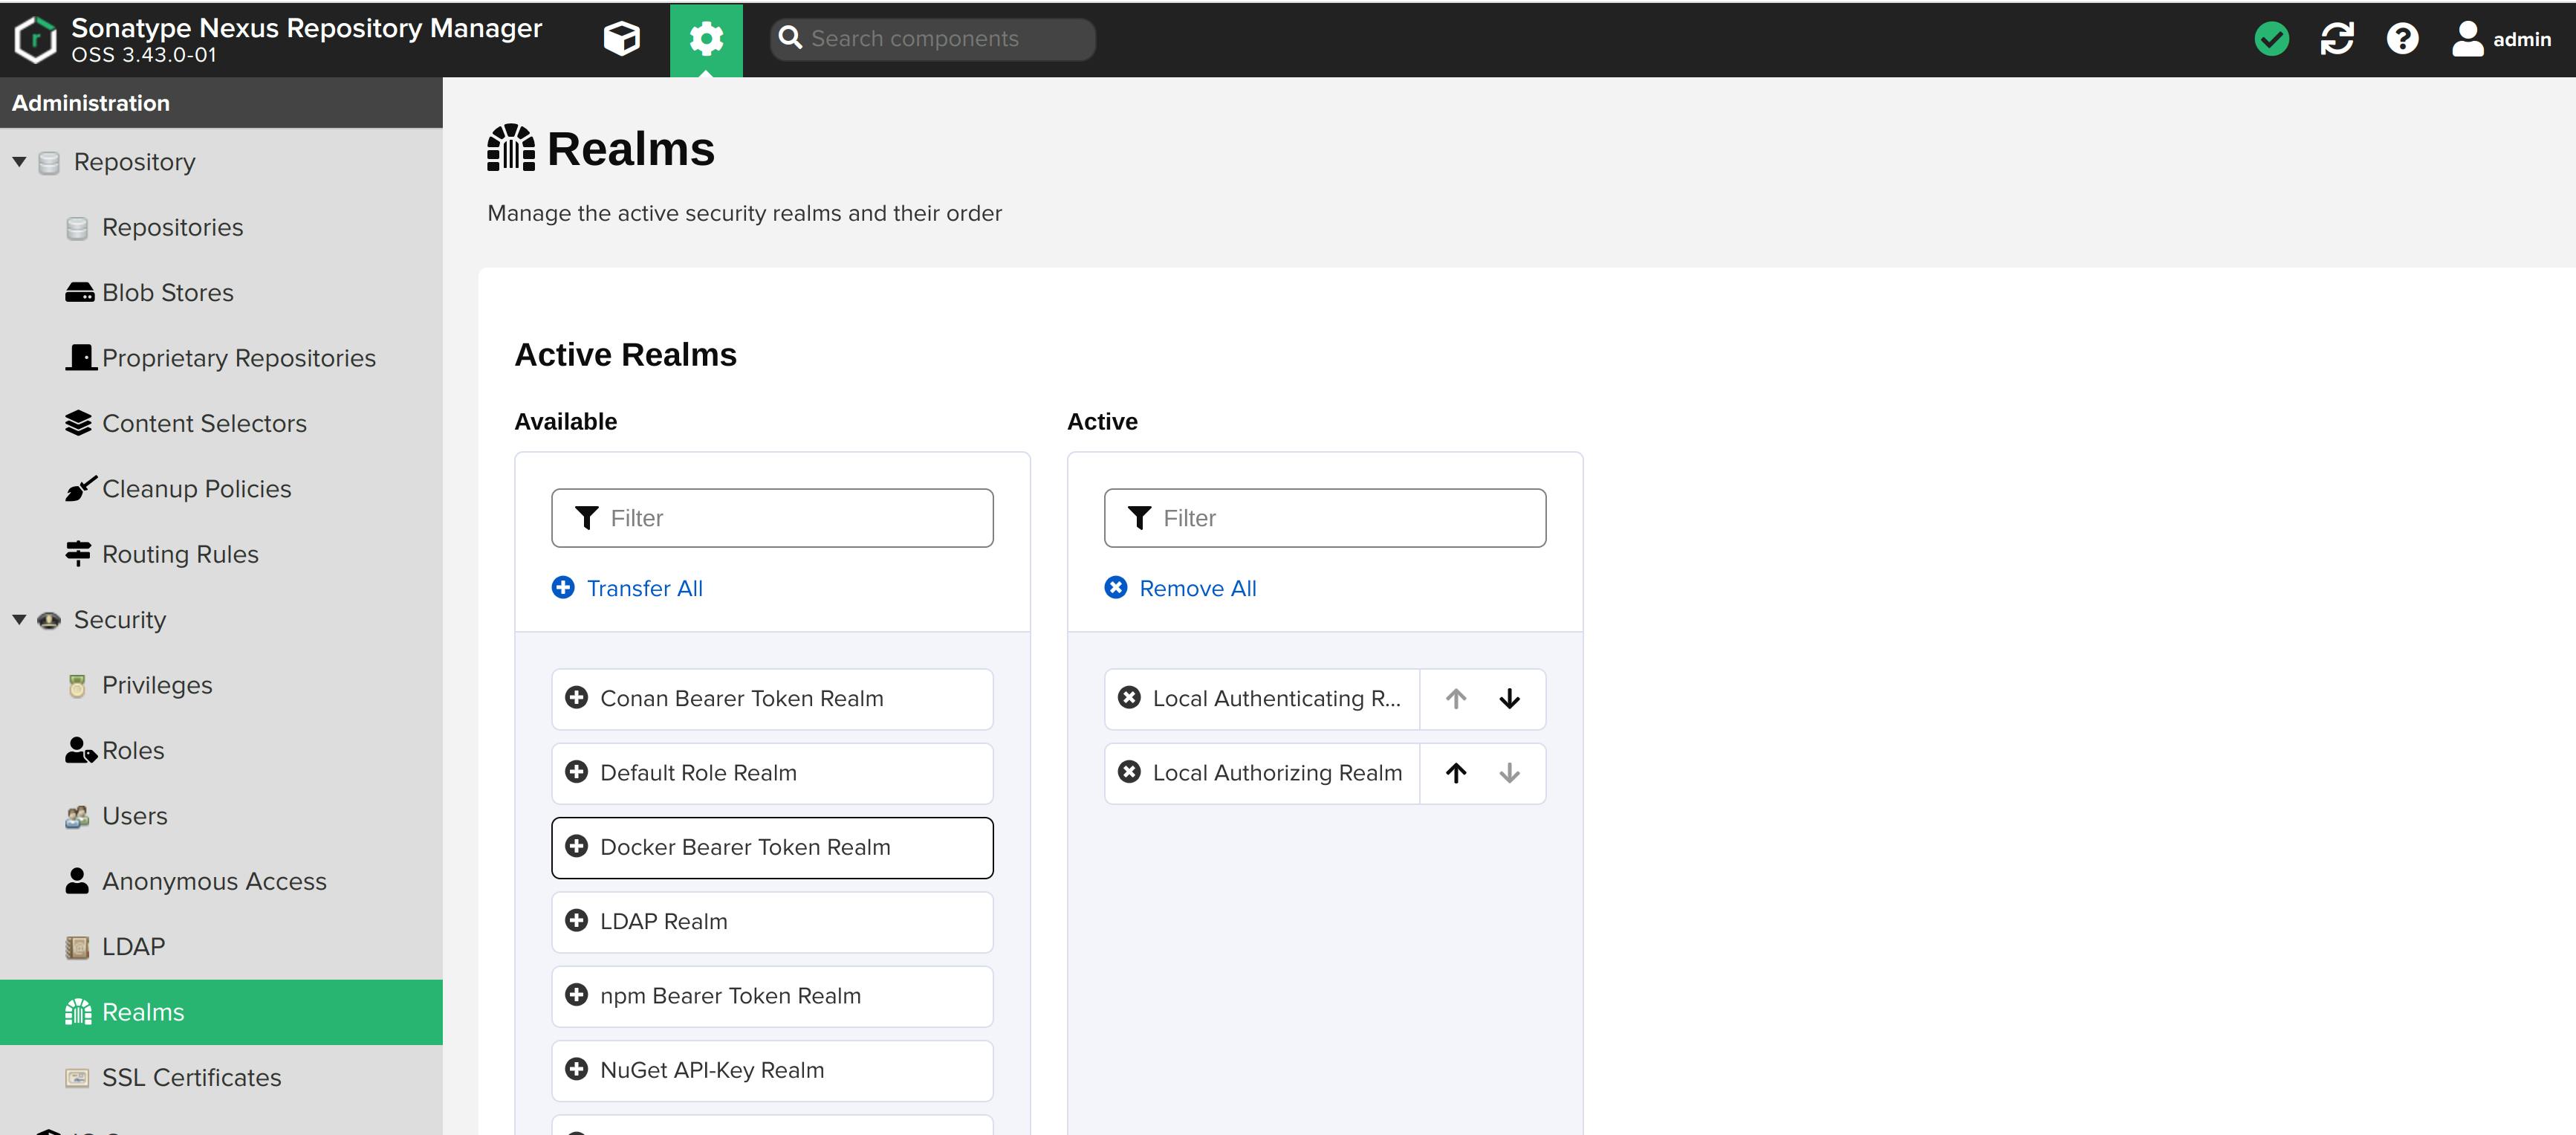
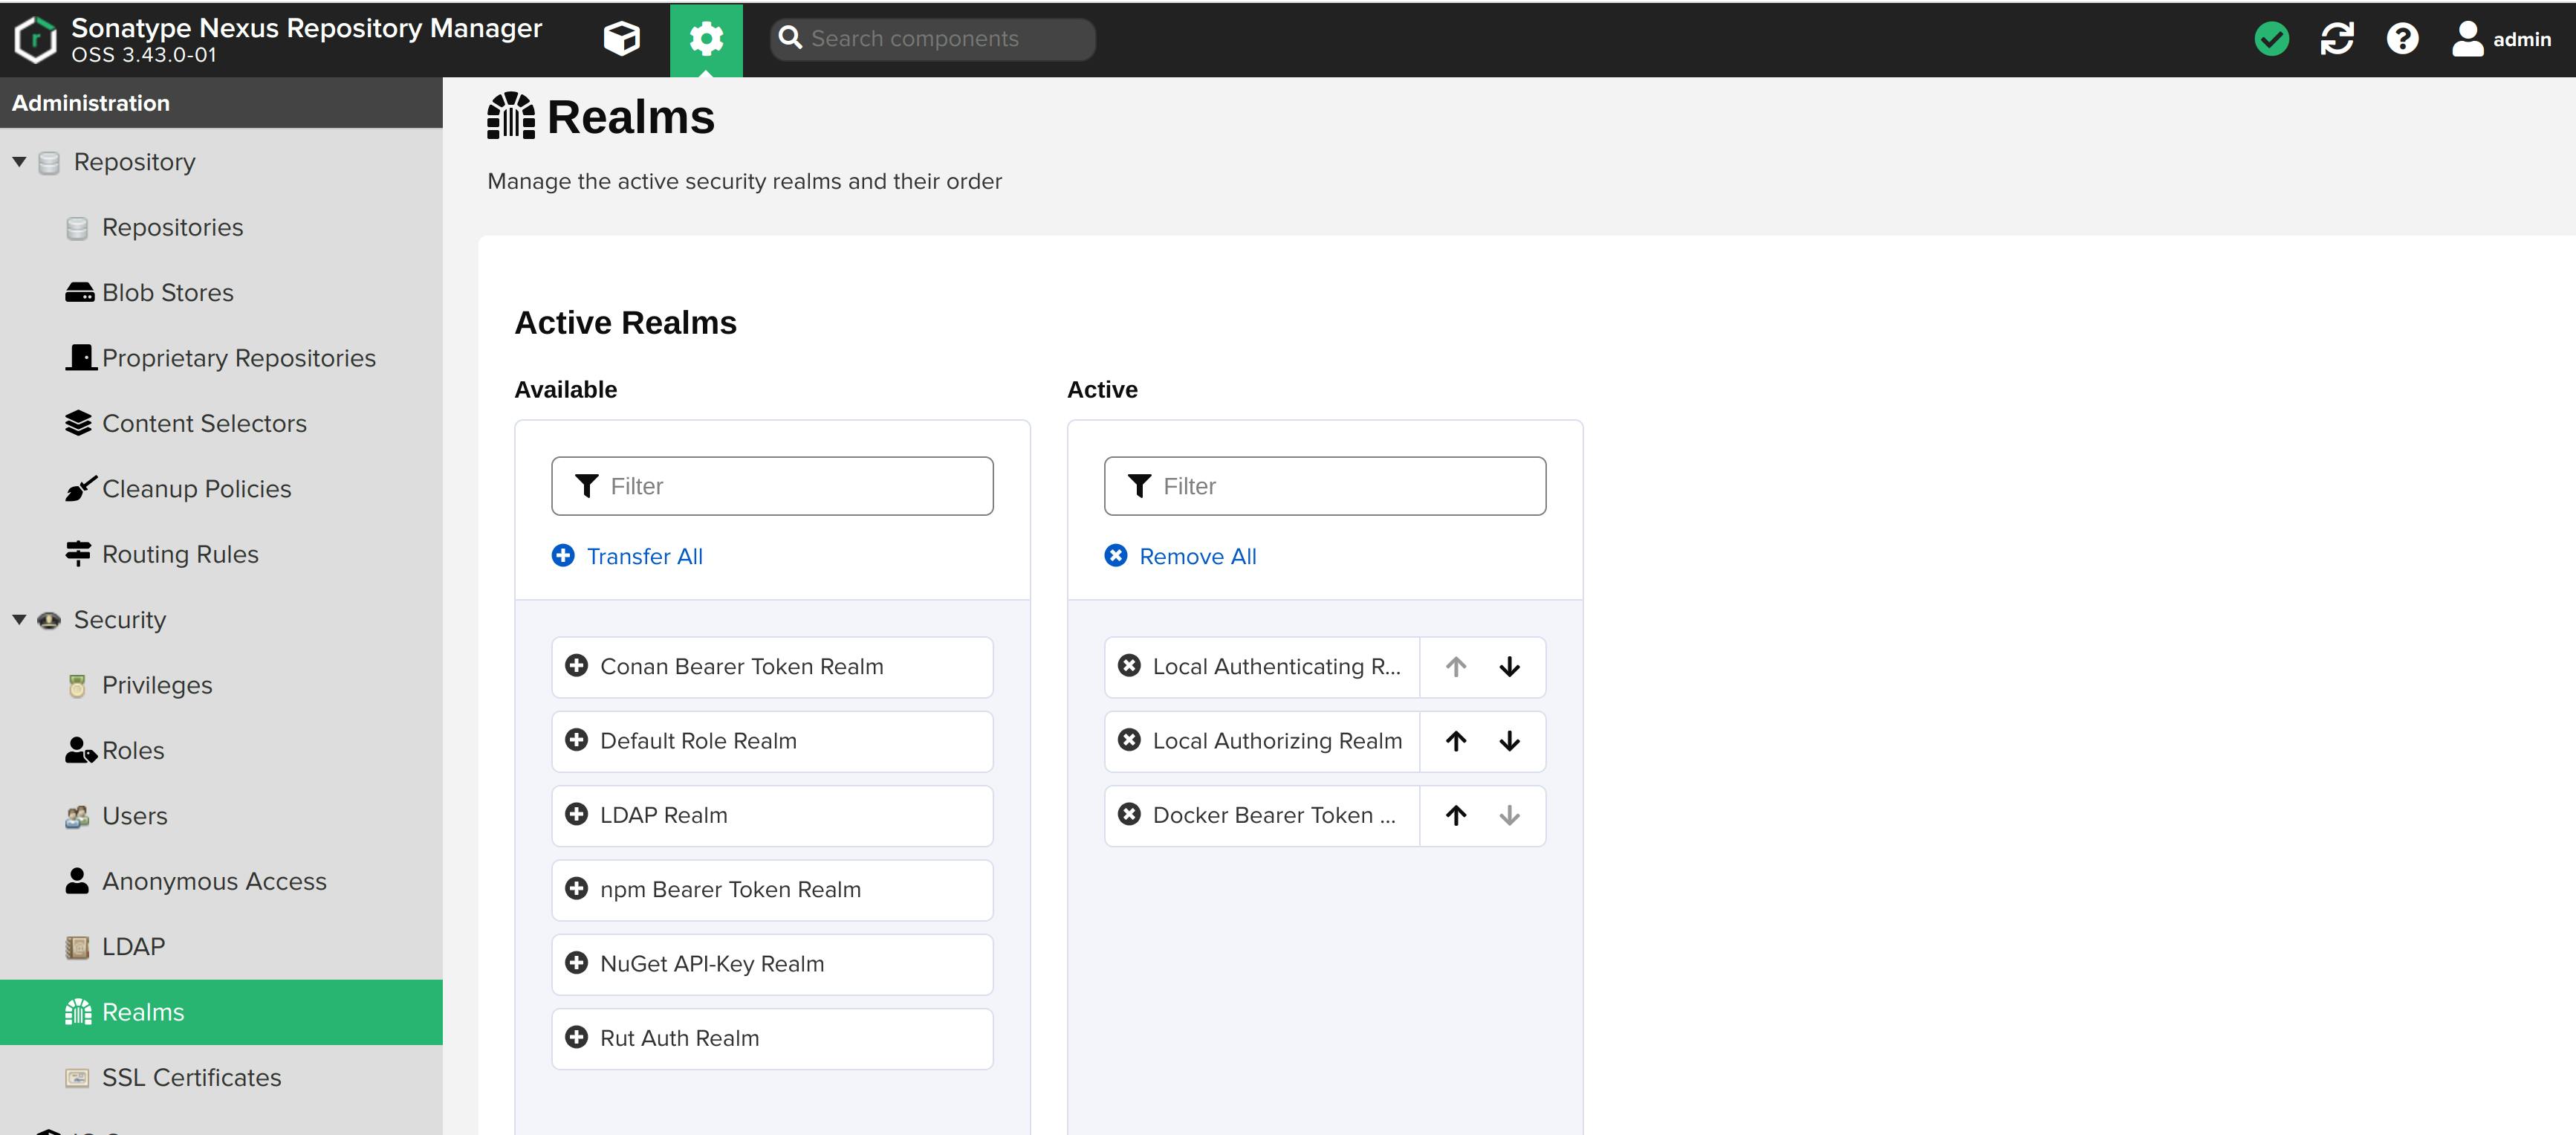
For further reading, visit the documentation page.
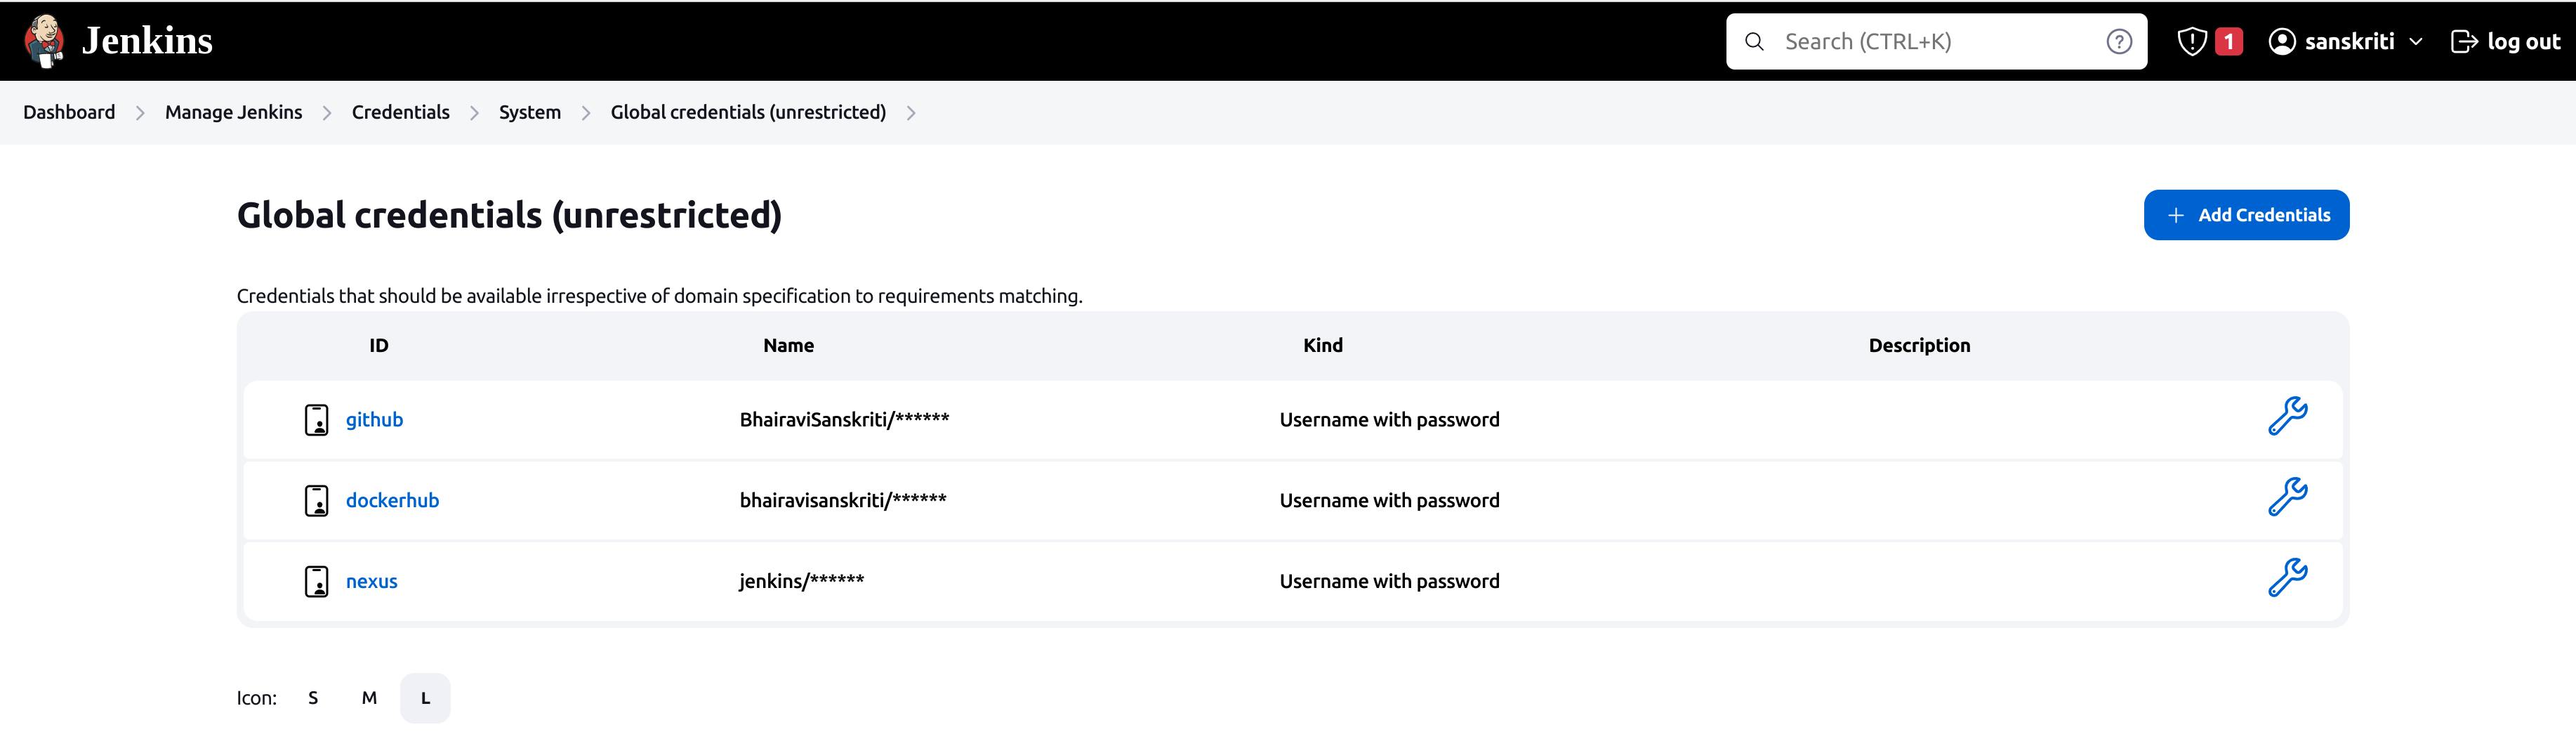
Add credentials
Before building the pipeline we have to add credentials in the Jenkins application. I have already created credentials for github in my previous blog.
To access dockerhub-repo we have to create credentials. We will name the ID as nexus. As we have already set up a jenkins user that can access the docker repo on Nexus, we'll use this user's credentials as a name and password for the nexus ID. Let's go!
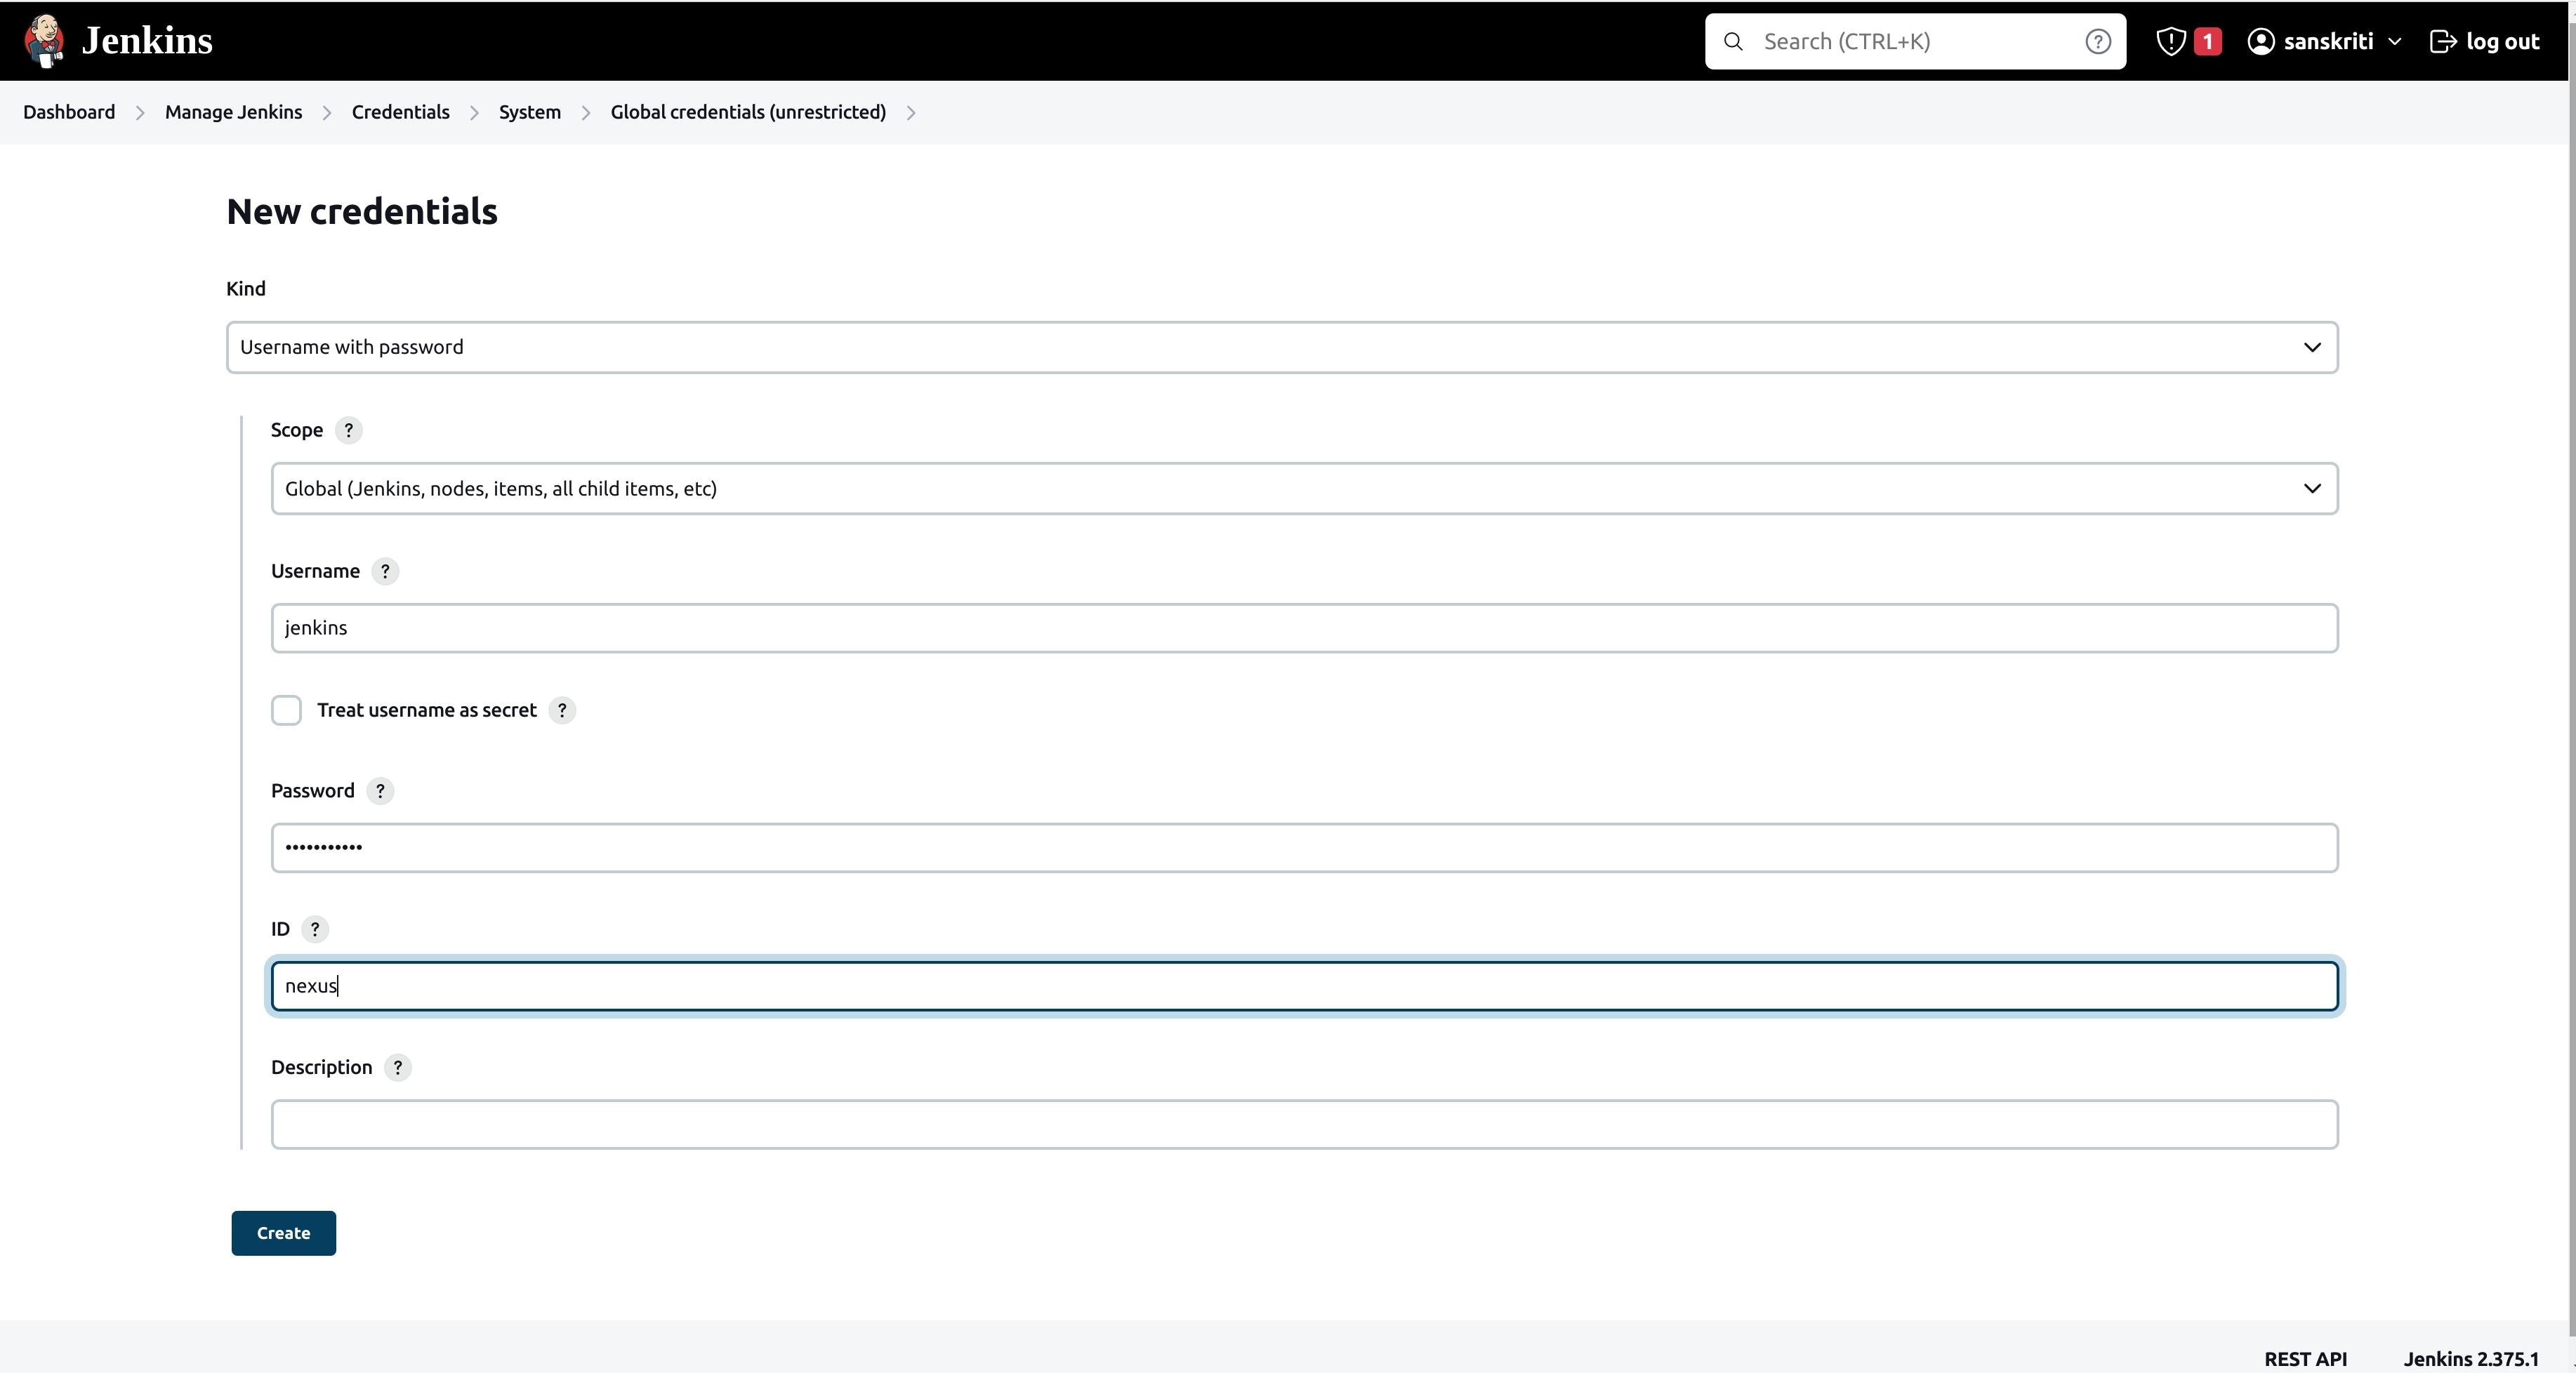
nexus credential created!
Create the pipeline
Let's create a Jenkins CI pipeline.
Create a pipeline named sanskriti-portfolio.
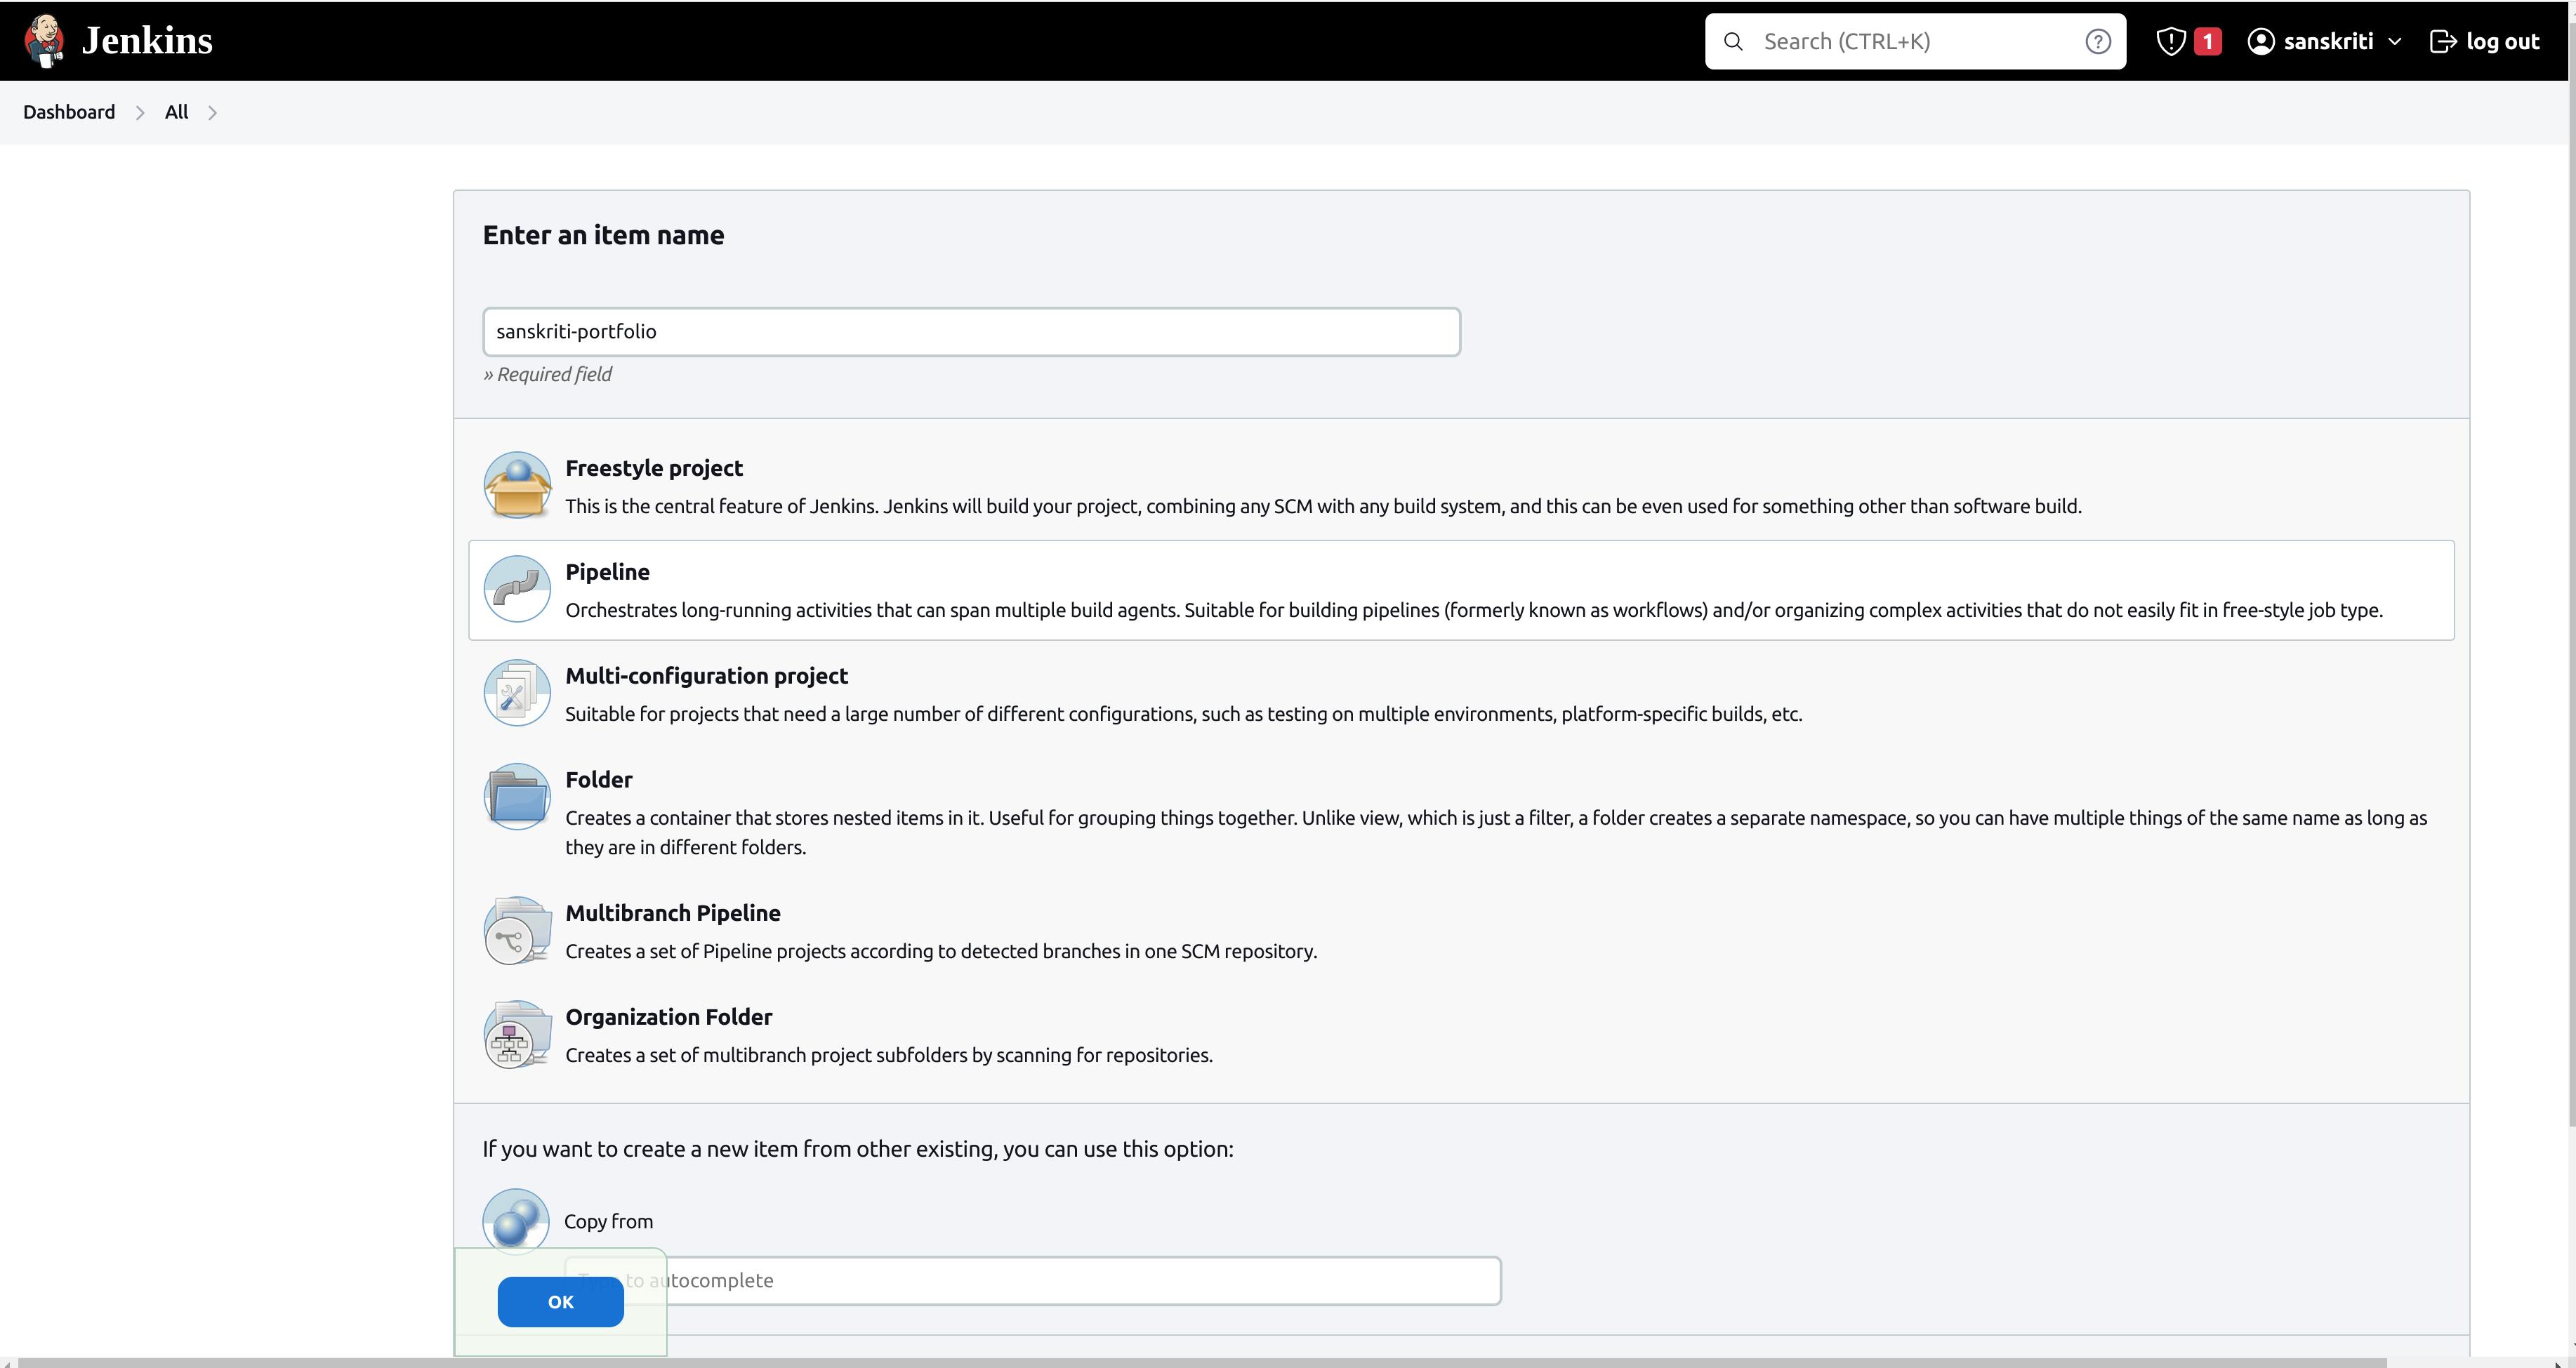
We will create a pipeline using SCM. I am using the code from my GitHub repository. Use github credential.
Done! Let's build the pipeline, shall we?
Build Jenkins Pipeline
And Voila! We got an error! TT
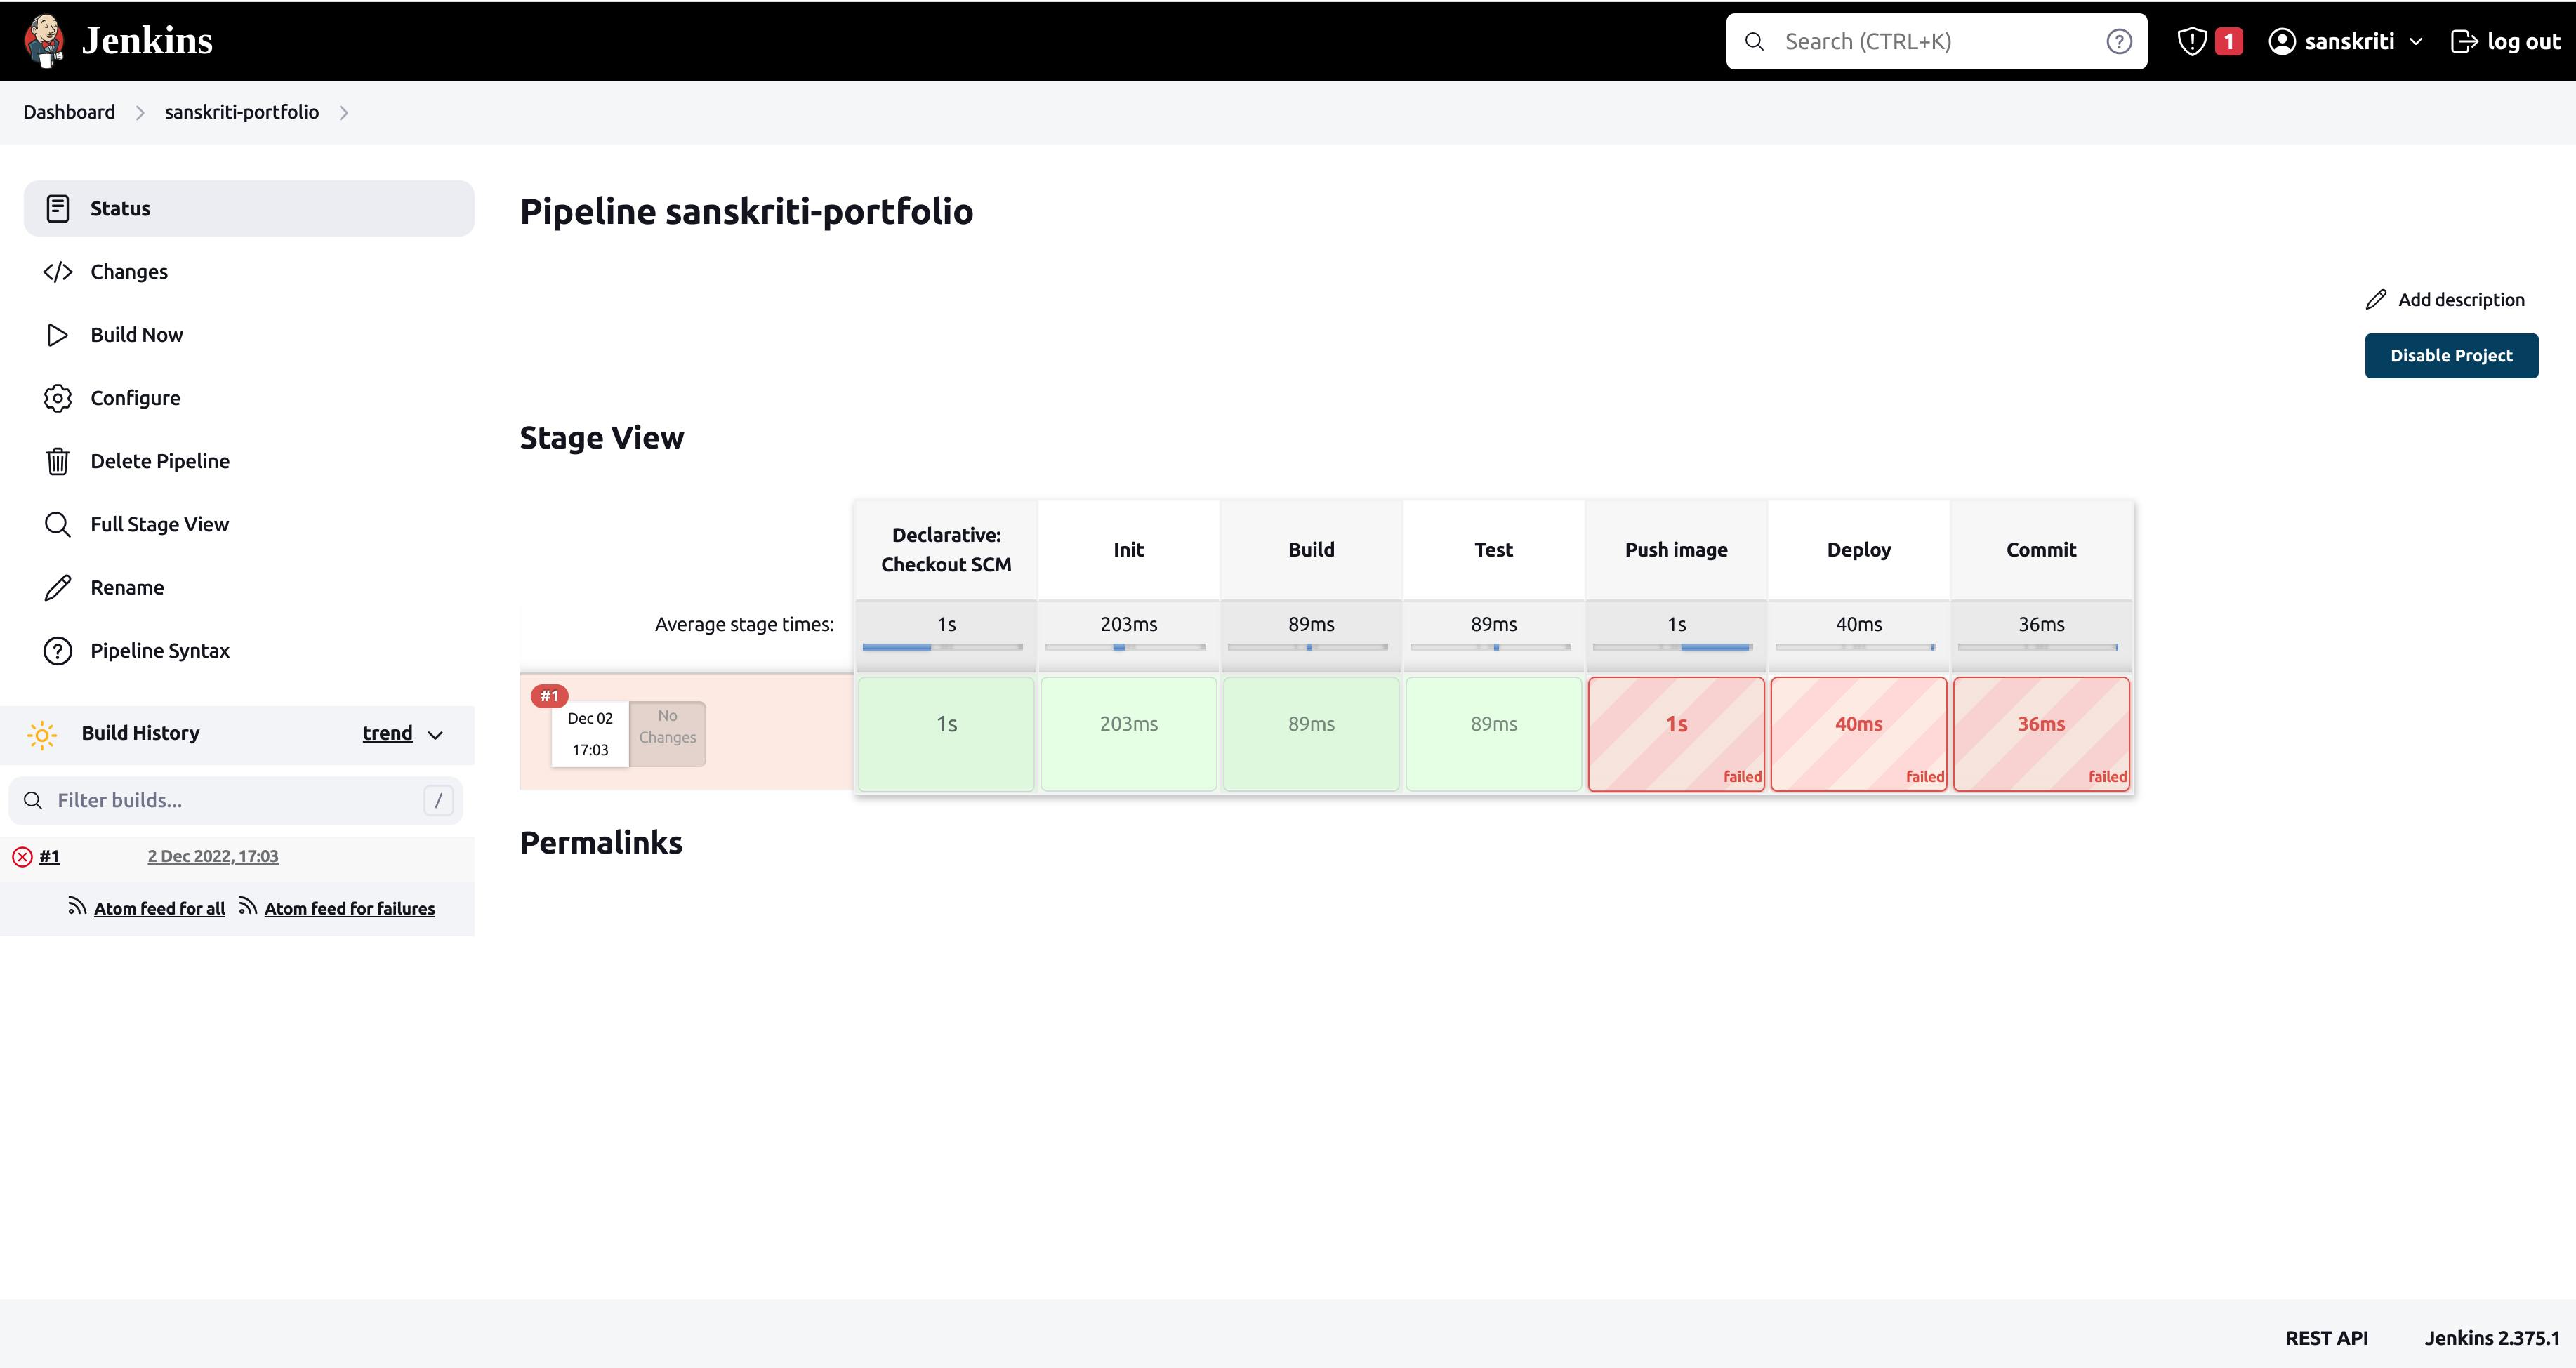 Let's see what the error is.
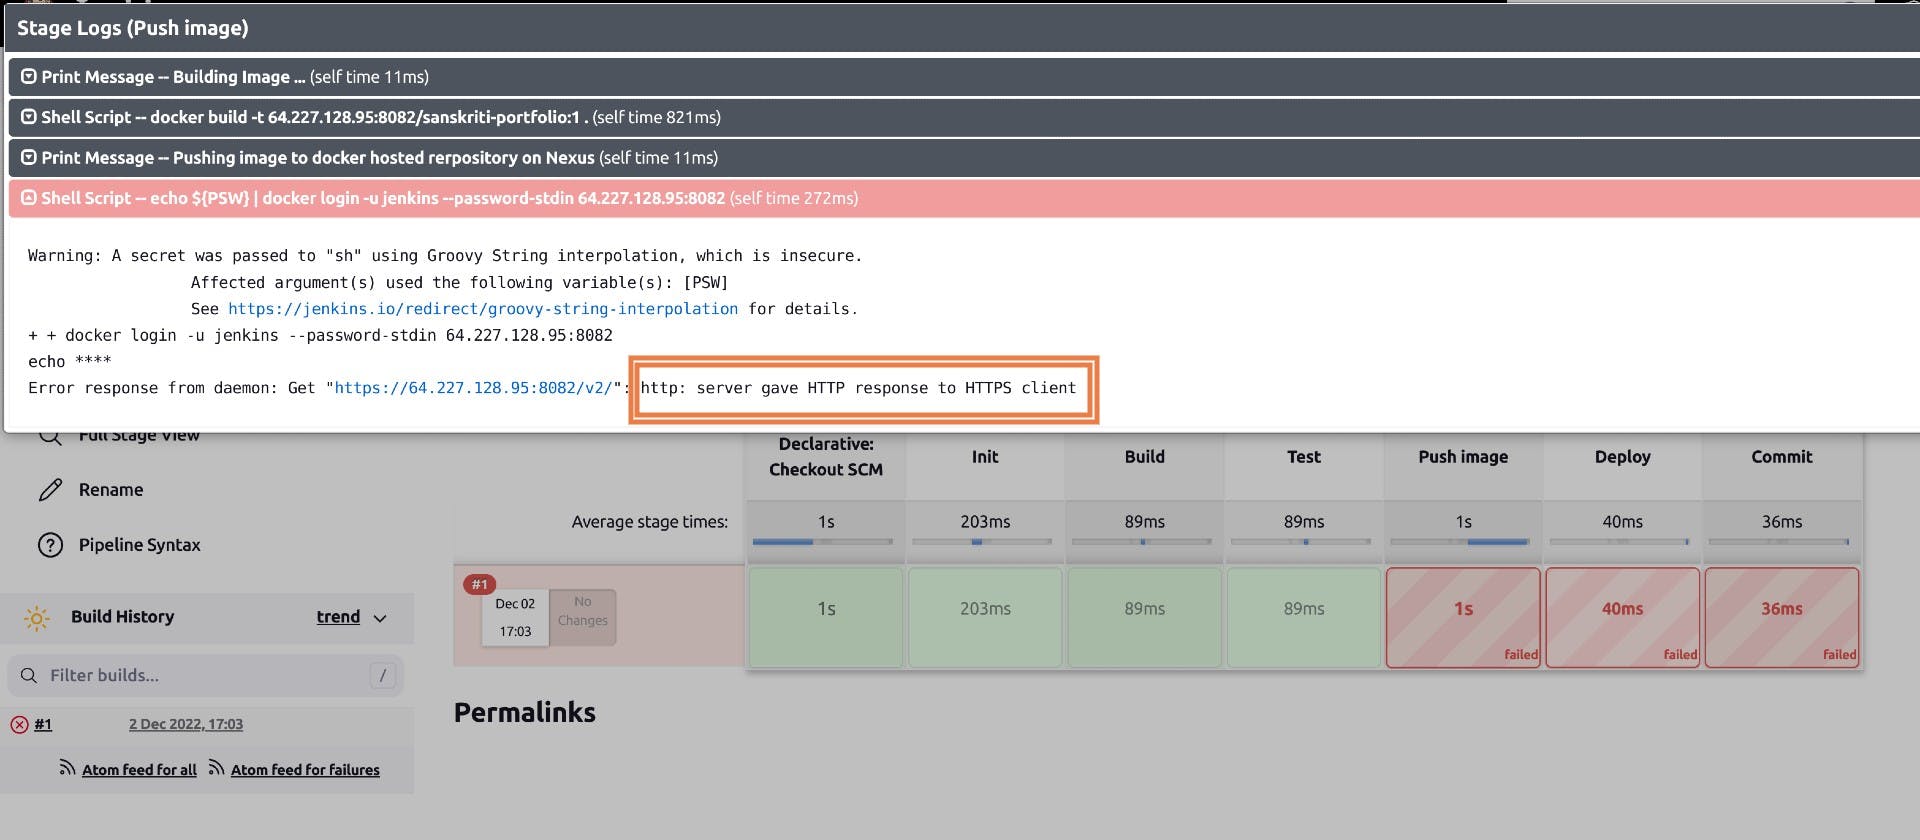
Error:
Error response from daemon: Get "64.227.128.95:8082/v2" : http: server gave HTTP response to HTTPS client
Cause of Error
The dockerhosted-repo is insecure, it doesn't use HTTPS protocol and docker daemon is not letting us access this insecure repository because it might be harmful for our system.
Resolve the error http: server gave HTTP response to HTTPS client
We have to configure docker so that it will let us use this dockehosted-repo. We have to add the IP address of this repository to the list of insecure registries.
docker info command
This command displays system-wide information regarding the Docker installation. One of the information listed is the list of insecure-registries.

We know that the dockerhosted-repo is an insecure docker repository. We have to add this repository to the list of insecure registries so that the jenkins application running on the jenkins-server droplet can access this repo.
Adding Insecure registries
An insecure registry is a registry without a valid TLS certificate or one which only supports HTTP connections.
To add the dockerhosted-repo to the list of insecure registries, follow the below steps.
- Edit the daemon.json file in the jenkins application, whose default location is /etc/docker/daemon.json on the server where you have hosted the jenkins application. And in our case, the server is the jenkins-server droplet.
To be clear, we are editing the daemon.json file in the jenkins-server. And that is because the jenkins application will run the docker commands to push an image to an insecure registry.
If the daemon.json file does not exist, create it.
vi /etc/docker/daemon.json
- Add the below lines to this file. Remember, 64.227.128.95:8082 is the IP address where the repository dockerhosted-repo is being hosted and not where the nexus container is running.
{
"insecure-registries": ["64.227.128.95:8082"]
}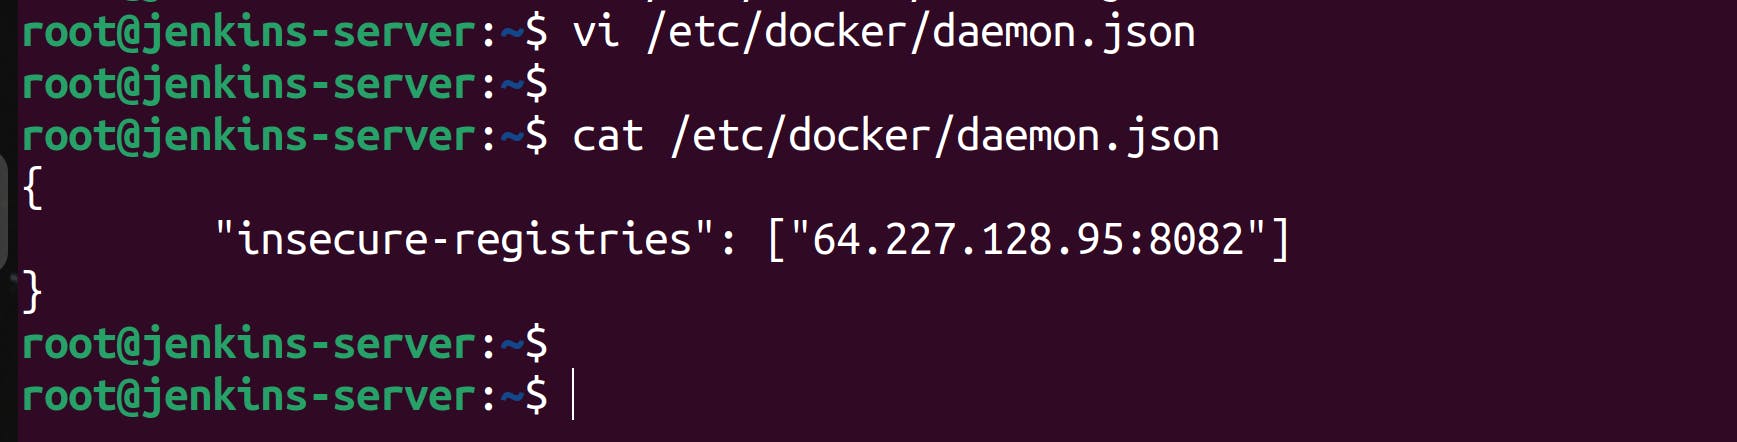
- Restart Docker for the changes to take effect.
systemctl daemon-reload systemctl docker restart docker - Run the following command to see whether the dockerhosted-repo was added to the list of insecure registries or not.
docker info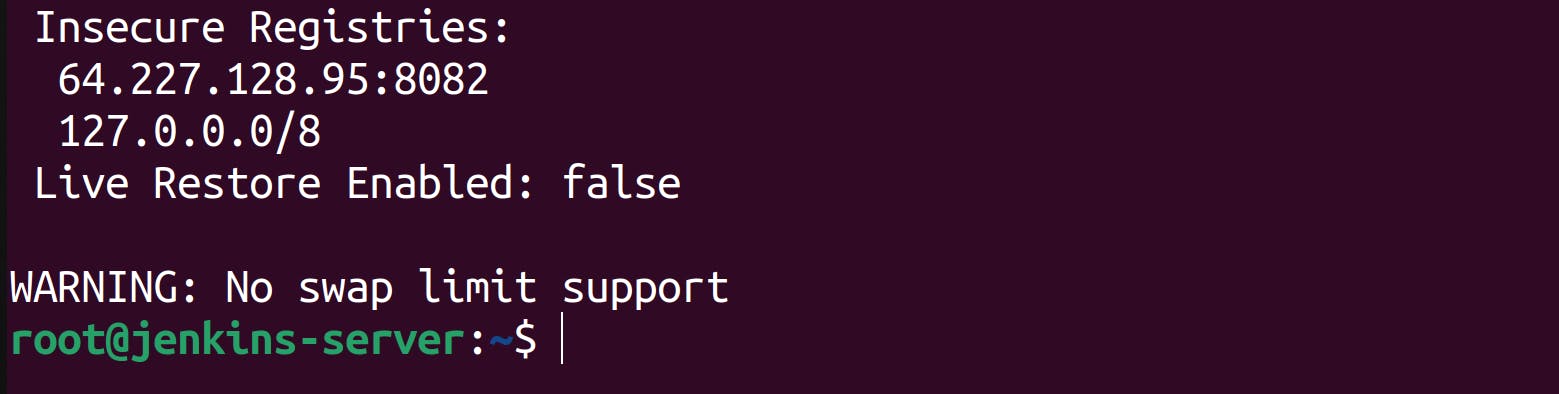
As you can see, the dockerhosted-repo repository was added to the registry successfully.
Build the pipeline again
This time the pipeline built successfully! Congratulations!
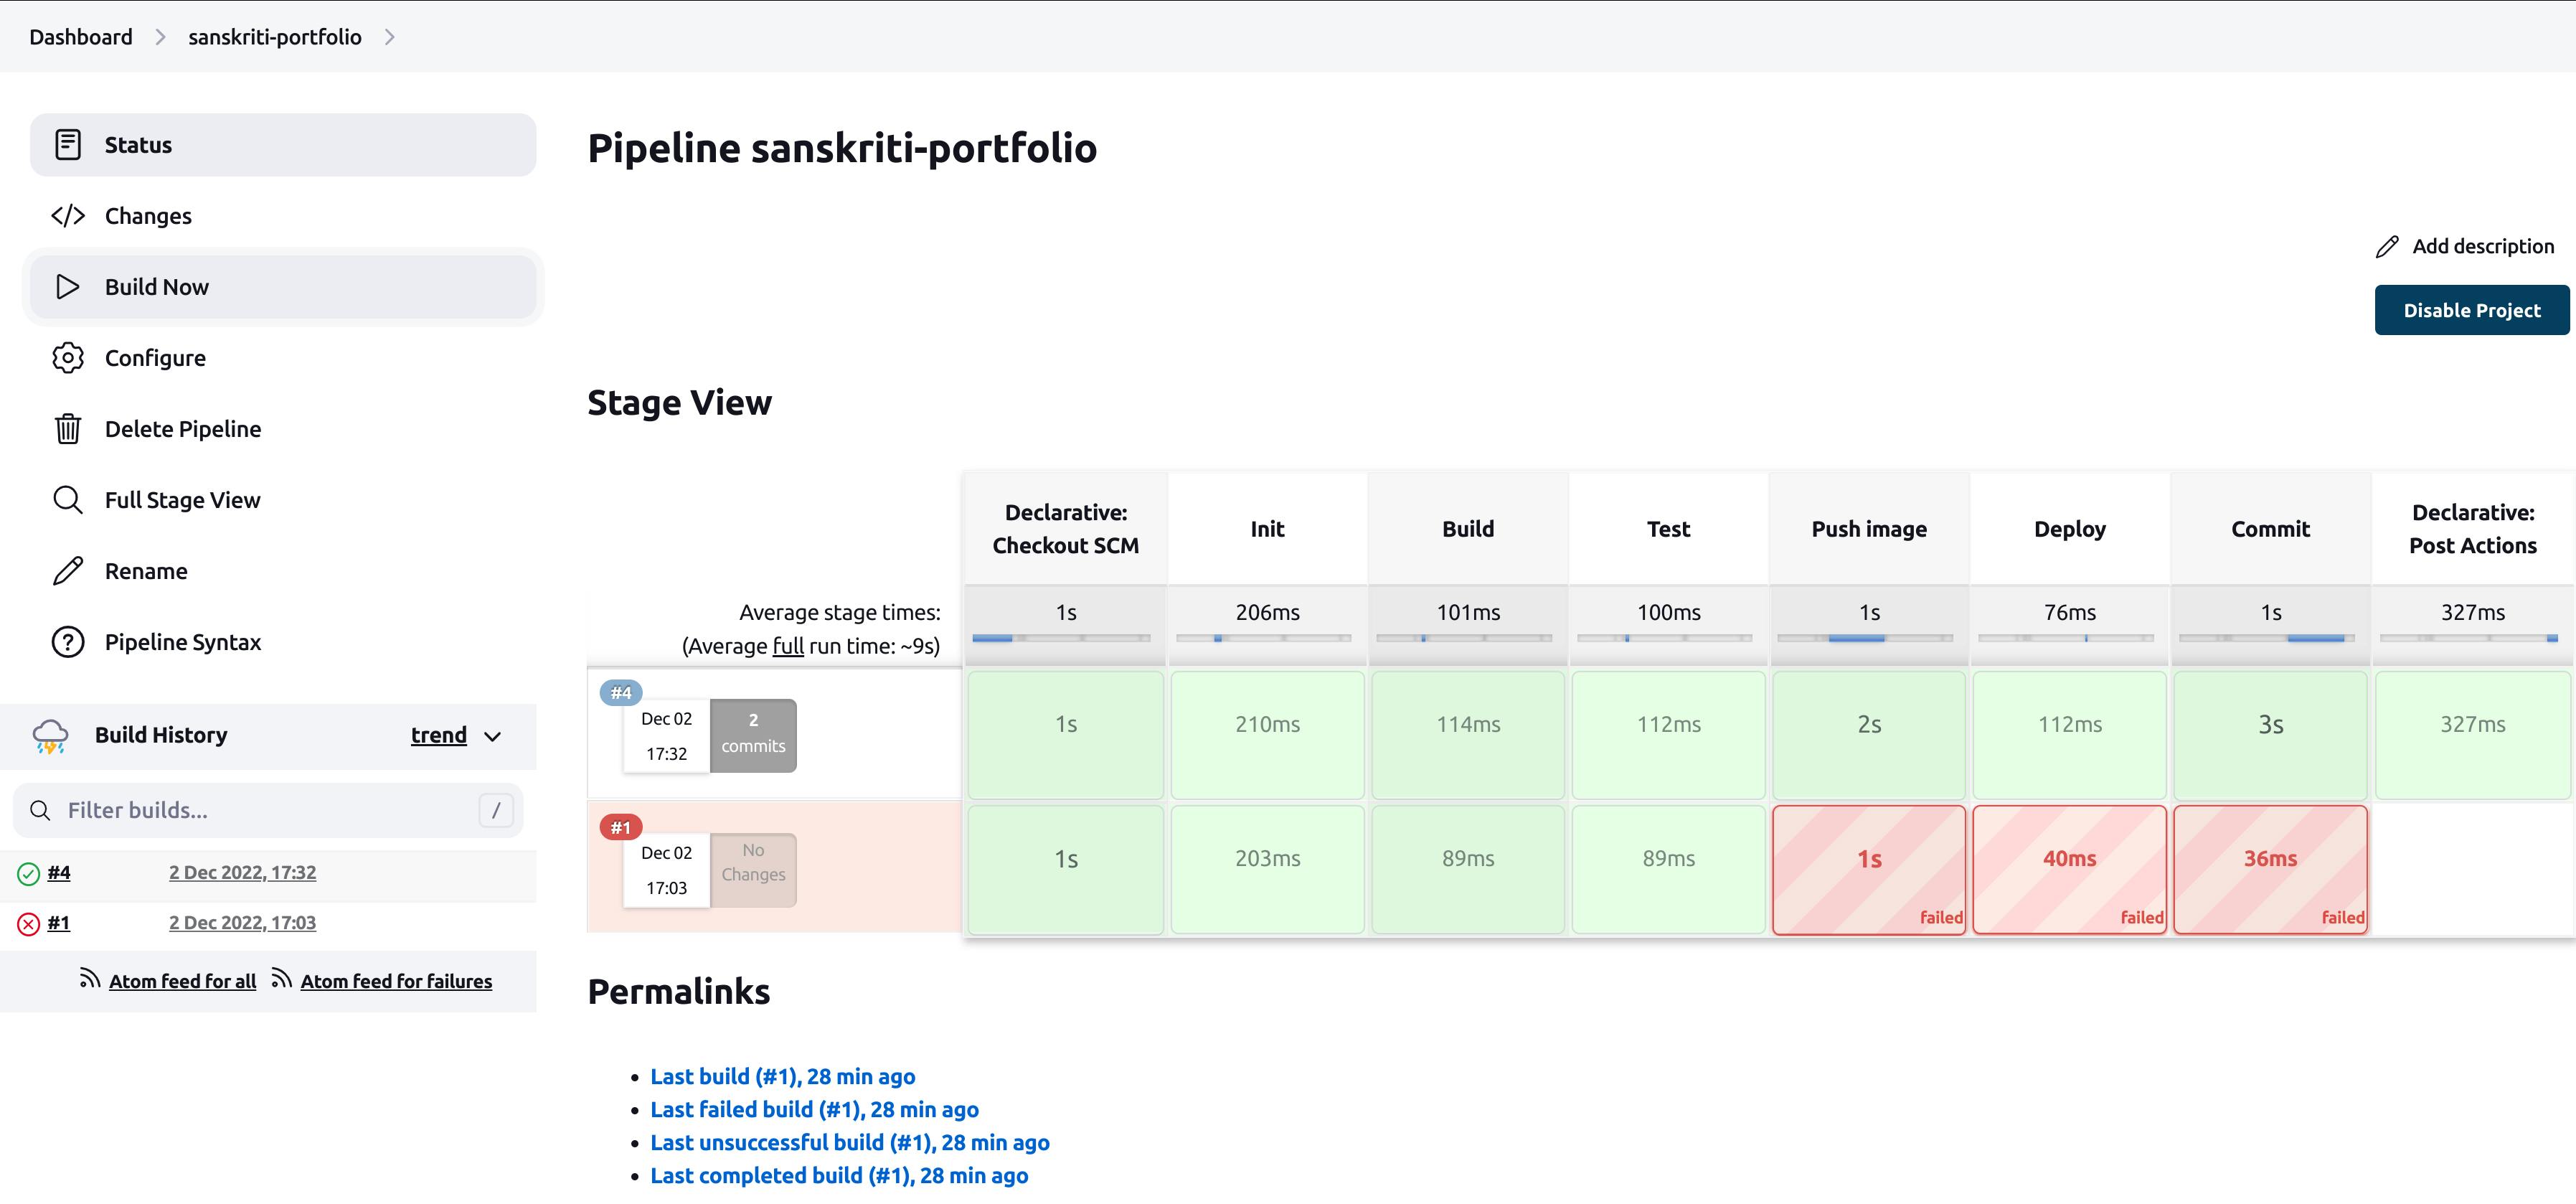
PS - I made some silly mistakes so I had to delete two builds. Therefore, it shows build no. 4 just after the first build. You don't have to worry about it.
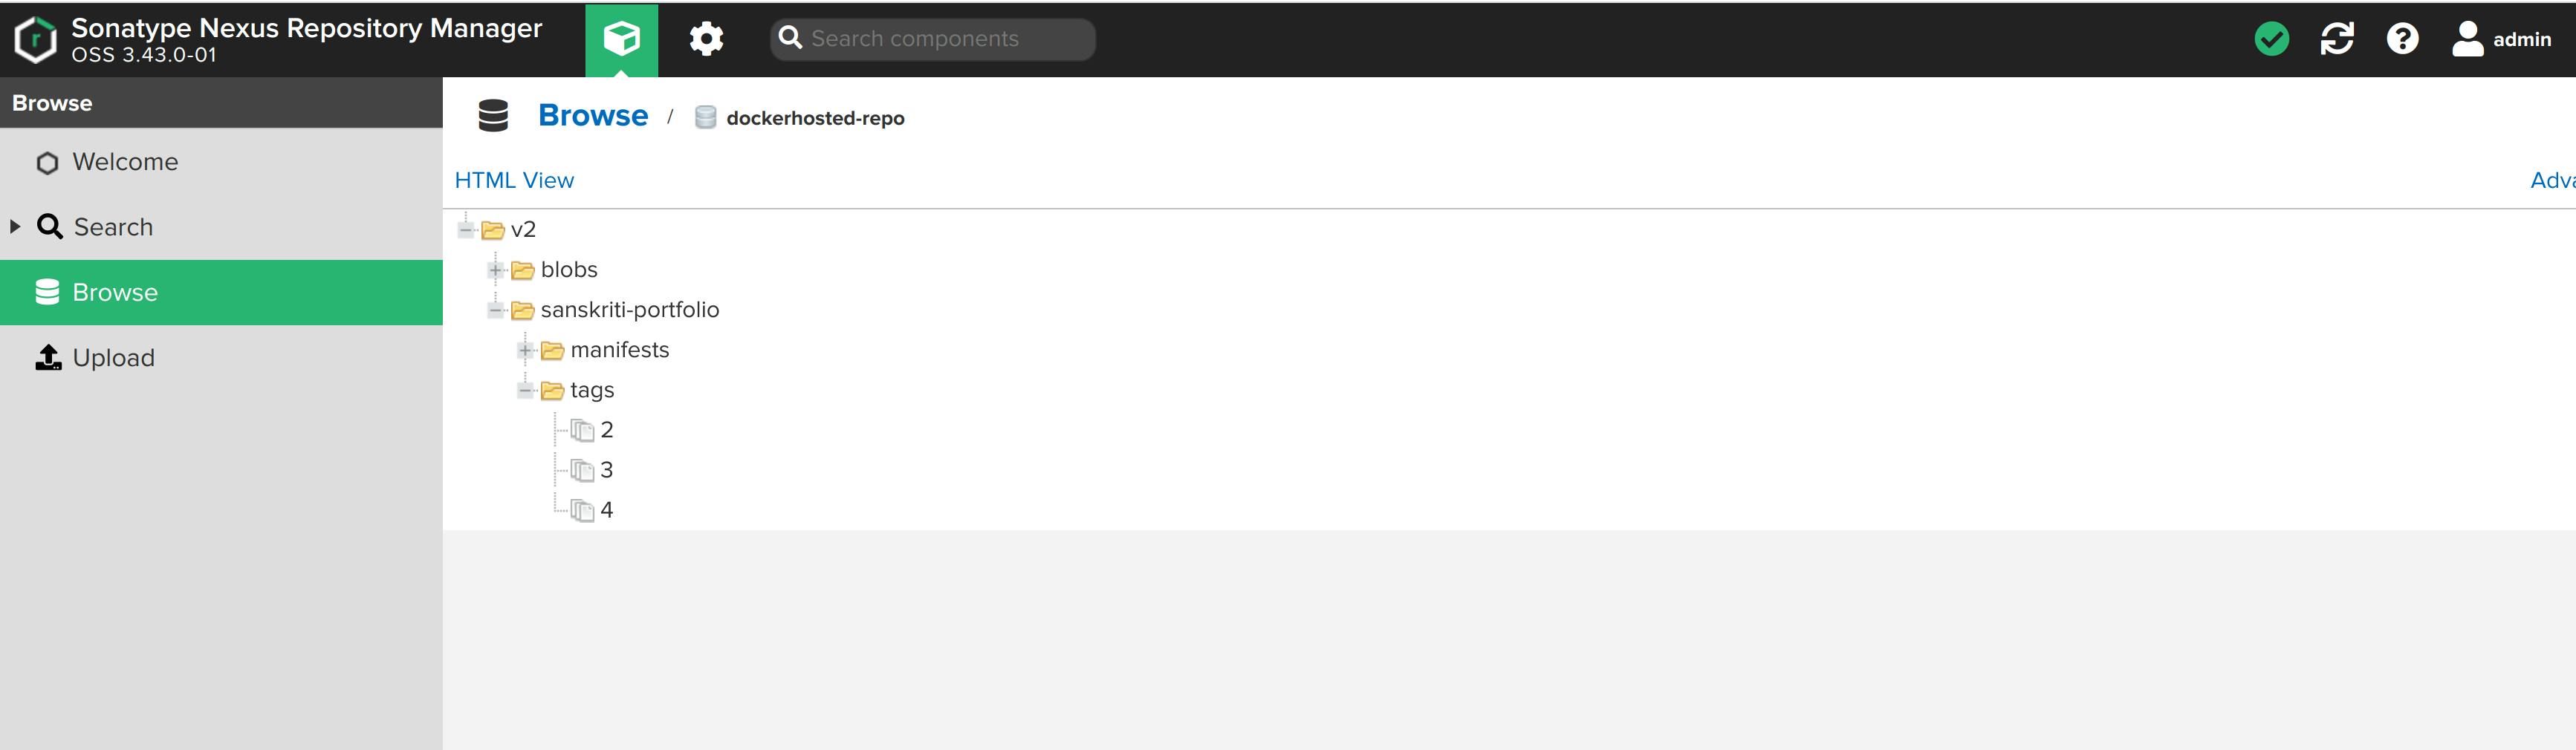
Docker hosted Repository on Nexus
Now, let's check whether the image was published on the nexus repository or not.
Change to user view(by clicking on cube-shaped green box), then Browse -> dockerhosted-repo -> v2 -> sanskriti-portfolio.
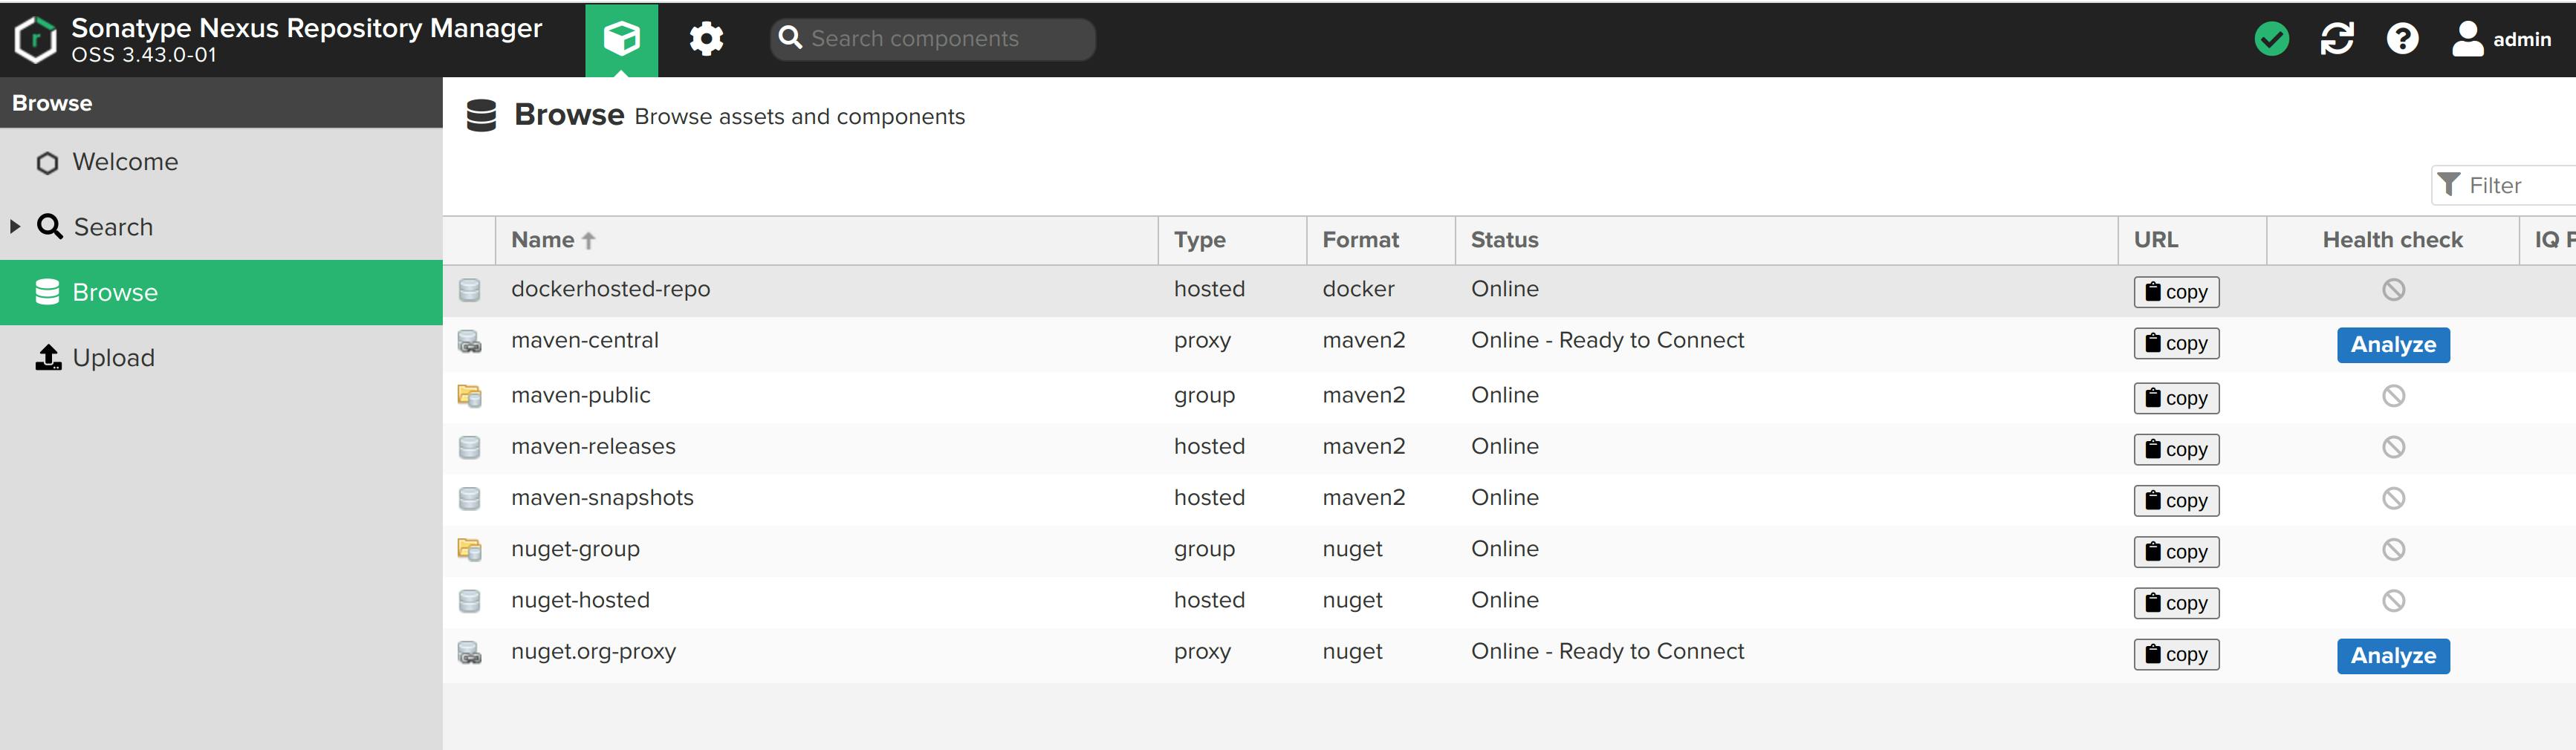

The image was published successfully! Yesss!
What's next
You can also create Cleanup Policies. Cleanup policies allow you to delete old and unused artifacts (like Docker images). I am not going to cover this topic. Visit and read about it here and build cleanup policies for your repositories.
Conclusion
We learned how to build a pipeline that pushes an image to a docker repository hosted by Nexus using Jenkins. You also learned how to configure Jenkins to push images to an insecure repository.
With this basic understanding, you can now build a CI pipeline for an application and push the docker image to a repo other than the Docker Hub.